


Cosmic73
-
Posts
175 -
Joined
-
Last visited
Content Type
Profiles
Forums
Events
Gallery
Store
Everything posted by Cosmic73
-
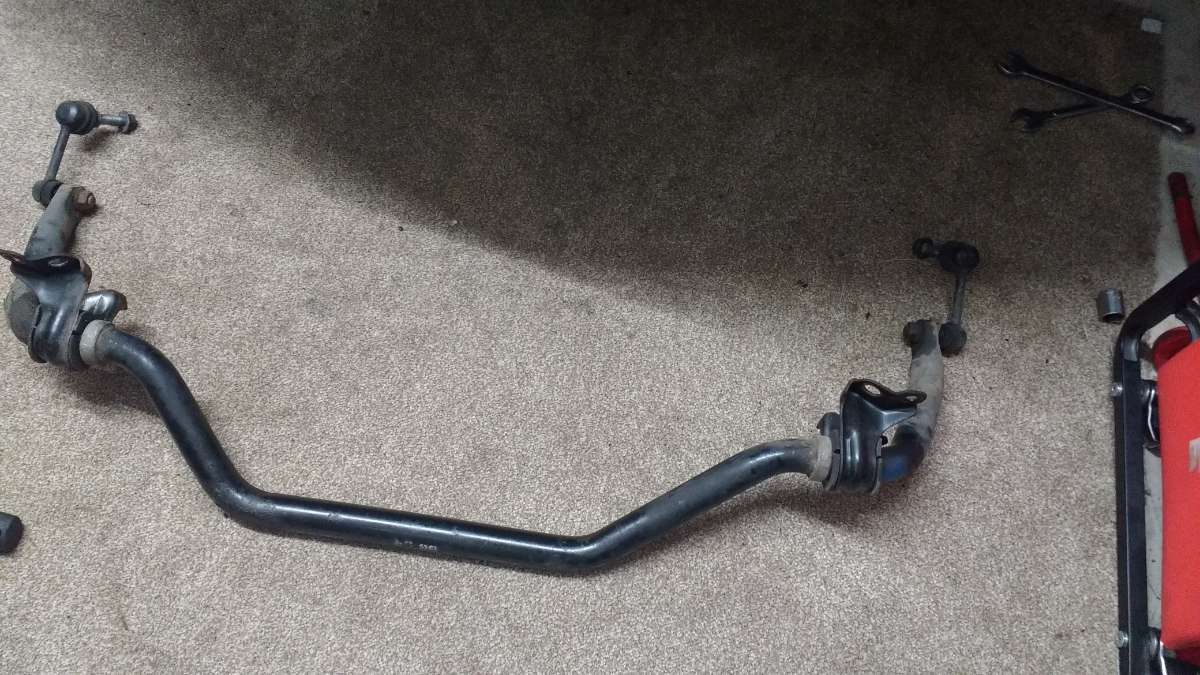
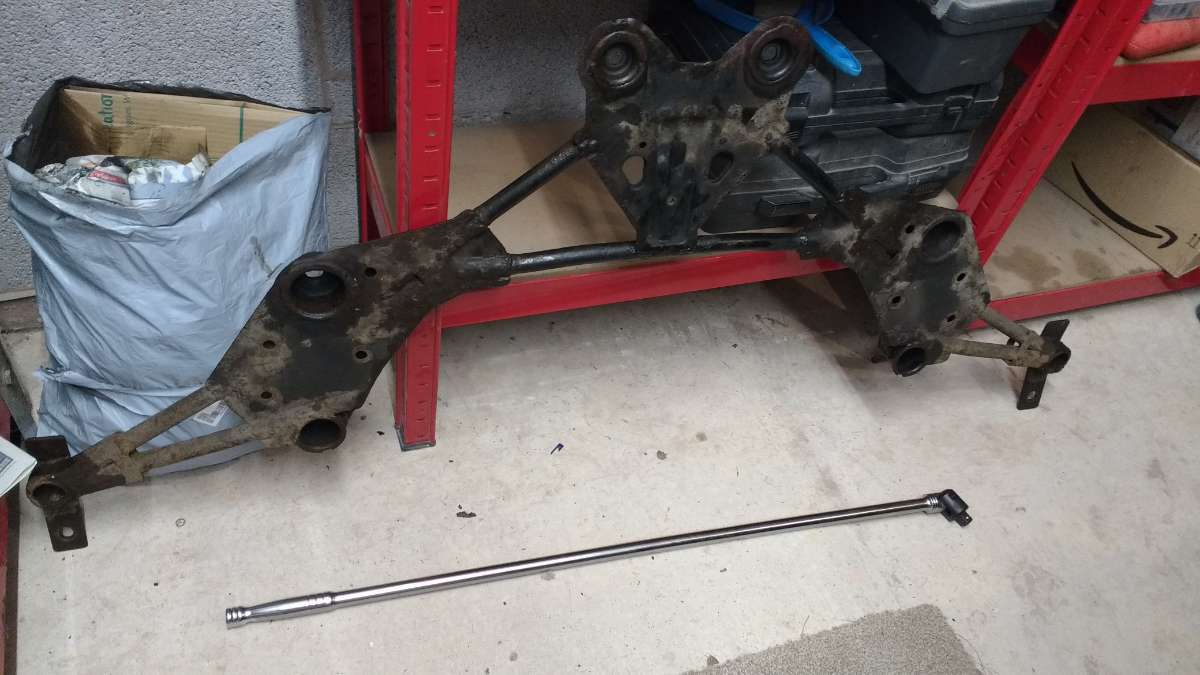
Finally decided to drop the block down instead of lifting it out. By removing the roll bar (which needs powder coating anyway) I've now plenty of space to pull the block out the tranny and down. 🙂
-
I've always like triumph TRs and your TR6 is a good example. I was after a project TR7 or 8 but they don't come up often. The British motors museum at Gaydon has a concept TR25, be great if that went into production. https://www.britishmotormuseum.co.uk/news/triumph-tr25-by-makkina Good luck with your sale 🙂
-
Long overdue imo. I've nothing against a spirited drive, but there's some bikes and cars have totally illegal exhausts where the noise, even at idle is absolutely deafening you can hear it for miles.
-
I've just removed the front brace from a 2006 Z and it was very simple to do. Just spray the 8 bolts with wd40 the day before and use a bastard big breaker bar to crack off the nuts. Even the front subframe wasn't too bad, again loads of wd40 and a breaker bar. My Winter project post describes in more detail. Both parts are getting powder coated. It's a shame to scrap a stunning car that's served you well for the sake of a few bolt off parts.
-
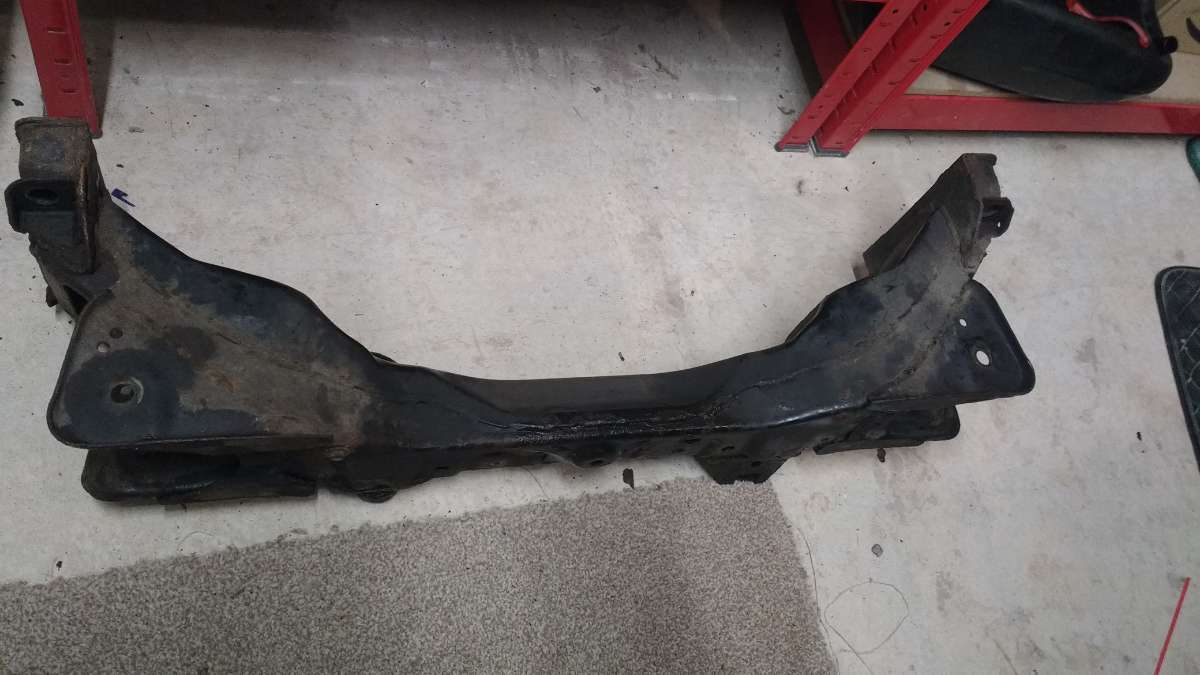
This evening I managed to remove the front subframe, bit fiddly but went ok. I'll be send that and the brace for powder coating.
-
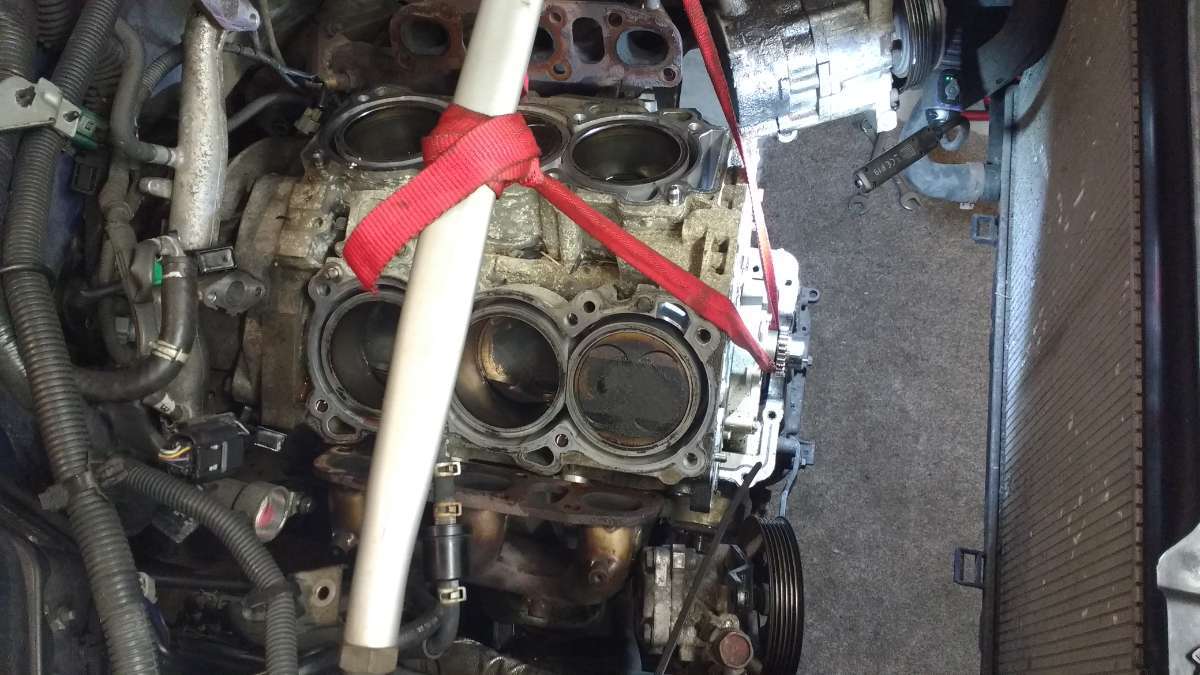
This evening I started removing the front subframe to realise the block can't be lowered because the steering rack is in the way, which means I'll have to lift the block up and out instead. Not the end of the world, but just pain to set up the lift 😞
-
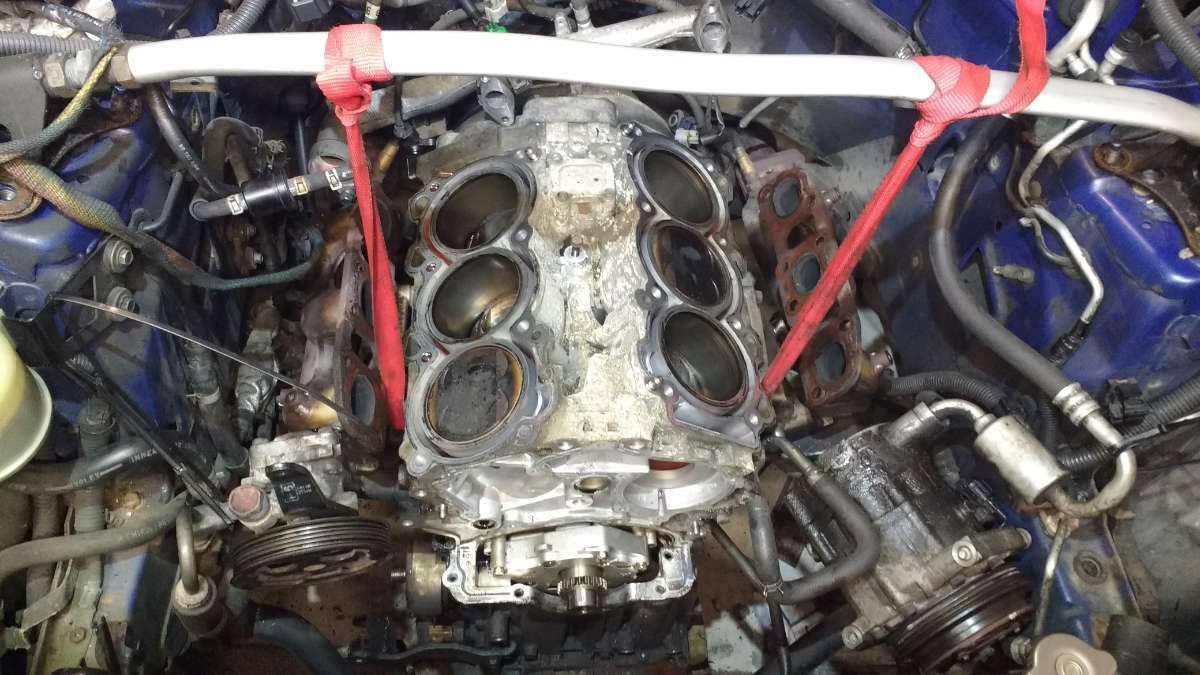
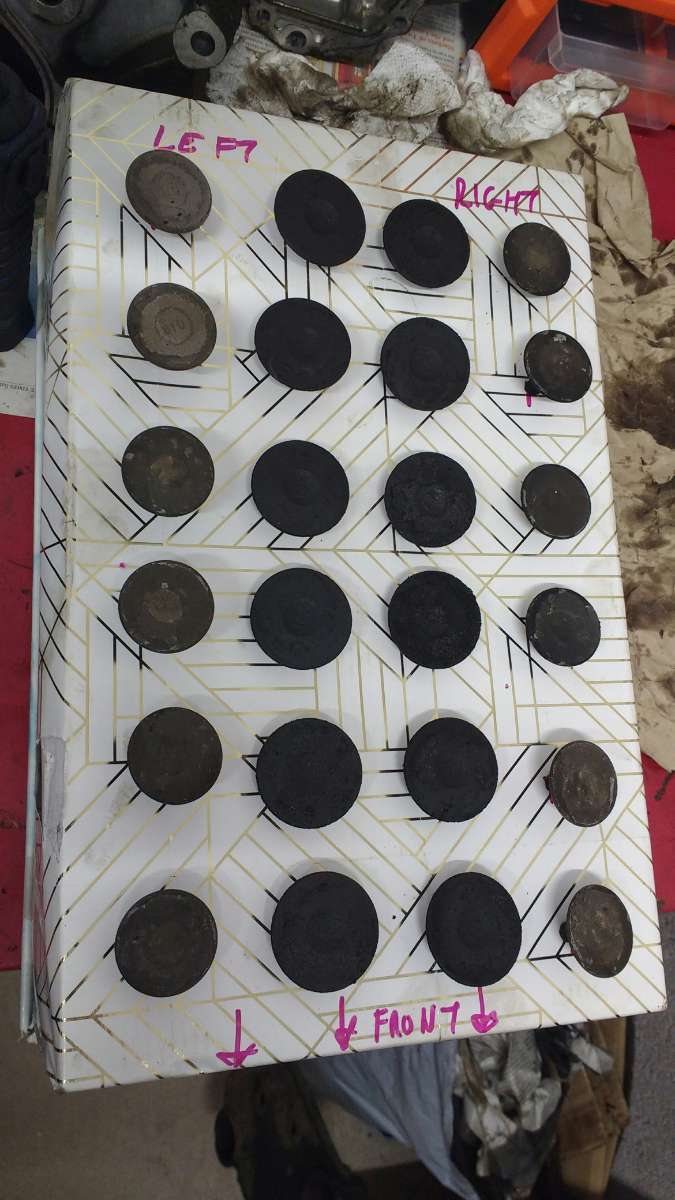
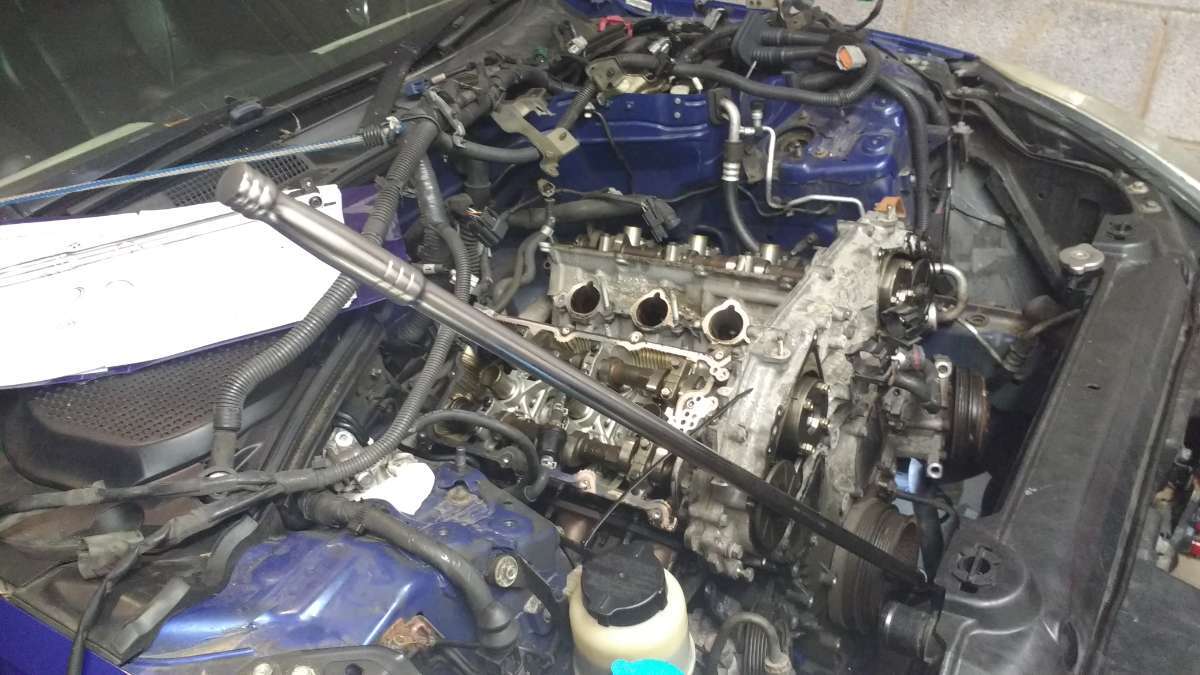
This evening I managed to remove the valves which I'll take to get soda blasted tomorrow. I'll also drop off the heads at Knights engineering for pressure test and if all ok, a skim.
-
I've got a difficult choice. Do I now, 1. Lift the block out? or 2. Remove the subframe and drop the block? Since the subframe is quite rusty and could do with a refurb, I thought I'd remove it, get it blasted and powder coated. I managed to remove the brace today. Thank the lord for my breaker bar 🙏🙏 But not sure how to remove the subframe. Anyone done this before?
-
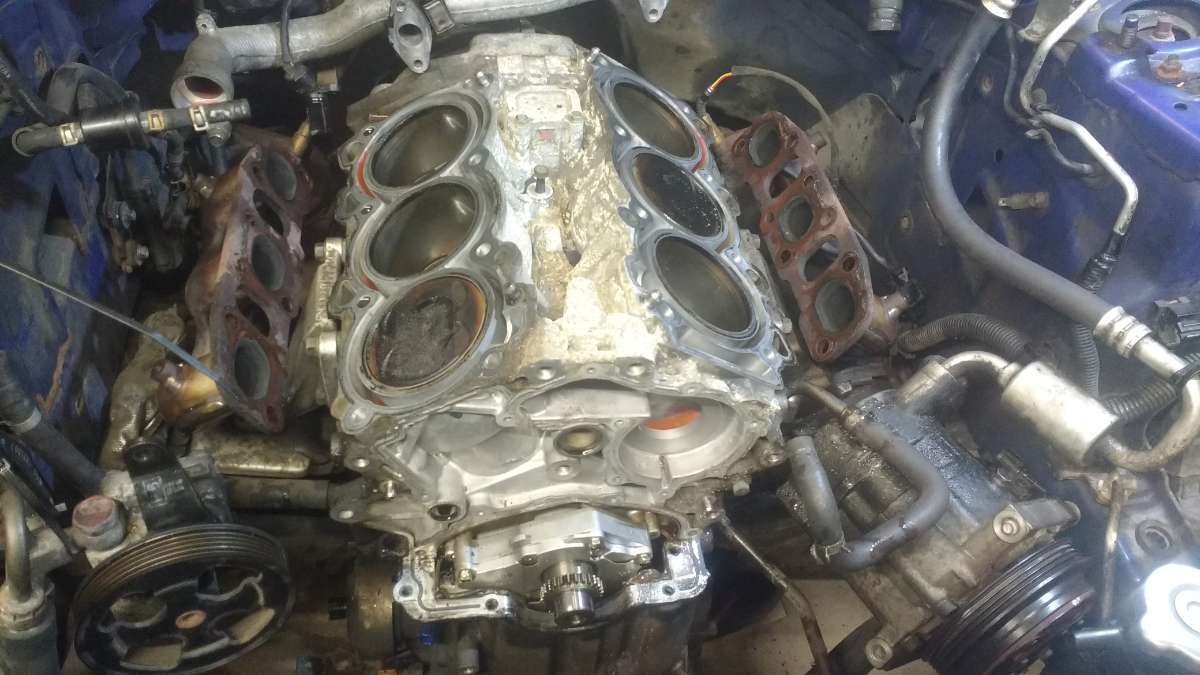
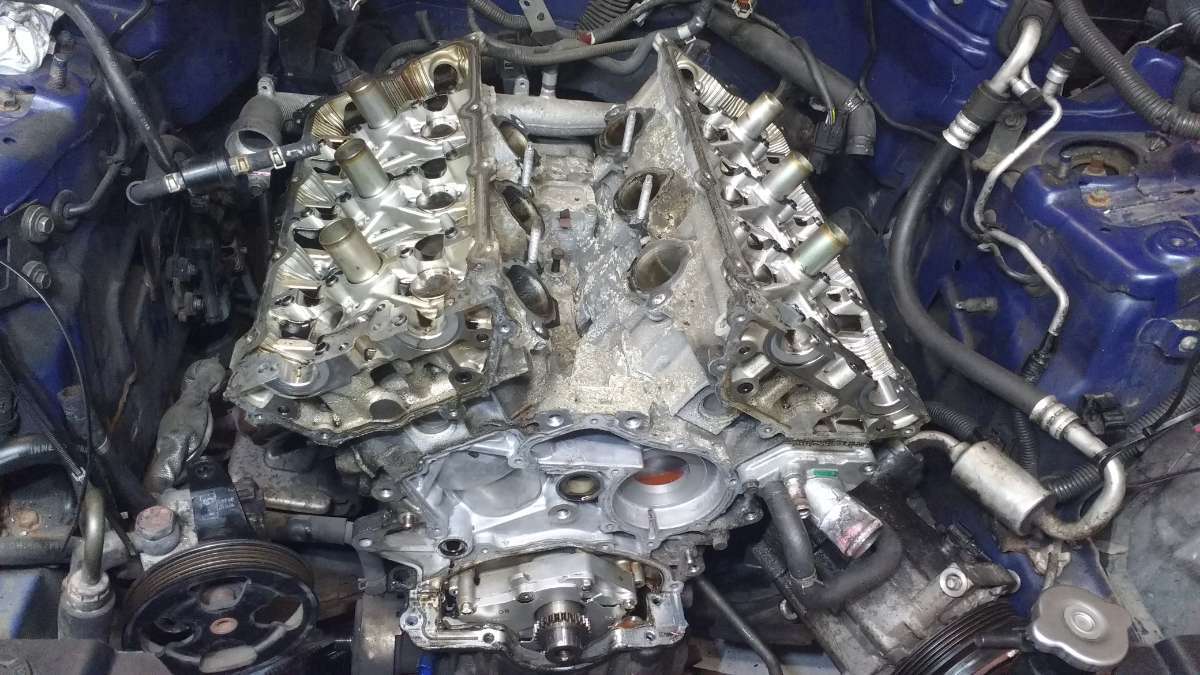
My heads are now off. I'll remove the valves, get them soda blasted and pressure test and skim the heads.
-
Ah, didn't see your previous post, glad it's nothing too serious then
-
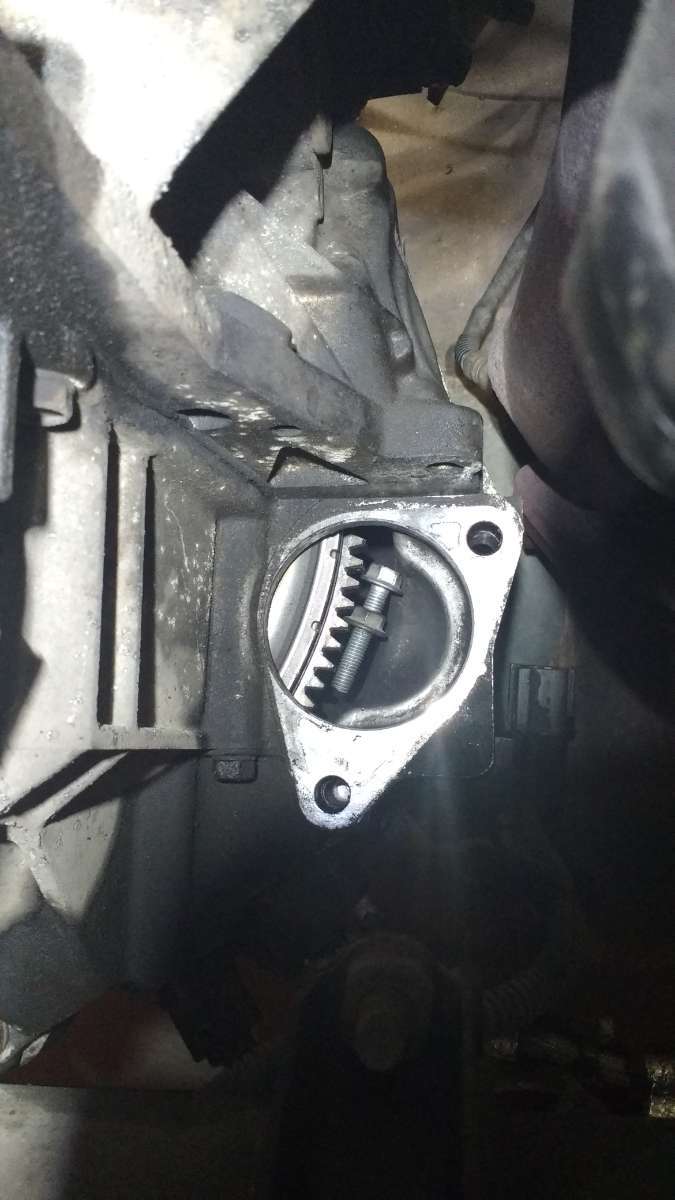
The oil pump is a gerator type and is fixed displacement. This means the volume of oil and it's pressure output is proportional to it's speed. So at low rpm it had minimum pressure. Obviously as cars get older the bearings wear allowing more pressurised oil to get past. It may be a sign the engine is coming to the end of its service life and needs a rebuild.
-
Just bought my first ever Japanese car.
Cosmic73 replied to Woodland's topic in Introductions & Welcome Messages
Very nice 🙂 -
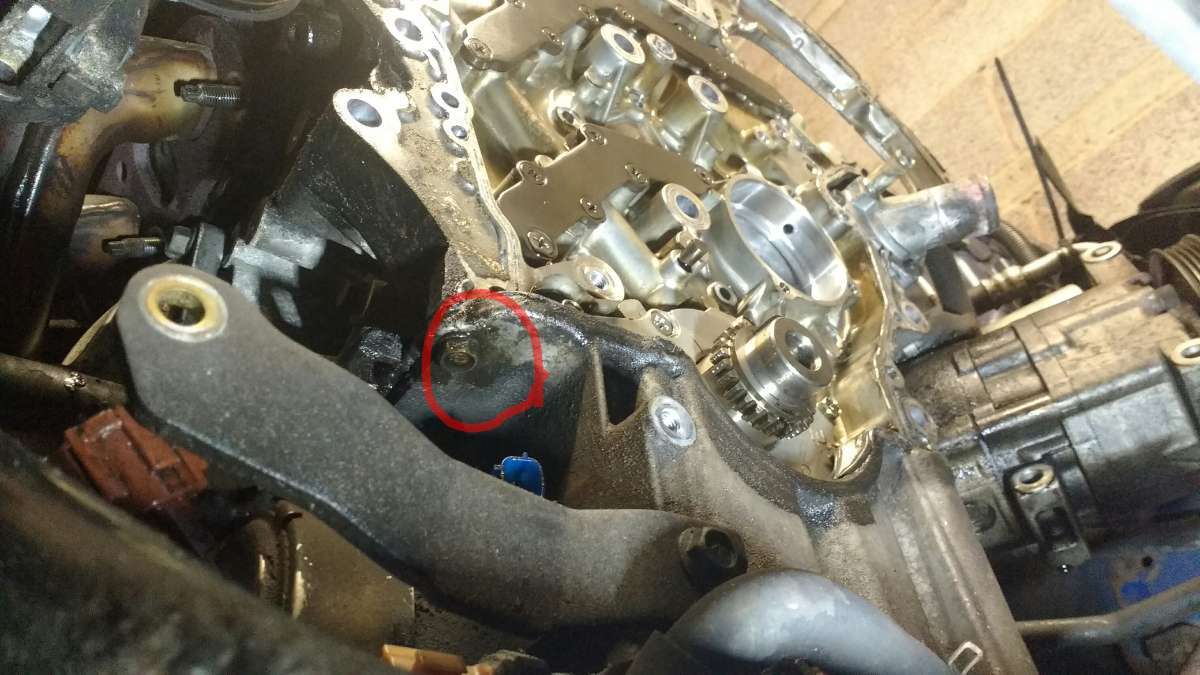
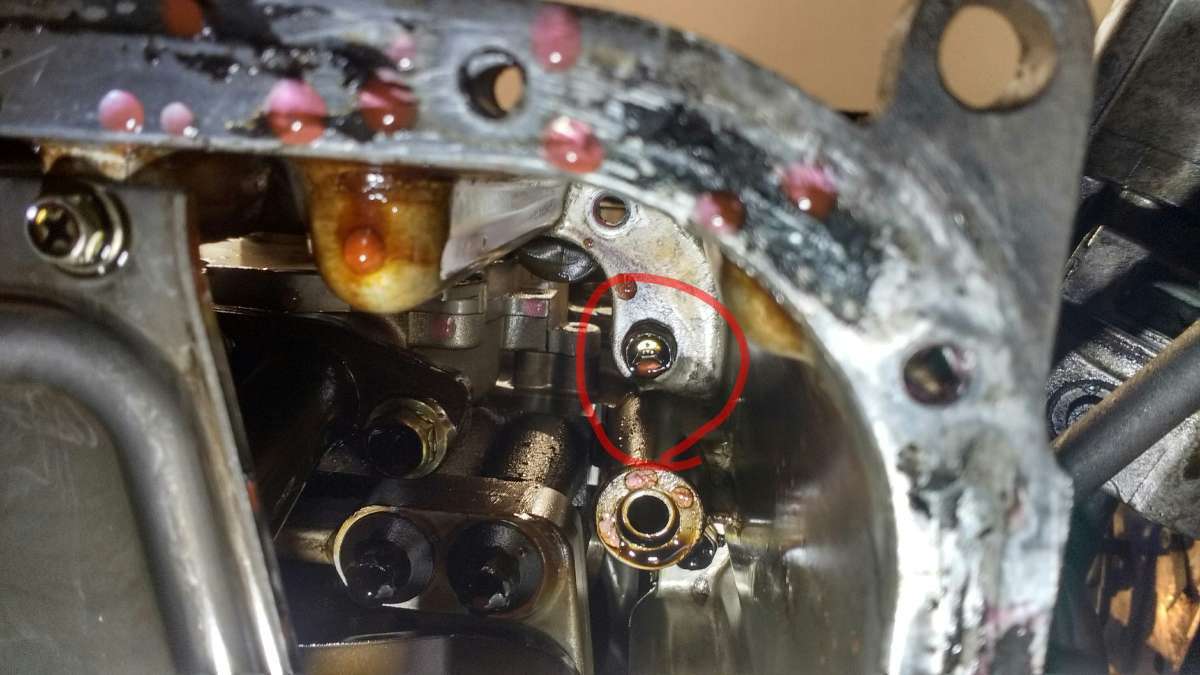
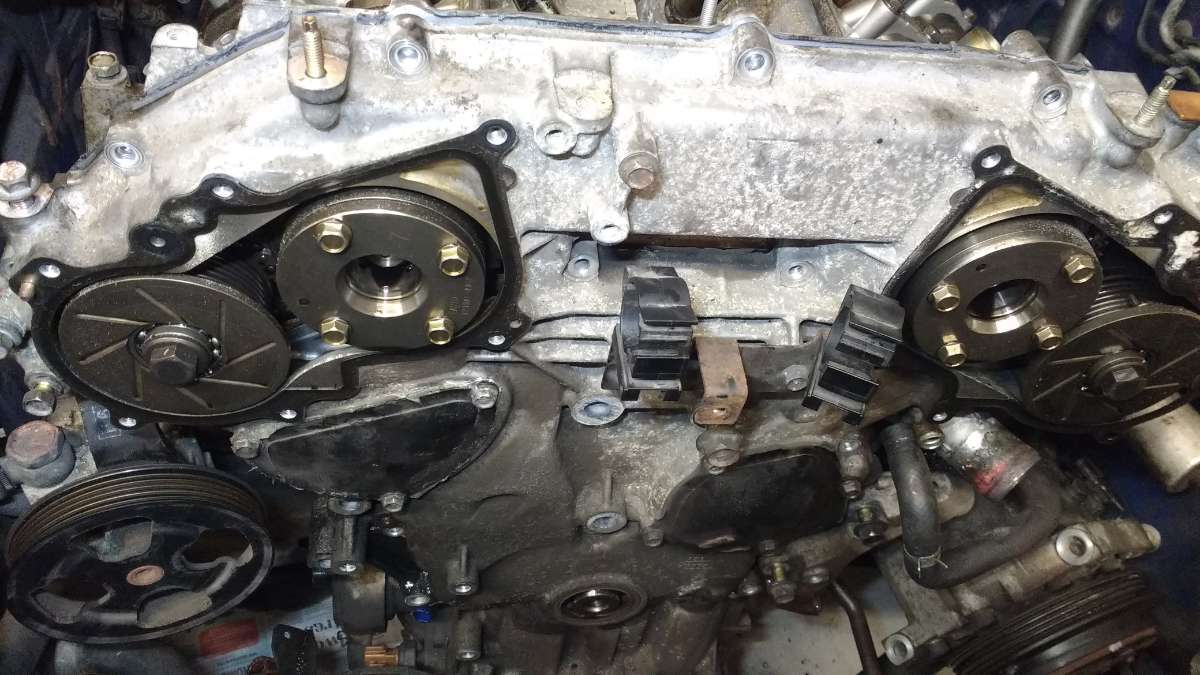
So far the work shop manual has been great. Very clear and easy to follow. However, I realised that you and remove the rear timing housing until you also remove 2 hidden bolts from under it. These aren't shown in the manual. One is here on the outside, And one is here in the sump, Then the rear housing came straight off!
-
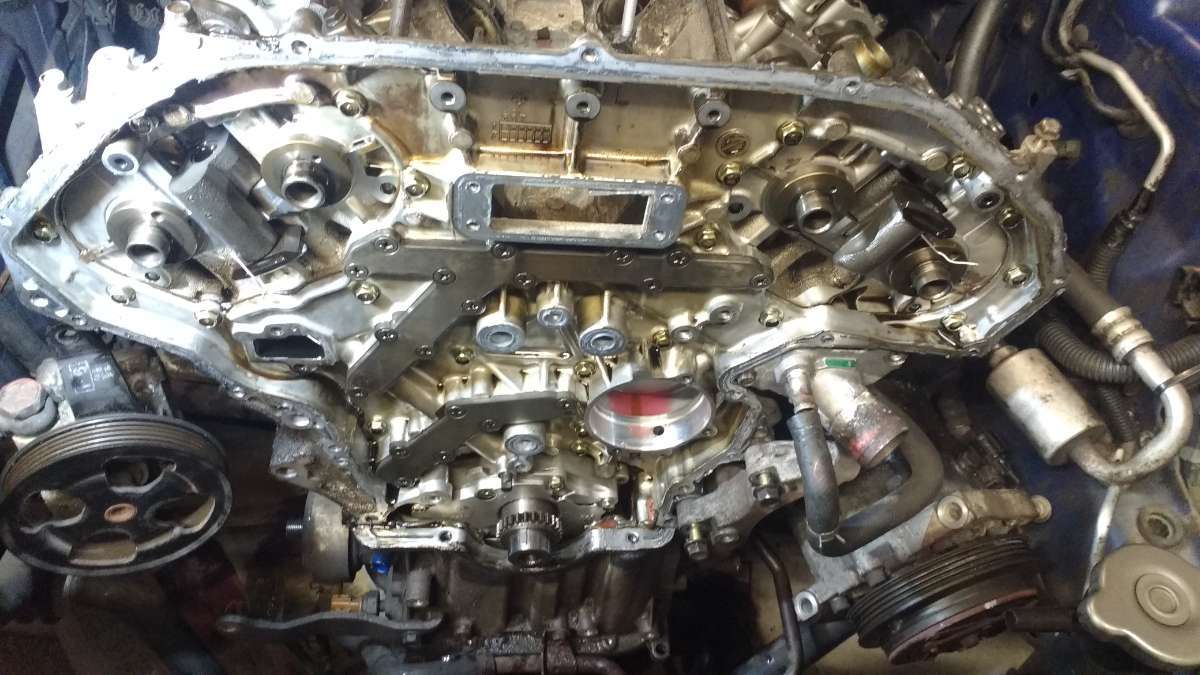
Timing housing is stuck fast so I reckon it's going to take a while to slice thro the joint. Been using a butter knife but I might try a feeler gauge tomorrow. However, cams etc are all removed.
-
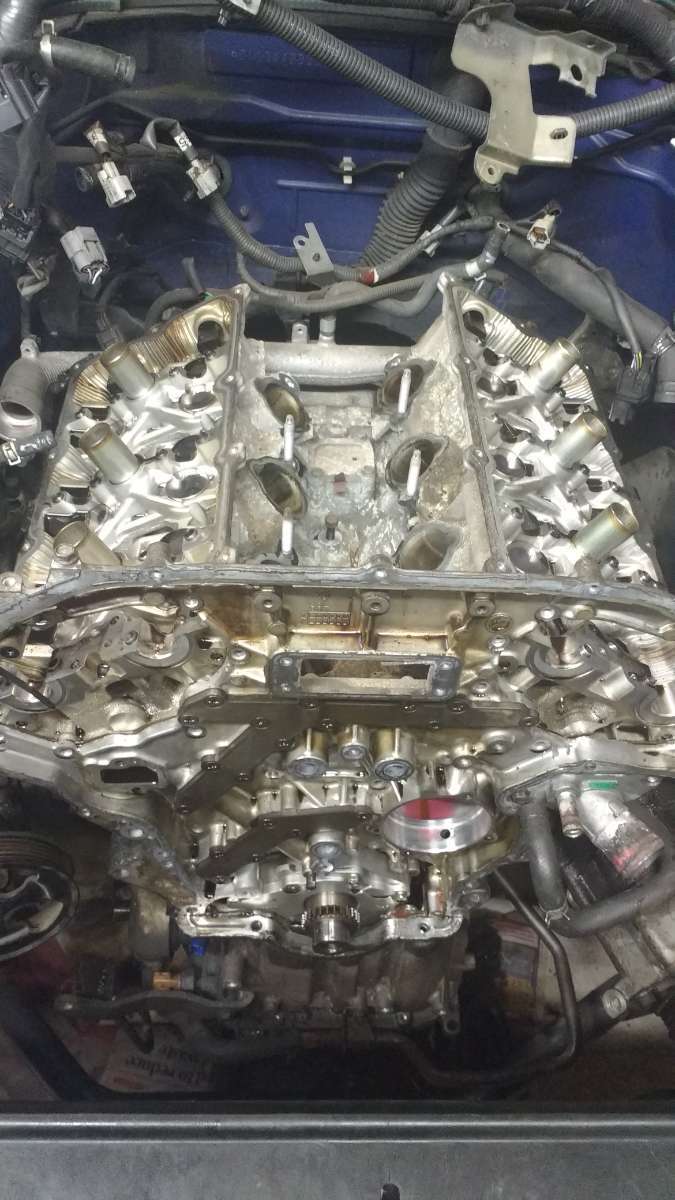
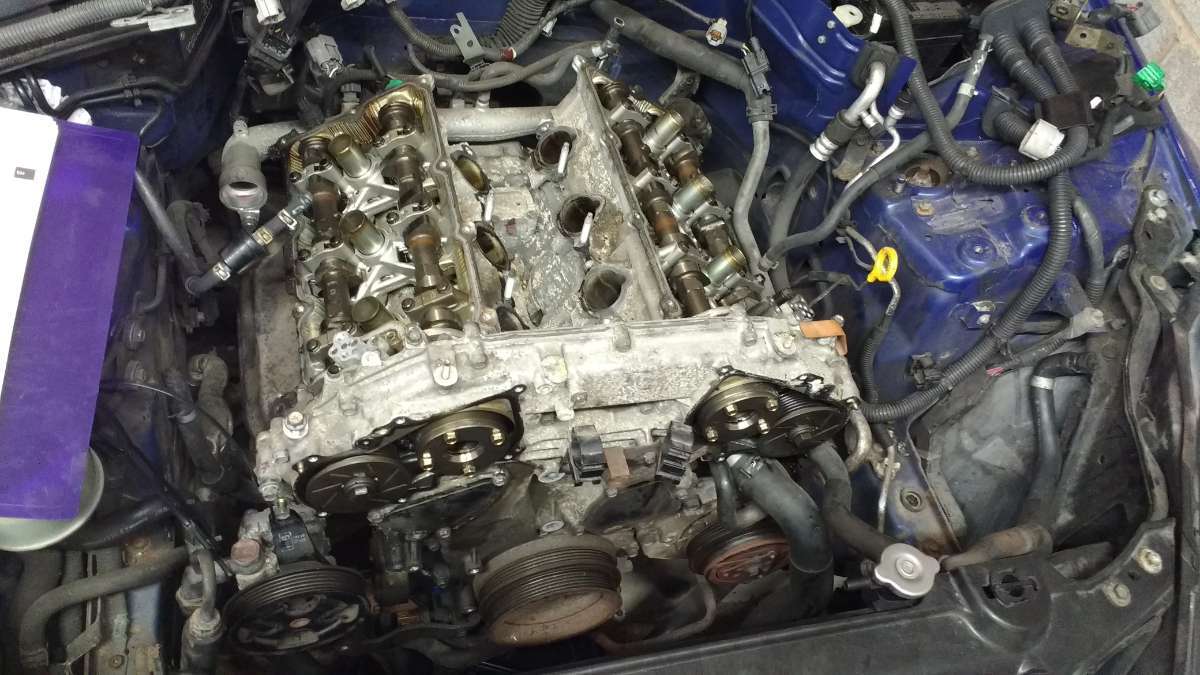
It's been raining all day which means i can spend a good day in the garage and it's been very productive. I've now removed the cam sprockets, chains and half way through removing the cam carriers. Tomorrow's job week be to remove the rear timing housing. 🙂
-
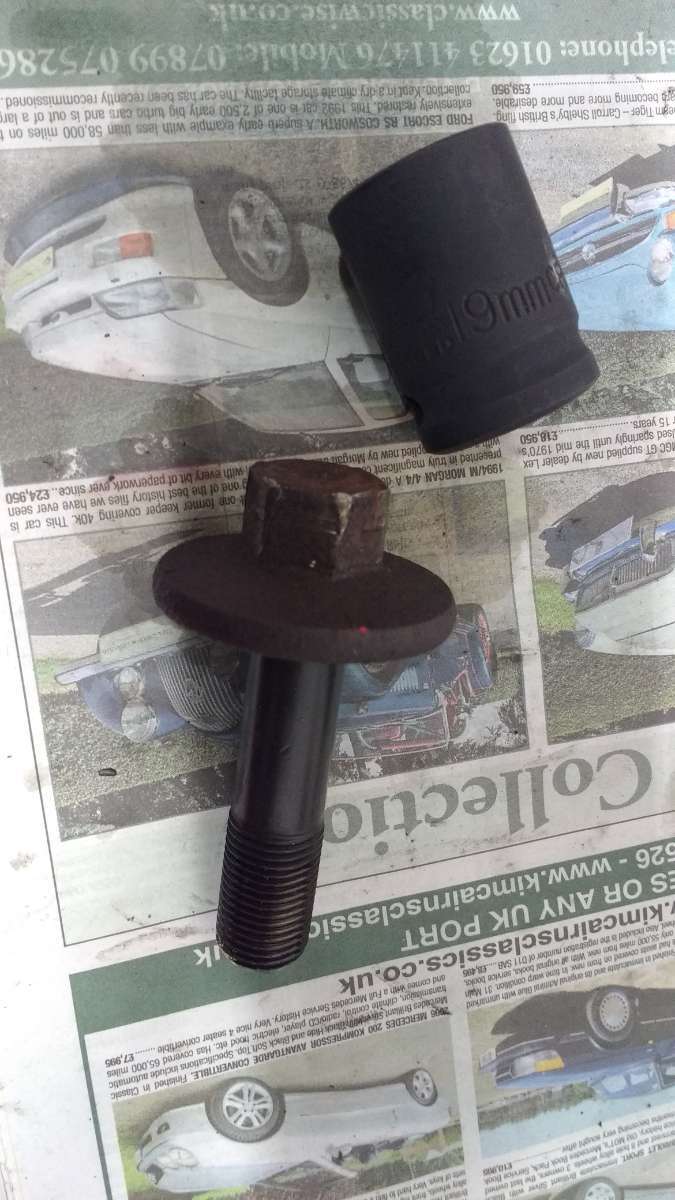
I bought an impact socket from Halfords and the crank bolt cracked straight off, happy days. I'm now struggling to get the front timing cover off, because the 2x steel dowels are too tight and rusted. I'll get some heat into them tomorrow and see if that loosens then up 🙂
-
This flywheel bolt is being a right pain. I managed to lock the flywheel using a nut and bolt; My 1m long bad boy breaker bar definitely provides enough leverage But the socket simply split open. I assume I need a much stronger impact type socket?
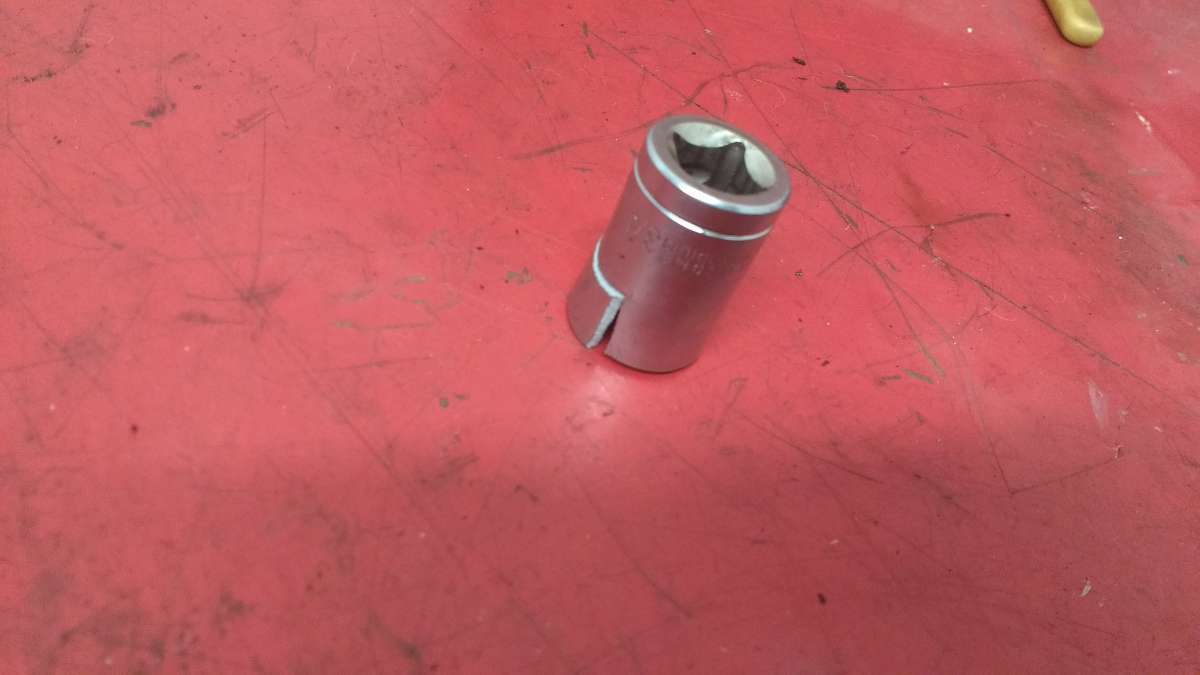
-
I would spray some seafoam into the air intake while the engine is running then take it on spirited drive to clear it out.
-
Yeah, it's too late to let the ignition do the work, but next time i'll remember to do that first I have removed the starter motor and jammed in a crow bar but the problem is; i just can't get enough leverage on my little 40cm bar. Yep, definitely agree about a good breaker bar. This 1m long beast I've ordered should shift it 😈
-
I've watched the video, it's just my breaker bar doesn't look as long as yours. Mine is only something like 40cm which is why i've ordered a 1m bar. 😈
-
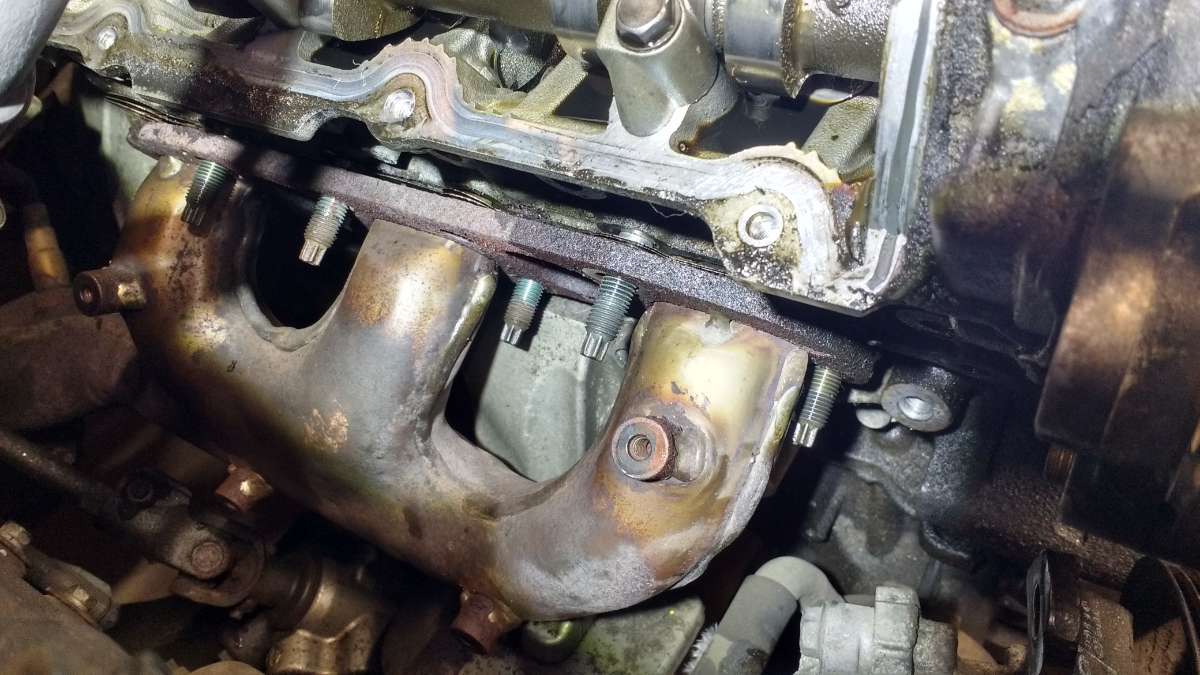
This weekend I tried to undo the crack bolt and it won't budge. Even after liberal amounts of wd40 and bouncing on the end of my breaker bar (I'm 15stone) it ain't moving. I've ordered a new 1000mm long breaker which is more than twice the length of my current one so I hope that bad boy does the job. In the meantime I've removed the heat shields which was a pig of a job. 3 screws rounded their heads so I had to use moler grips. I've also undone all the exhaust manifold nuts ready for the heads to come off.
-
This evening I removed the rocker covers and timing chain covers, yah,
-
Thanks Dave, I really enjoyed the vid. My current pulley is well rusted (as are the idlers etc) so I'll be looking to replace the whole lot
-
Is that a universal can or custom made for the Z? How much was it if you don't mind me asking?

