-
Posts
160 -
Joined
-
Last visited
Location
-
Location
Brighton, West Sussex
Recent Profile Visitors
6,783 profile views
polaris's Achievements

Z Dedicated (3/7)
108
Reputation
-
Hi, does anyone know the part number for the fuel injector wiring harness for a 2006 350Z Rev-Up? TORQEN and a few other sites list it as 24079-CD000 but both amayama and Nissan Parts Deal have it down as 24079-AL610. I'd appreciate if someone could explain what the difference is between the two are rather than just replying with a part number I was told on Facebook that the part numbers correspond to the following dates: 24079-AL610 - 2003/07 —> 2004/08 24079-CD000 - 2004/08 —> 2007/01 24079-JL00A - 2007/01 —> 2008 However, Nissan Parts Deal shows: 24079-CD000 - 06/2002 —> 08/2005 24079-AL610 - 08/2005 —> 11/2006 Who do I believe? Cheers
-

Pilgrim Motorsport, 19th May, West Sussex
polaris replied to Loadmaster's topic in Local Meets Across The UK
Cool, I might see you down there then. Weather looks decent so hopefully it holds -

Pilgrim Motorsport, 19th May, West Sussex
polaris replied to Loadmaster's topic in Local Meets Across The UK
Are you going mate? I'm only in Upper Beeding so it's really local, trying to get my friend to come along as well -
I just dug out the original email he sent me, and yeah, he has put his prices up. Still worth it though. Original Email
-
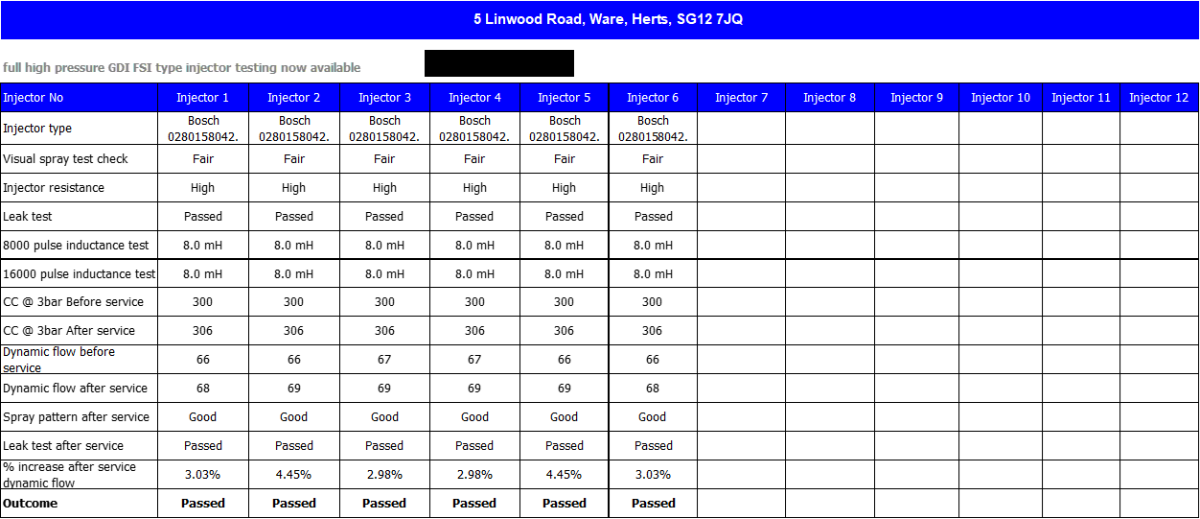
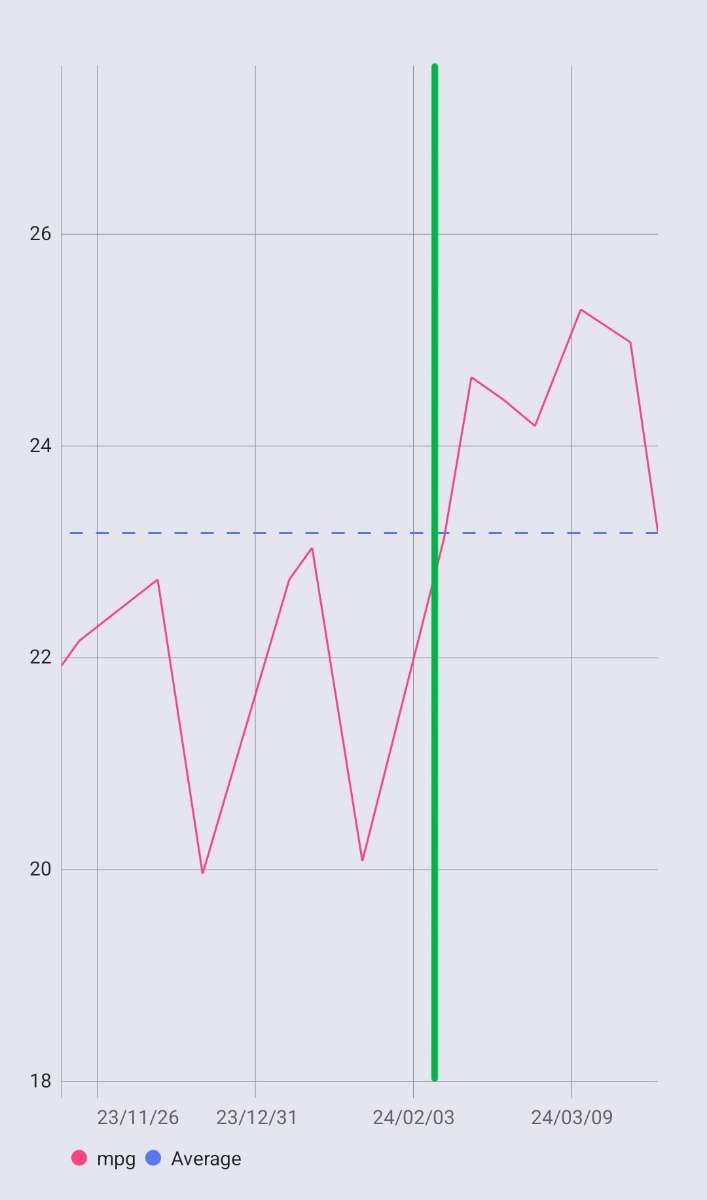
I forgot to mention the results of having the fuel injectors cleaned, which a few people might find interesting. I used Mr Injector UK at a cost of £141.48 (incl. delivery) for all six injectors. Fuel Injector Service Report As you can see, they were in pretty good shape to start with. However, there's been a noticeable improvement in fuel economy. I know correlation doesn't imply causation but I think it's valid to say in this case. The last six fill-ups have all shown above-average MPG. The green line is when they were cleaned. Fuelio
-
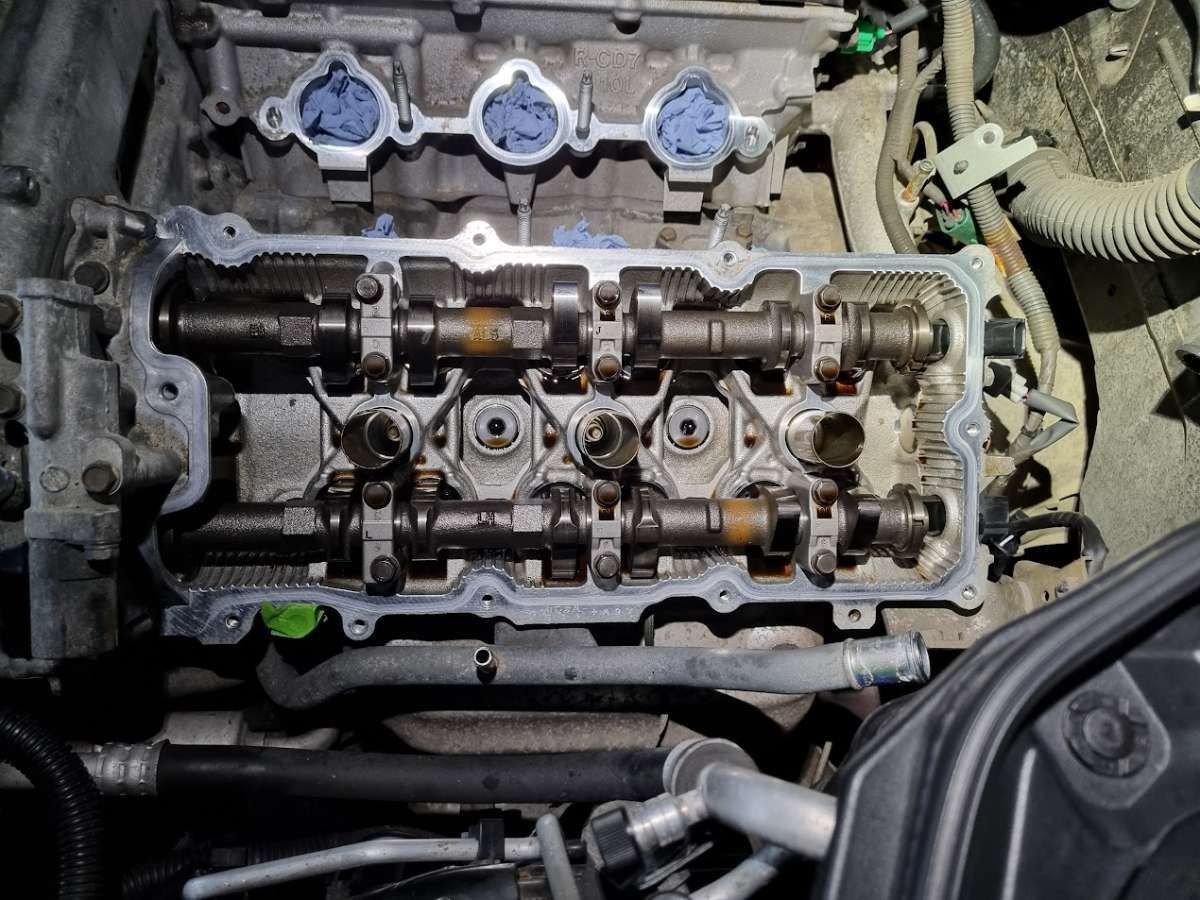
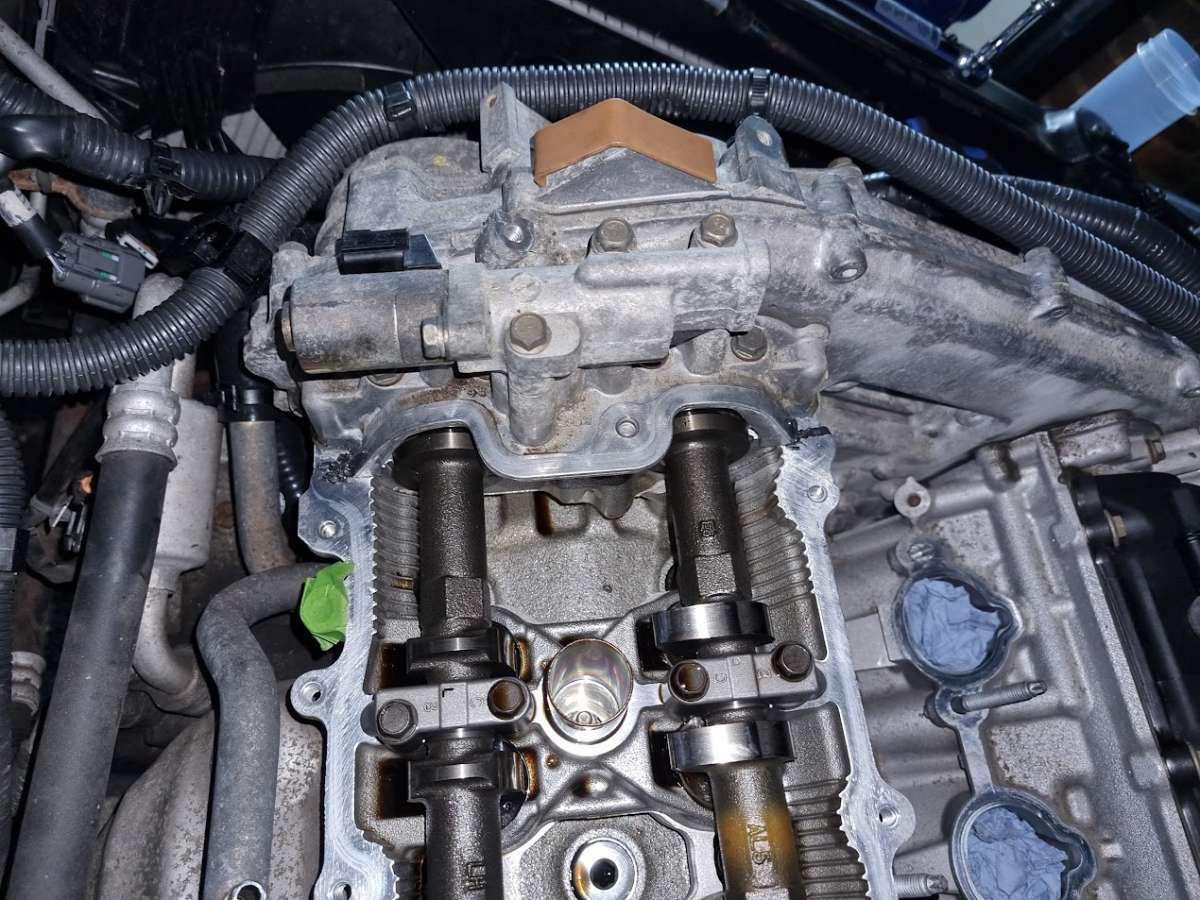
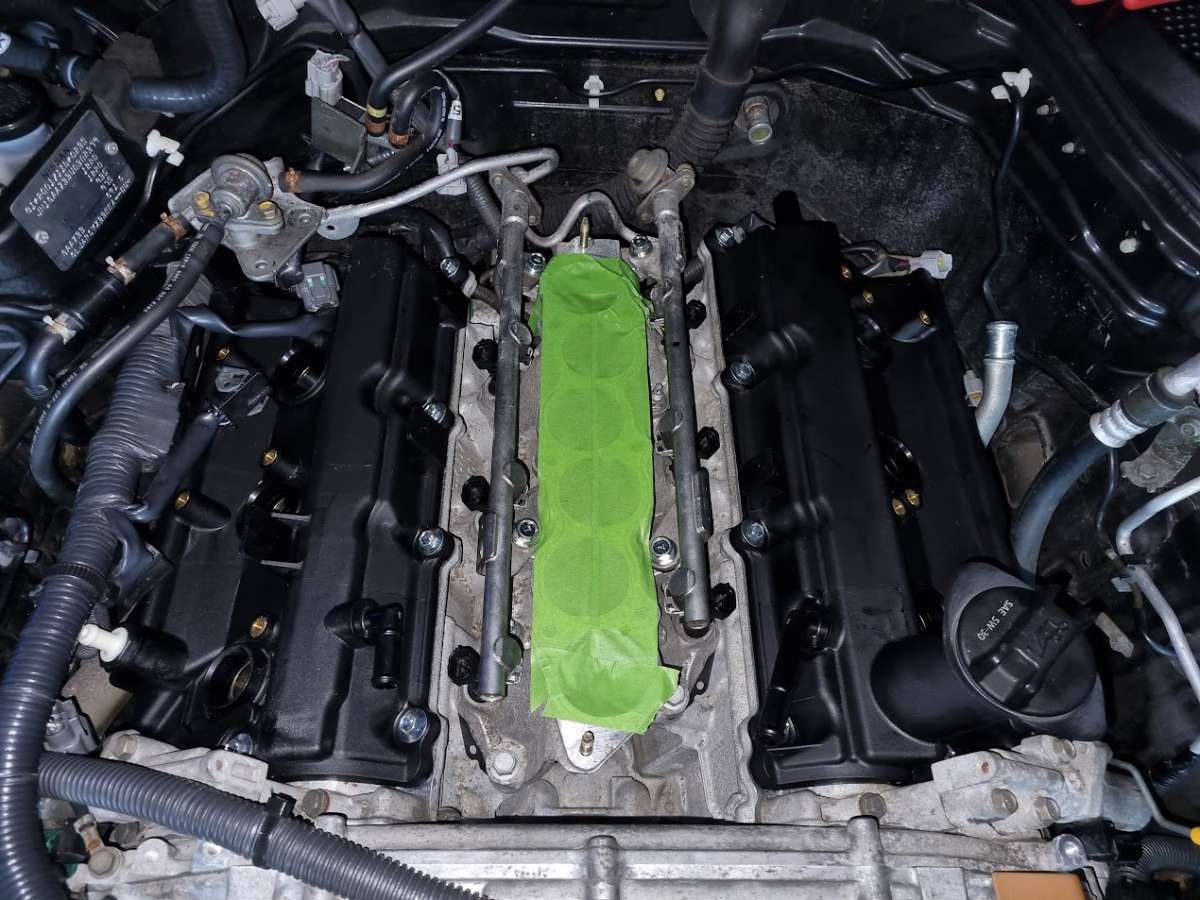
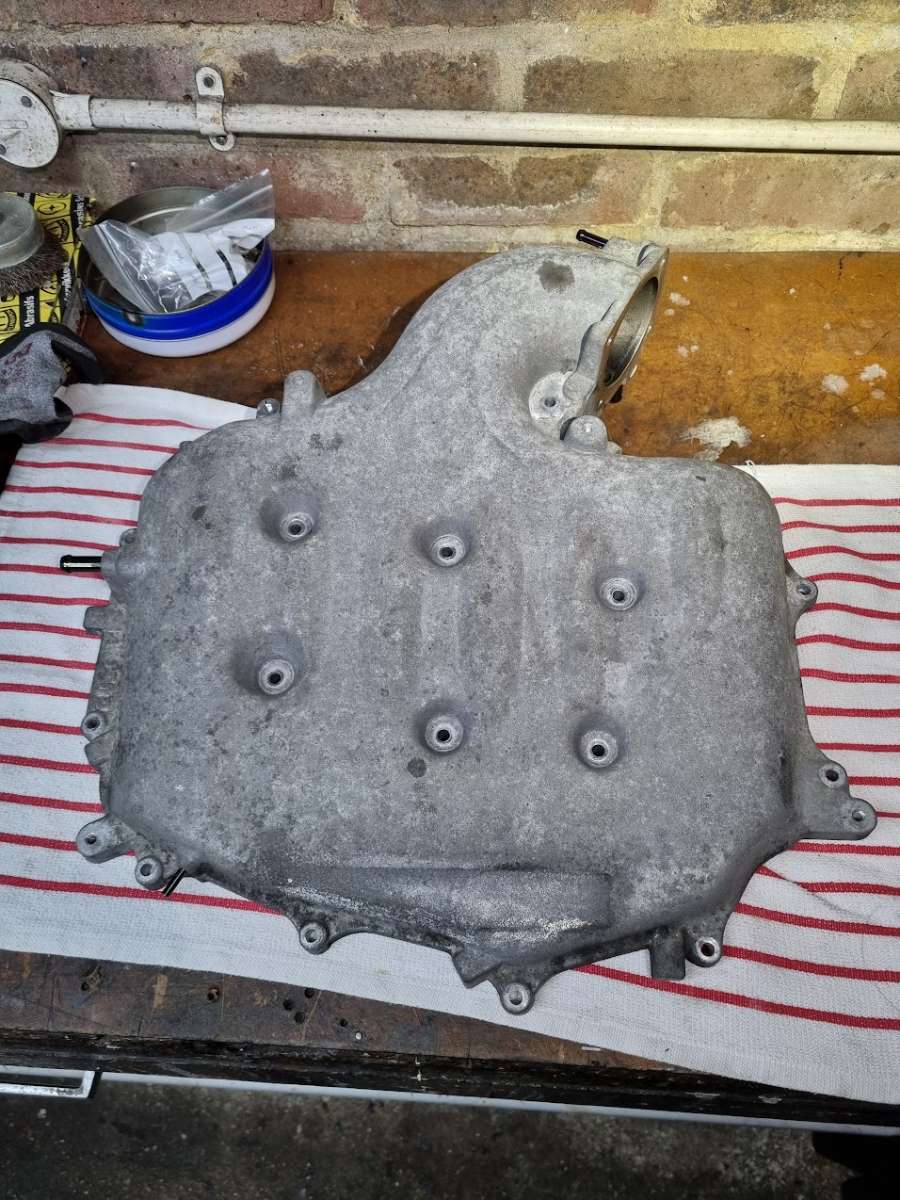
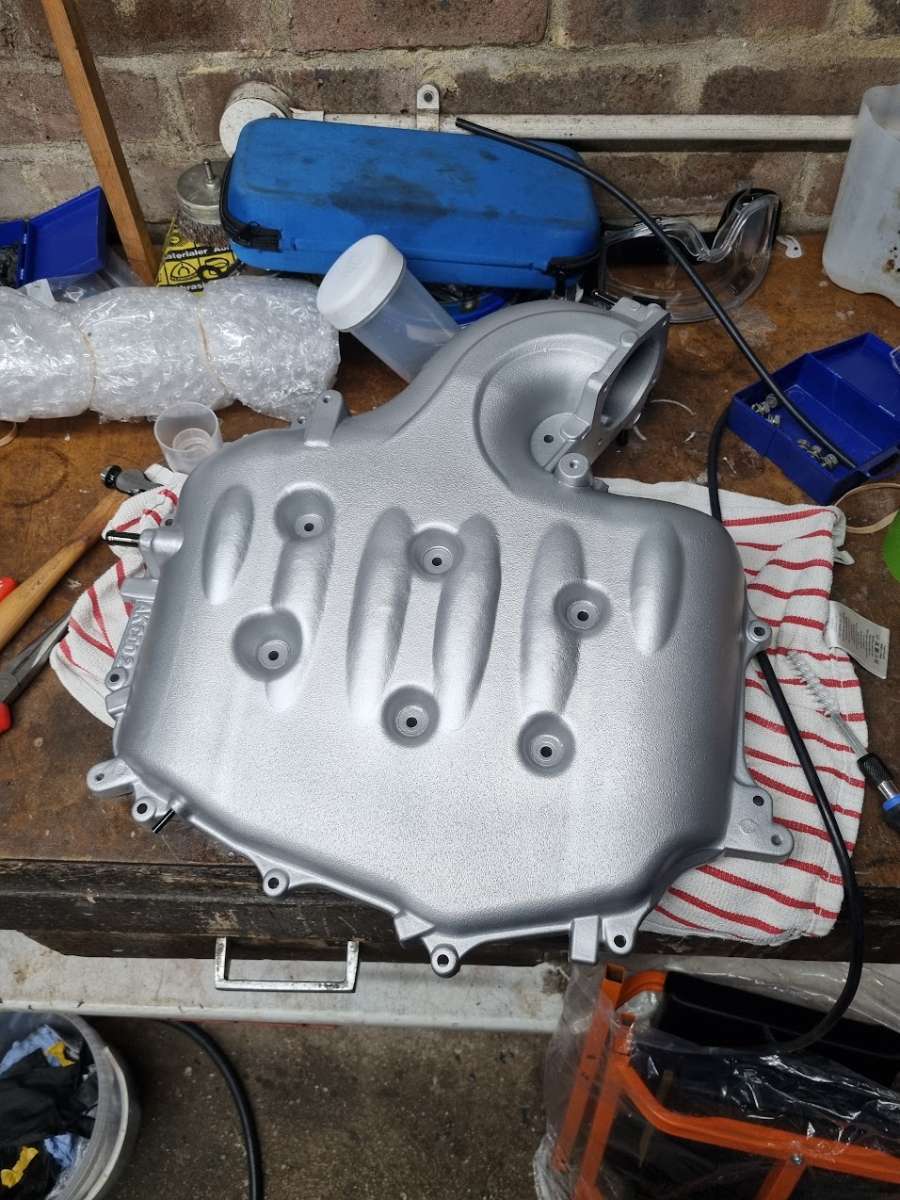
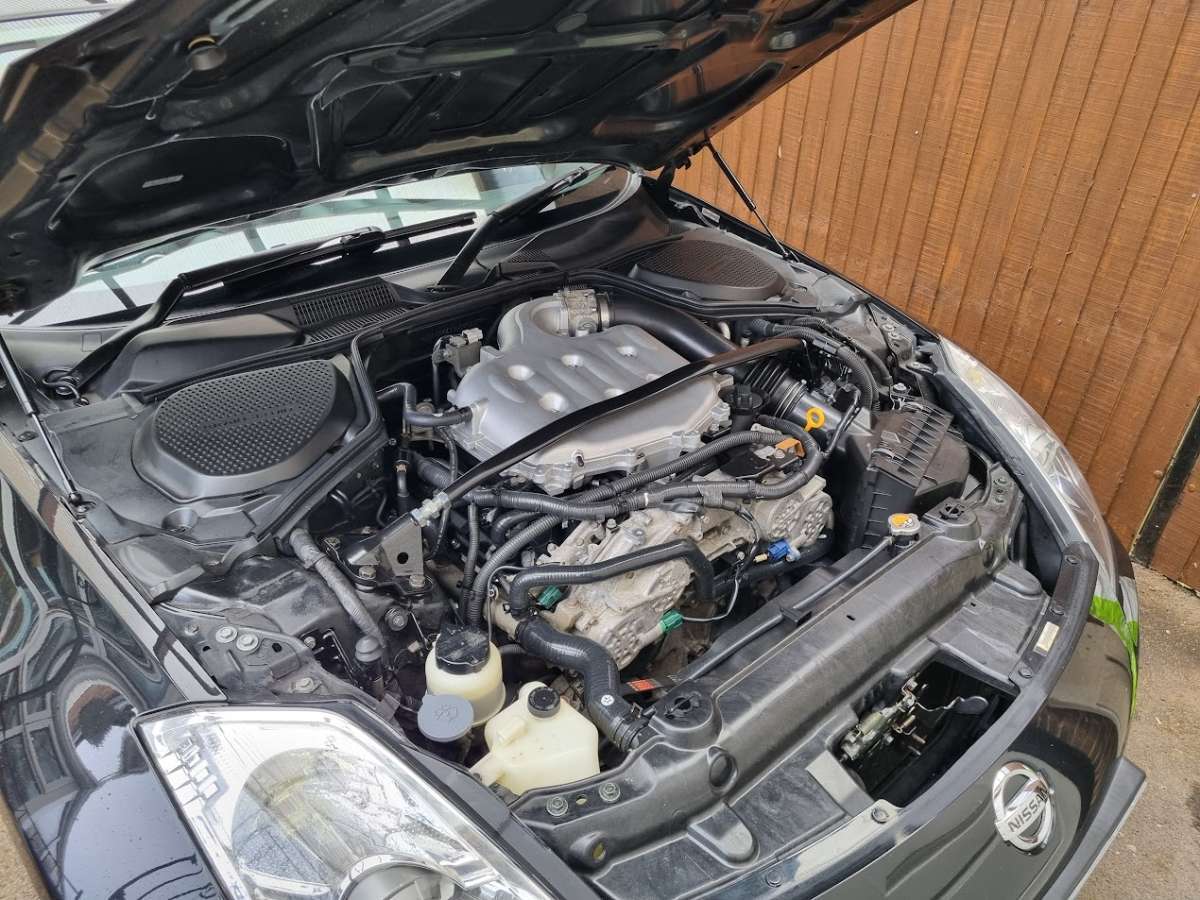
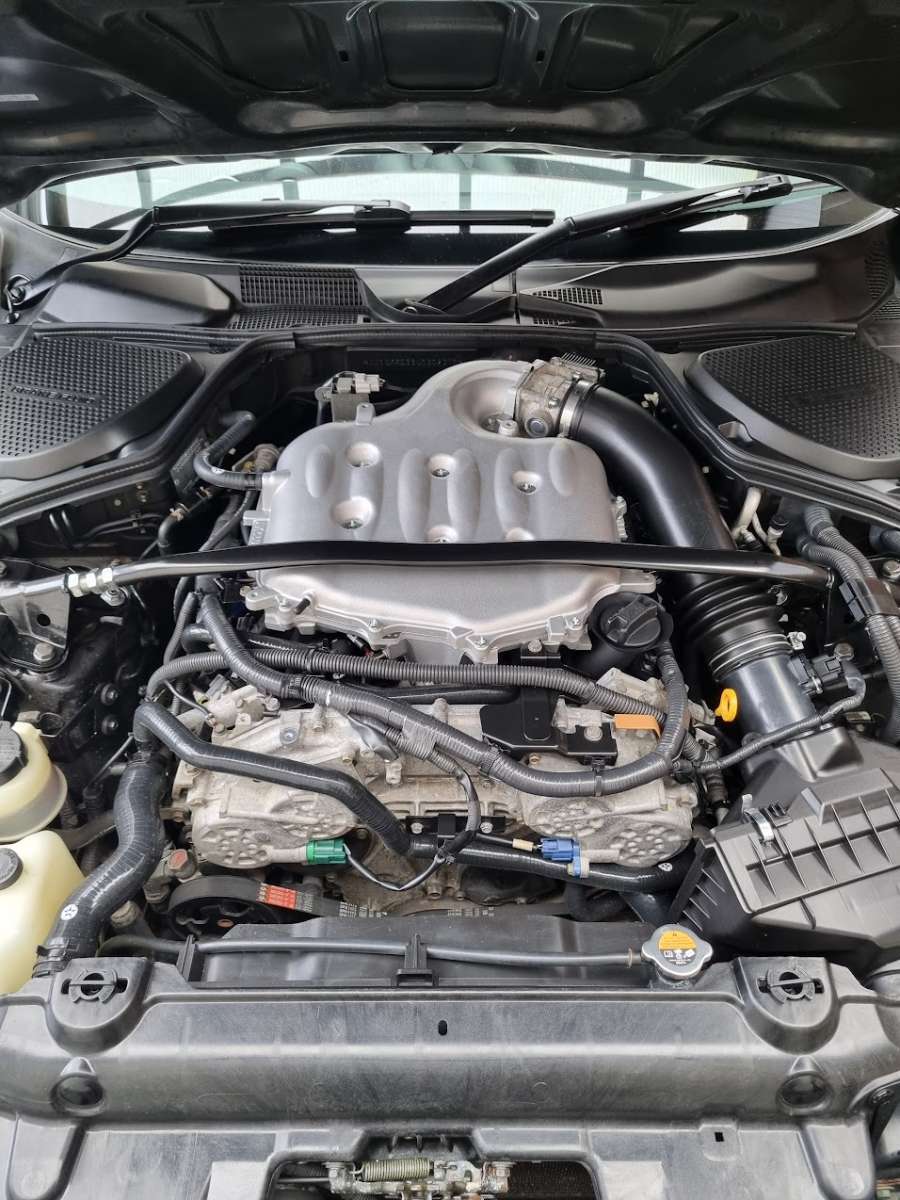
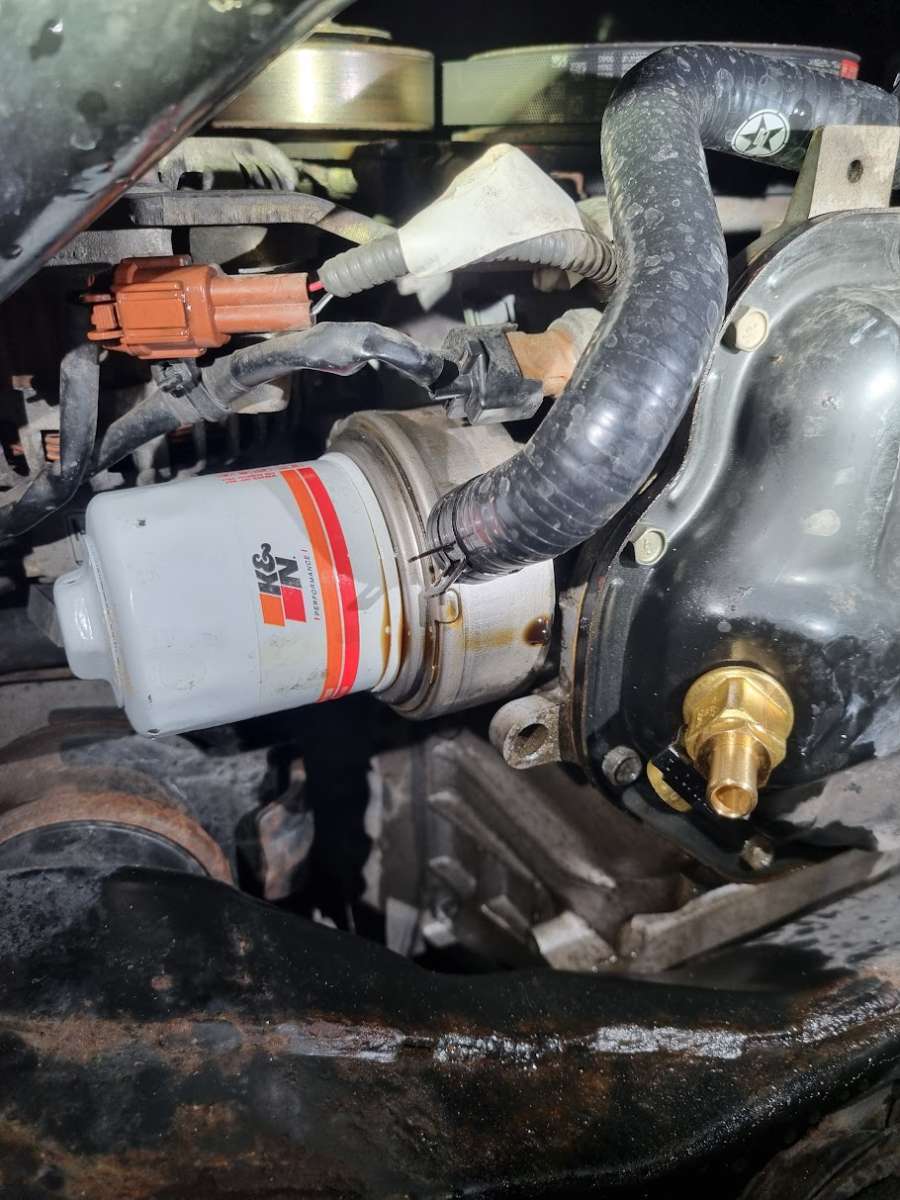
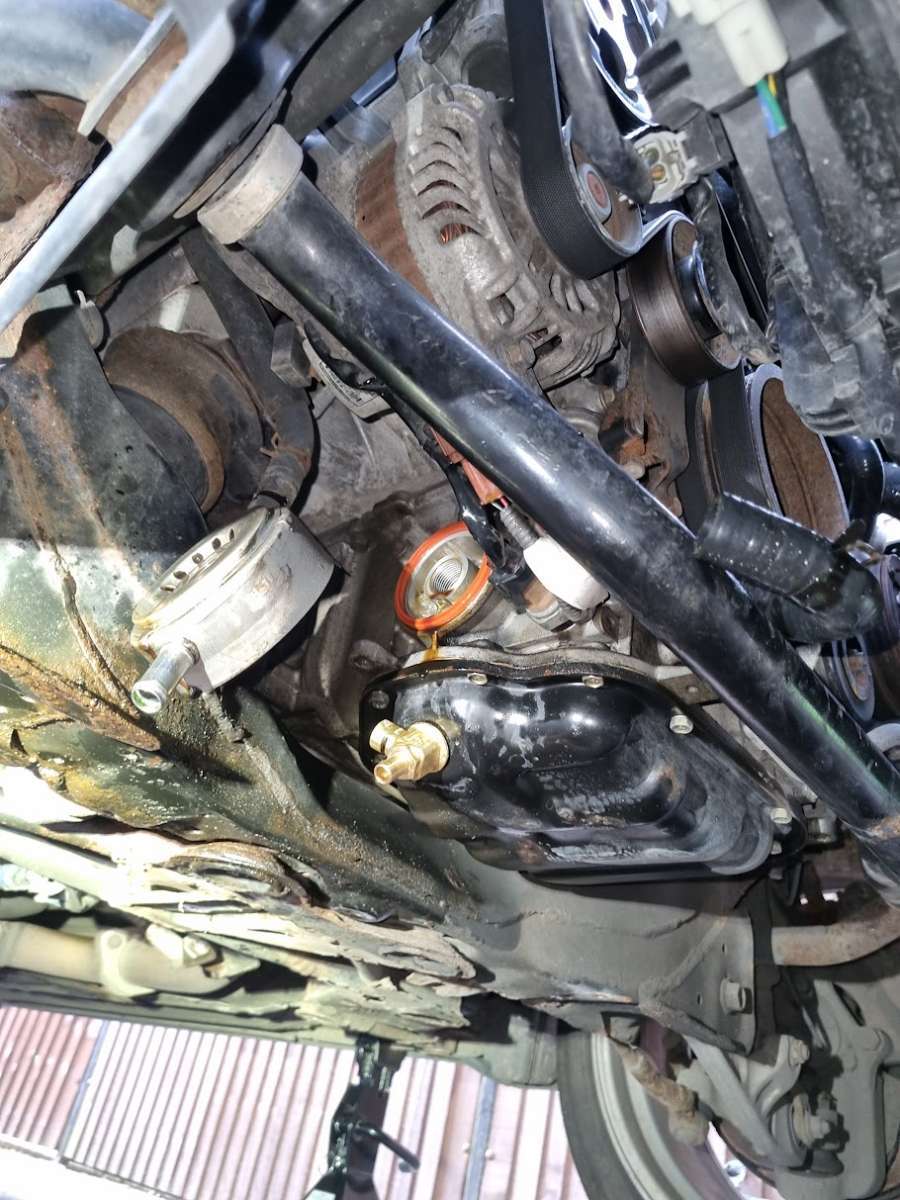
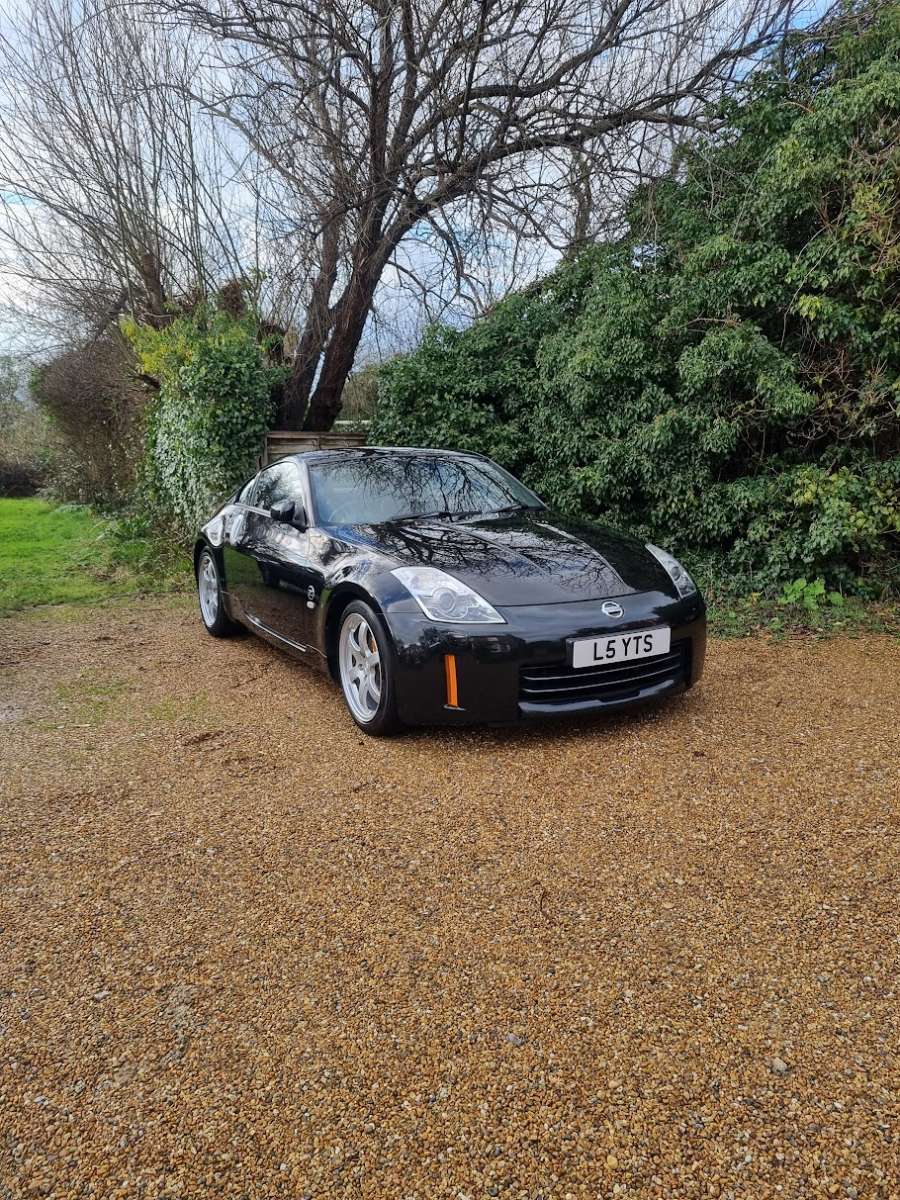
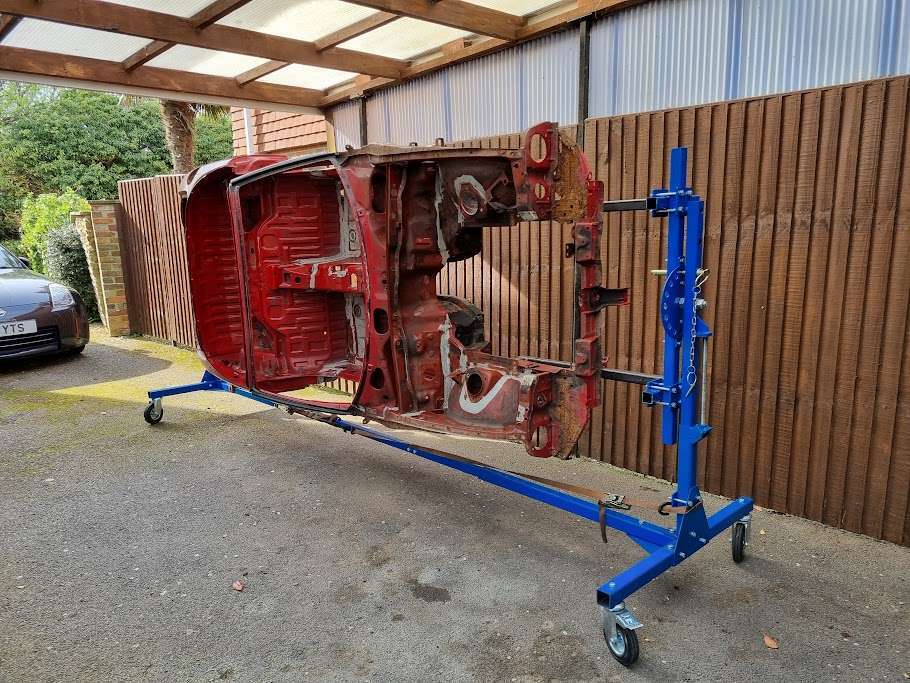
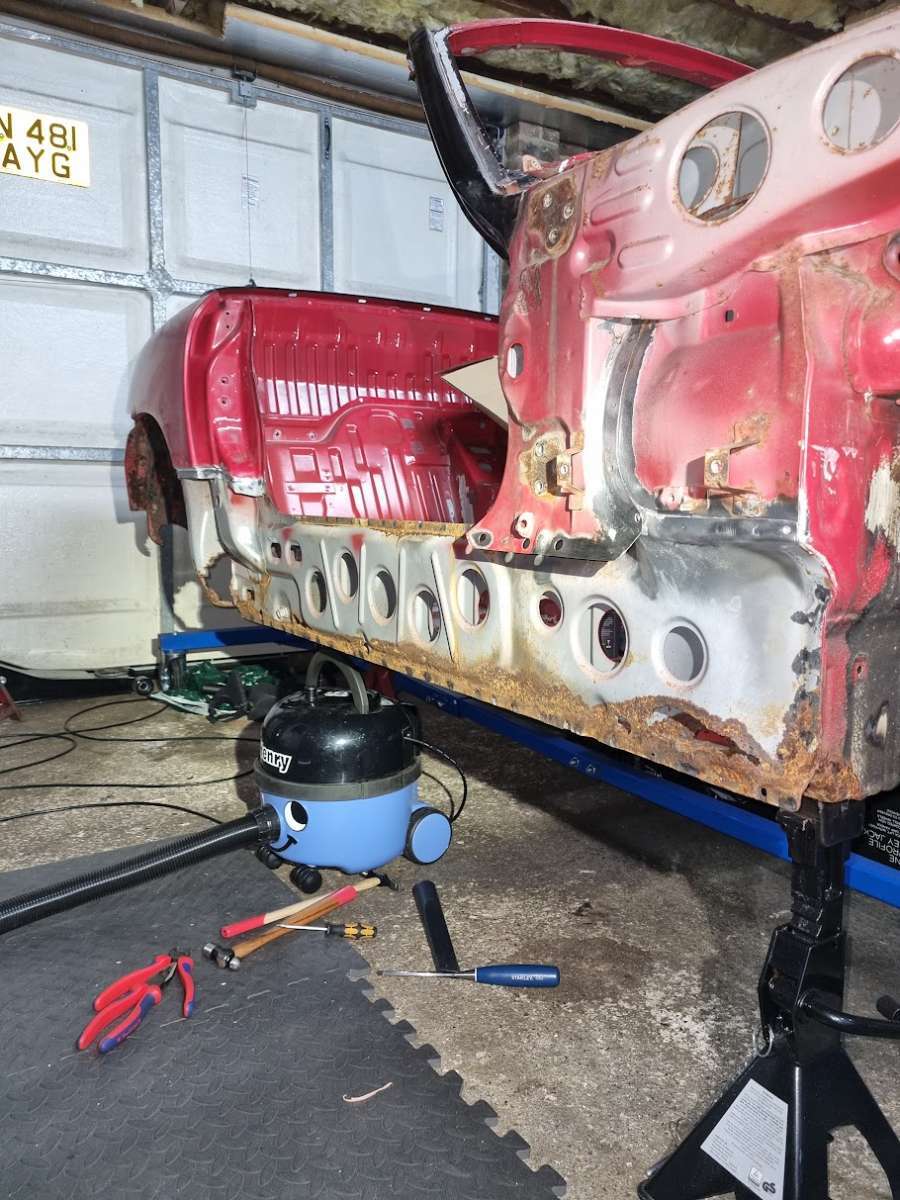
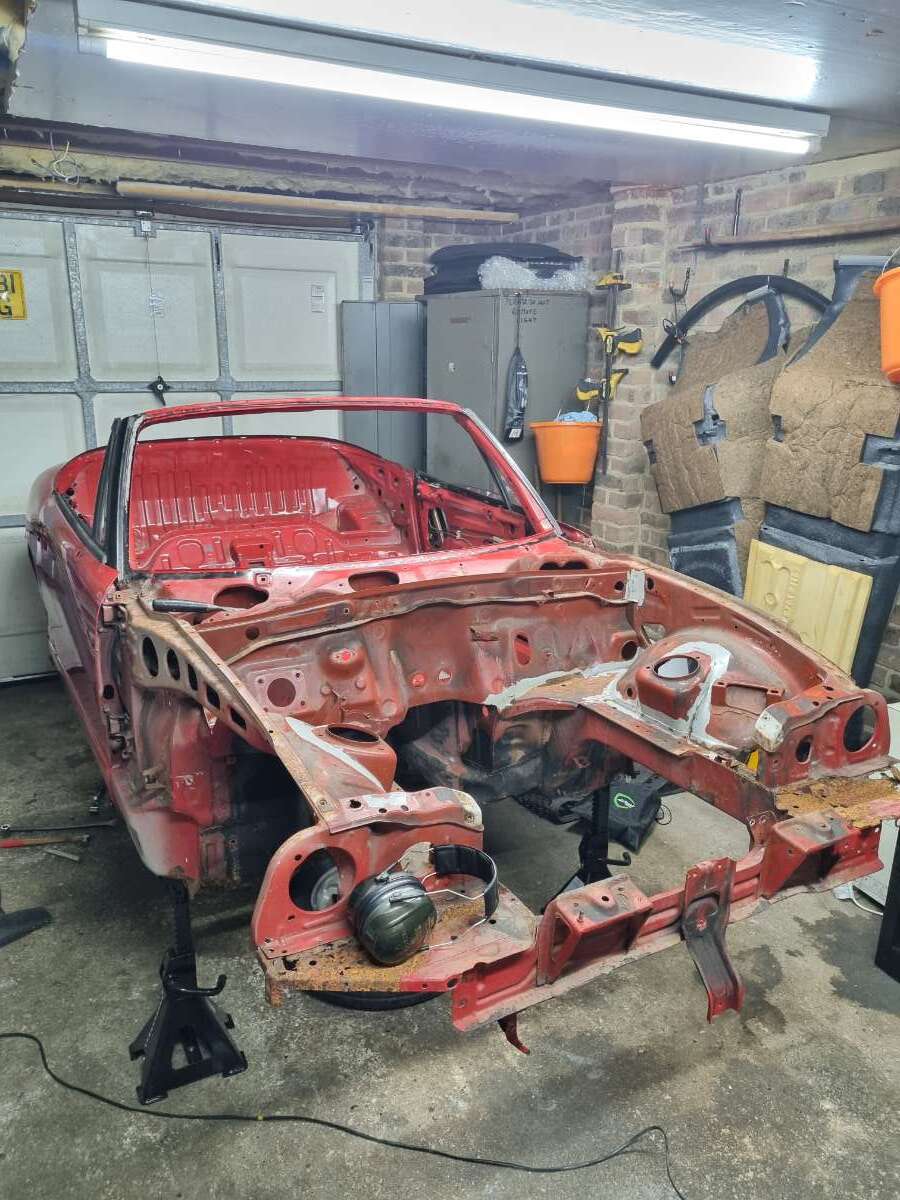
My bad, I've been slacking. I've had my hands full with this restoration and the dreaded work. I finished the valve cover job in the end and completed everything else I set out to do. The cams on both sides looked spotless and I couldn't see any wear on the lobes. I must've spent the good side of two hours cleaning all of the surfaces before putting the new valve covers on. All of the parts used were Nissan OEM direct from Japan. It's been over two months now since I did this job and it seems to have fixed the oil leak. D/S Cams A small pea-sized amount of Permatex RTV in the corners like the FSM states. New Valve Covers On Upper Plenum: Before Upper Plenum: After It was vapour blasted if anyone wants to know. I applied XCP Rust Blocker Clear Coat so it should stay nice and shiny for years to come. Separately, I had the strut bar and all of those small brackets (incl. PS reservoir and coolant tank) around the engine bay powder coated. Engine Bay I forgot to mention that I also replaced all of the old hoses with silicone hoses. The two hoses for the heater core were absolutely welded on! I had to break out the scalpel and use plenty of elbow grease. I also had a small oil leak around the oil cooler after a routine service using Castrol 5W-30 and a K&N oil filter (HP-1008). I followed the usual steps: primed the filter, applied a bit of new engine oil to the gasket and torqued to spec, so I'm not sure why it started leaking. Oil Leak I thought it might've been the oil cooler gasket so I replaced that. The photo is pre-replacement. Oil Cooler Gasket However, that still didn't fix it. In the end, I just bought a new Nissan OEM oil filter from eBay and put that on, which sorted it immediately. I can't say I'll be in a rush to buy another K&N filter anytime soon. Bonus Photo It's been over two years now since I bought my Z. Worth every penny... Now, for the Cappuccino... The Kebab Hopefully, it's heading off for sandblasting, welding and paint later this month but getting everything organised and lined up is proving to be difficult. I also removed the rotten sills as it just made sense to do it before it went in for sandblasting. There is an Instagram account I created to document the full restoration. Feel free to follow along at @thesuzukicappuccino.
-
Coolant leaking into the spark plugs? I've never heard someone have that issue before with a 350Z. Are you sure you don't mean oil? There's loads of posts about it I've got brand new OEM Nissan valve covers and gaskets ready to go on so hopefully that'll fix it
-
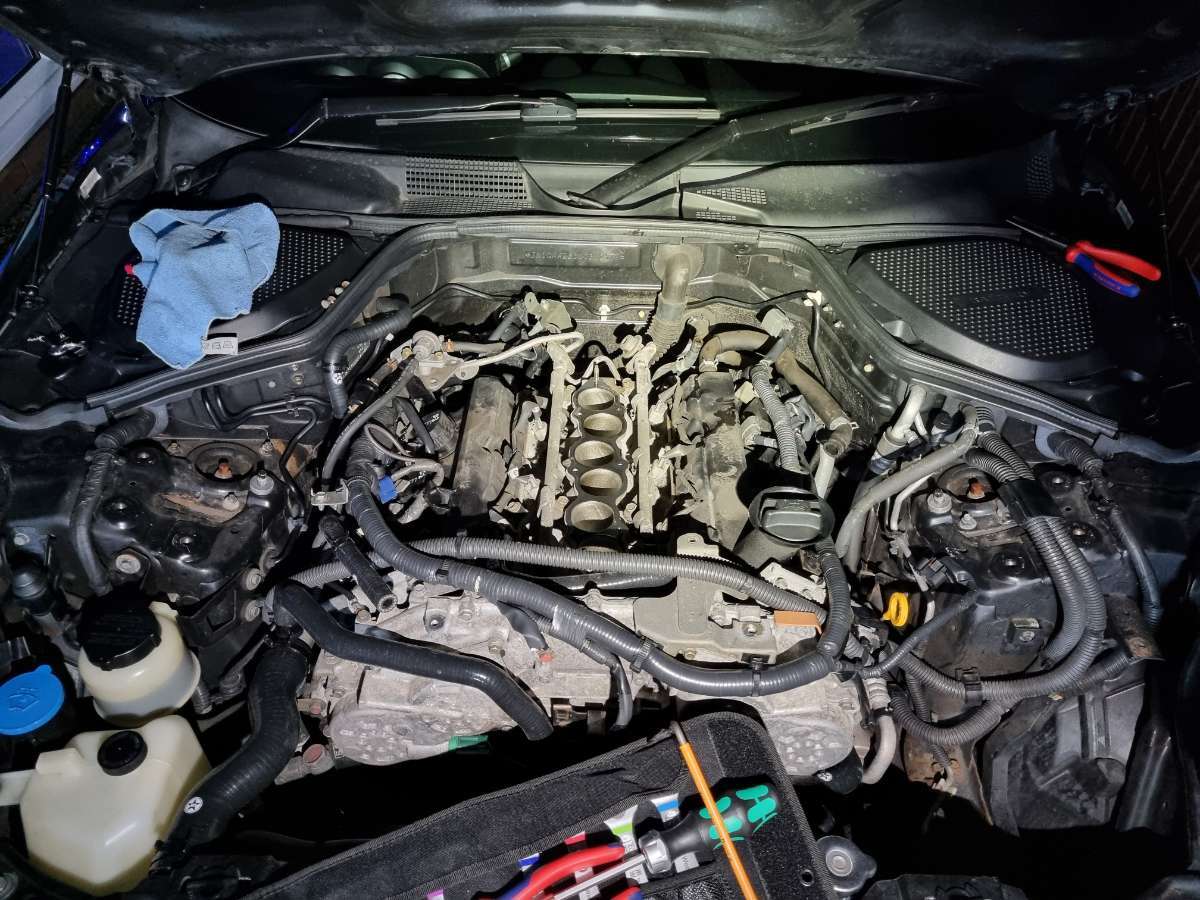
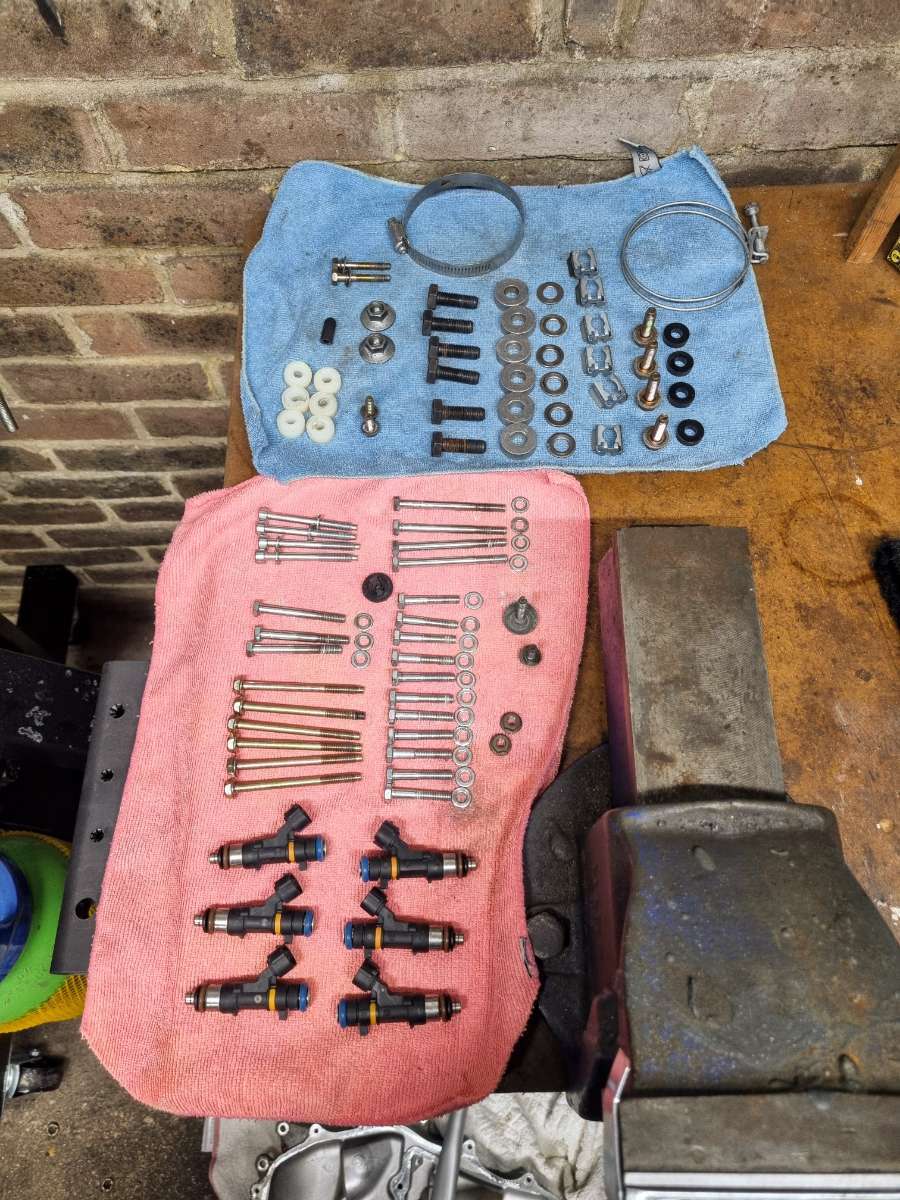
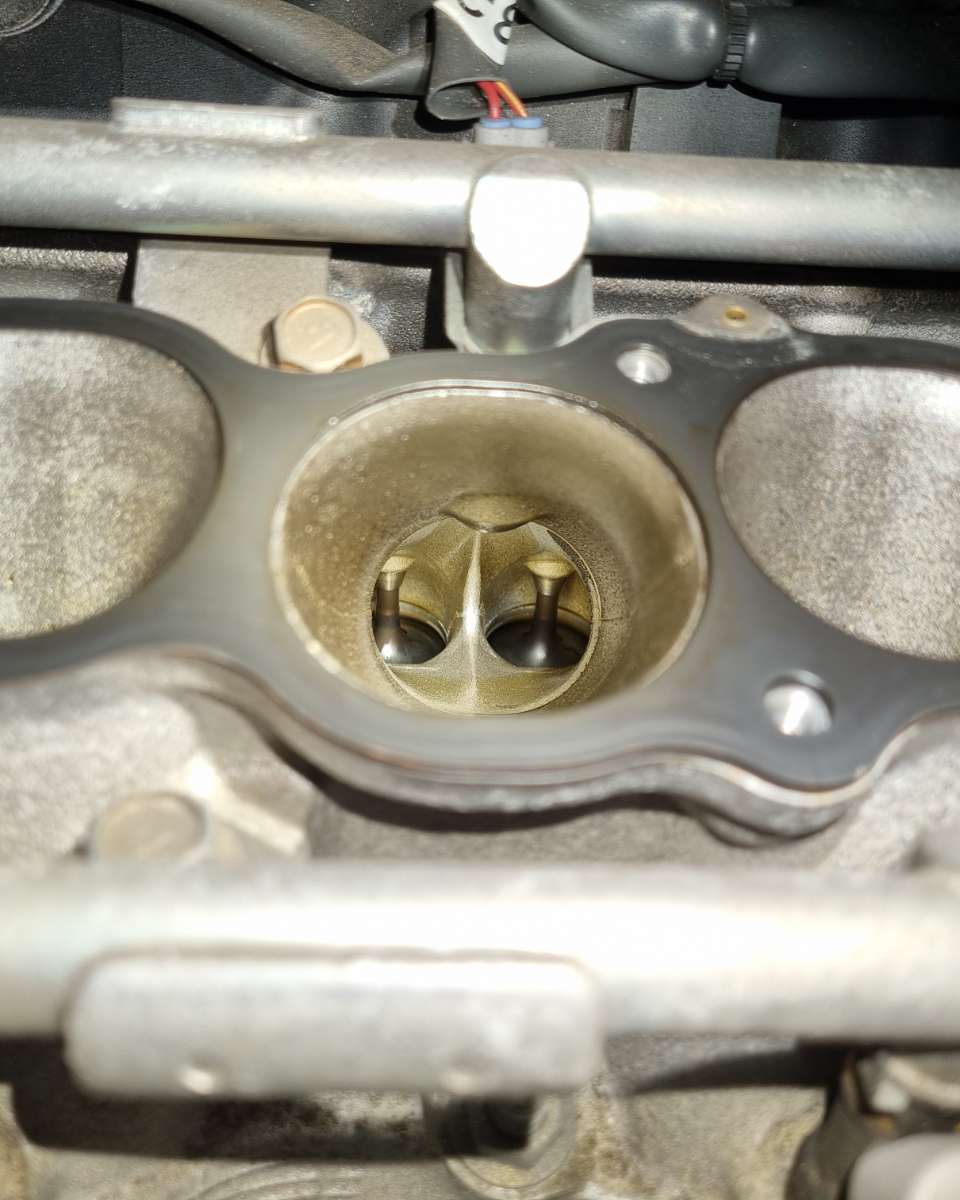
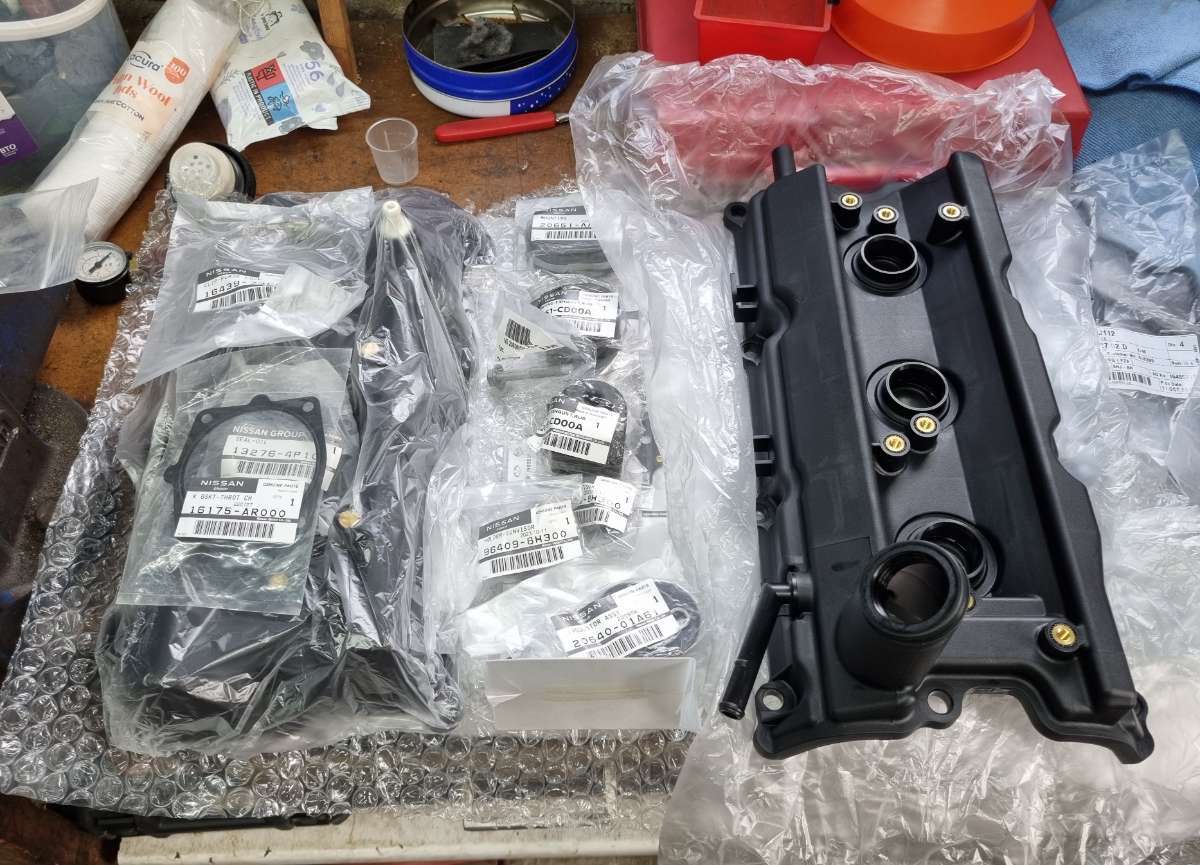
An update on the ongoing developments with the 350Z and a couple of questions for you all. A while ago, I noticed a small pool of oil in the spark plug well of cylinder 6. Upon further investigation, I also found some oil condensation/moisture toward the rear of the P/S valve cover. Moving to today, I've got some nice new OEM parts (valve covers, gaskets, bolts etc.) all ready to go, and my plan is to replace it all next week. Meanwhile, I'm sending off the fuel injectors to get cleaned and flow tested. Additionally, I'm having both the upper and lower plenum vapour blasted and coated, with the strut bar getting a fresh powder coat. Current checklist: Fuel injectors cleaned and flow tested Upper and lower plenum vapour blasted and coated with XCP rust inhibitor Strut bar powder coated (still deciding on whether I should stick with the grey...) Valve covers and gaskets Gaskets: throttle body, air intake manifold, upper air intake plenum and plenum spacer Fuel rail refurb: bolts, injector clips, spacers Replacing various rusty bolts around the engine bay Here are a couple of photos: I've got two questions: I found some oil in a few of my fuel injector harness connectors. I assume this is just oil leaking from the valve covers and wicking up the harness? I've never had any problems or codes pop up. Do these valves look ok? I've just passed 70k miles. Cylinder 1: Cylinder 2: Cylinder 3: Cylinder 4: Cylinder 5: Cylinder 6: Aerial photo of Cylinder 4:
-
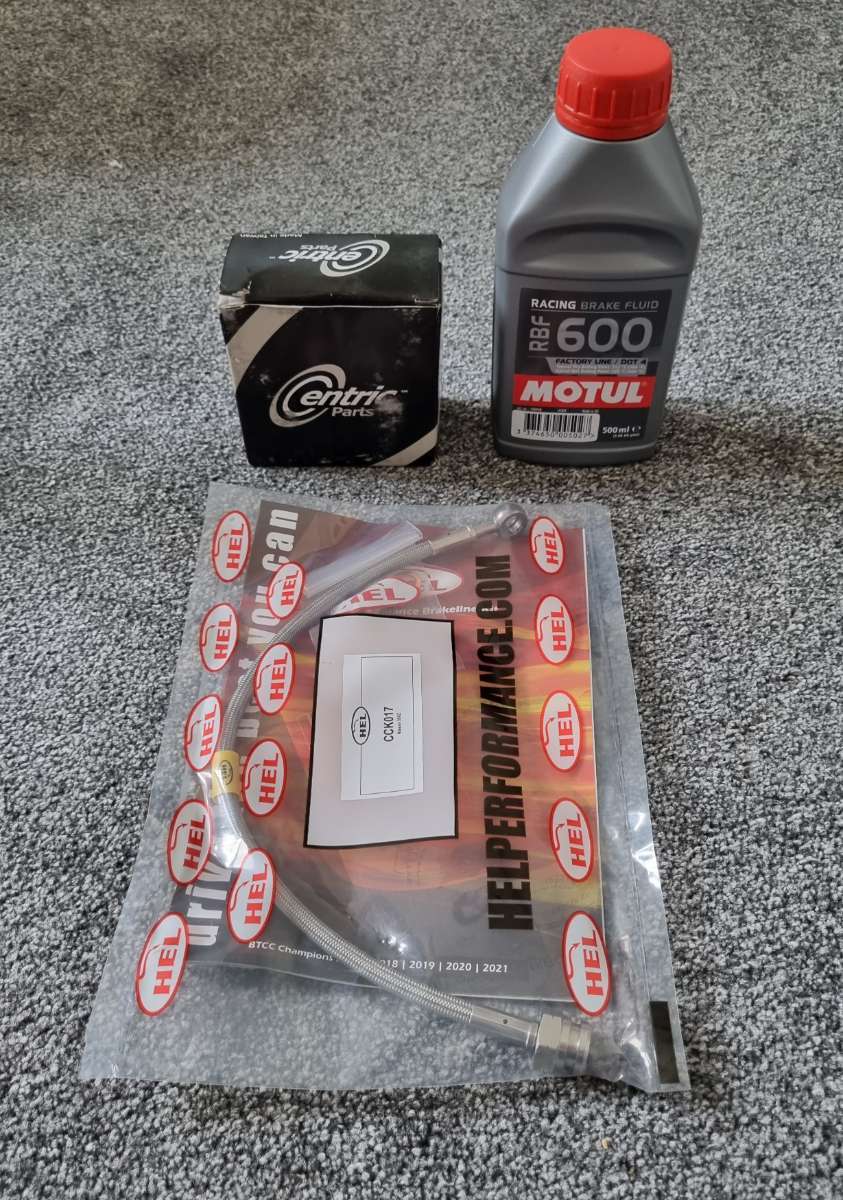
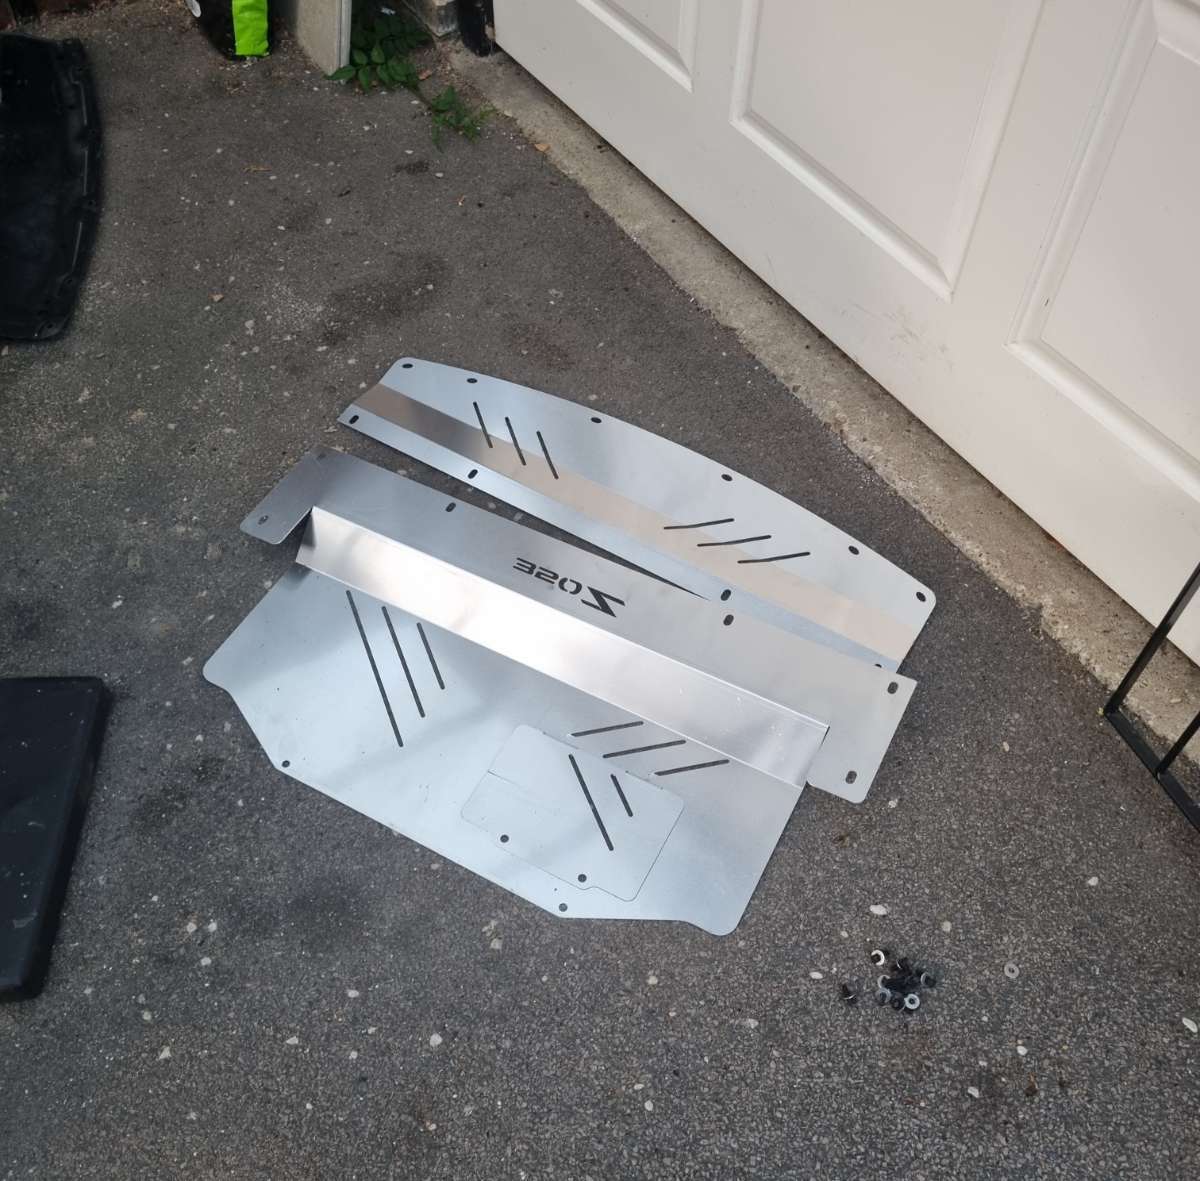
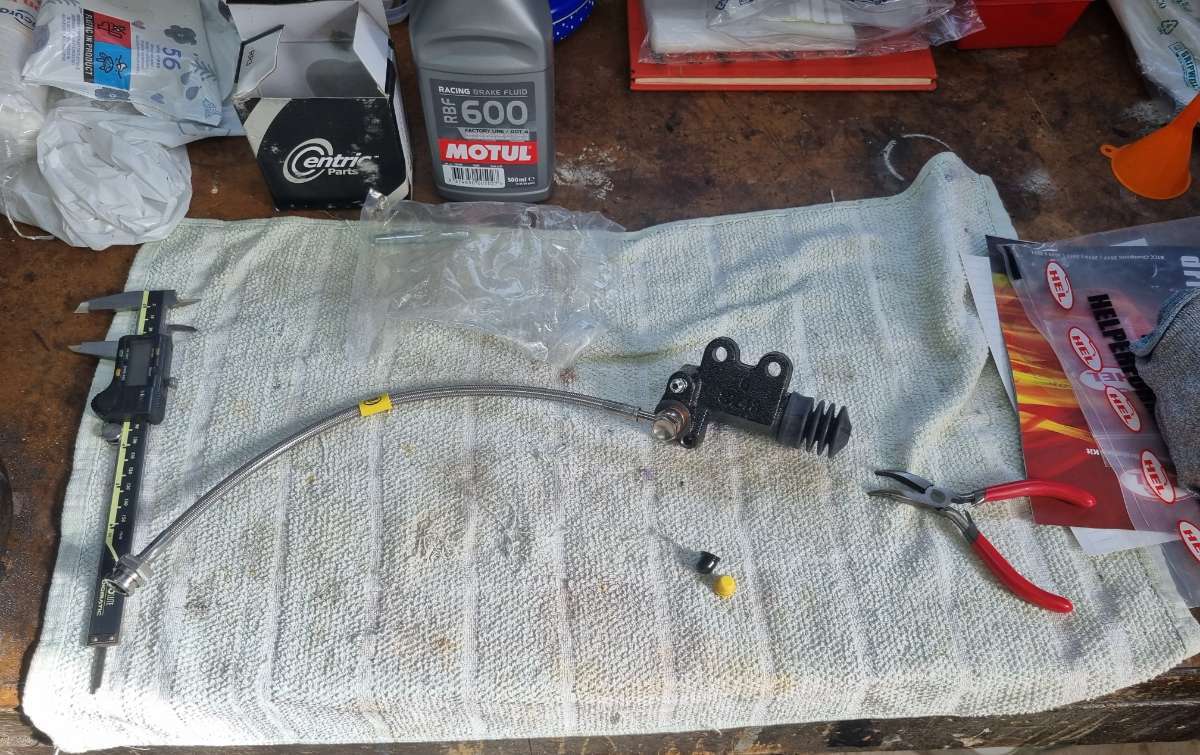
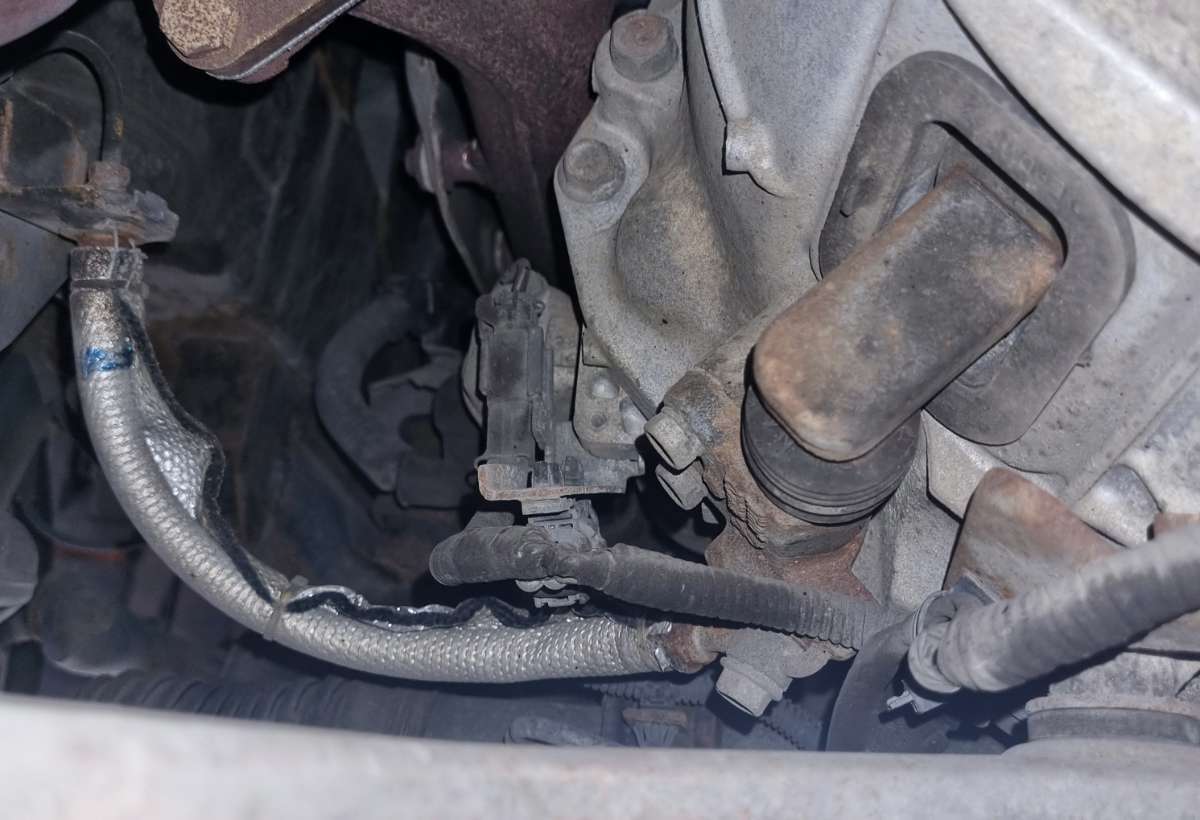
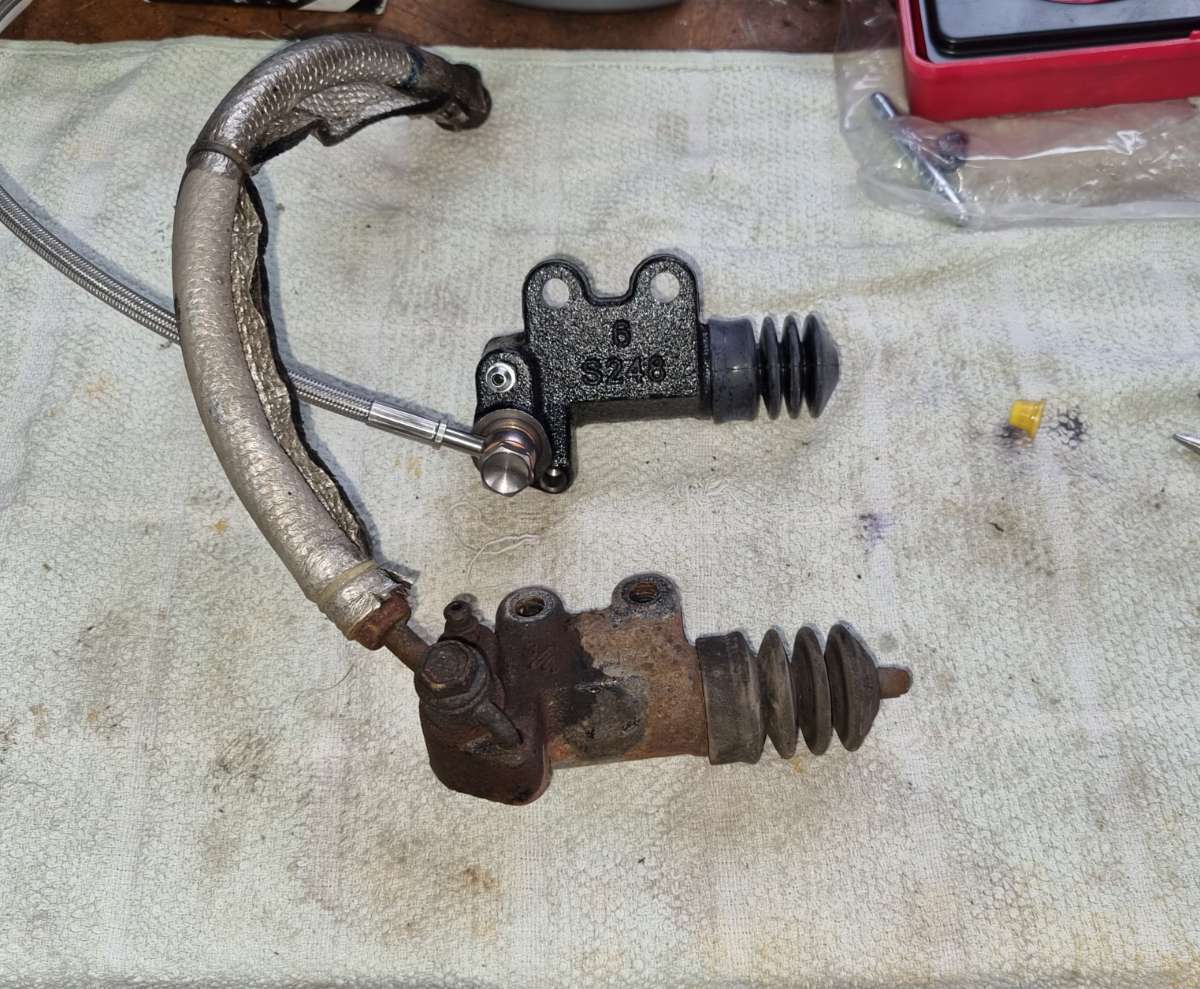
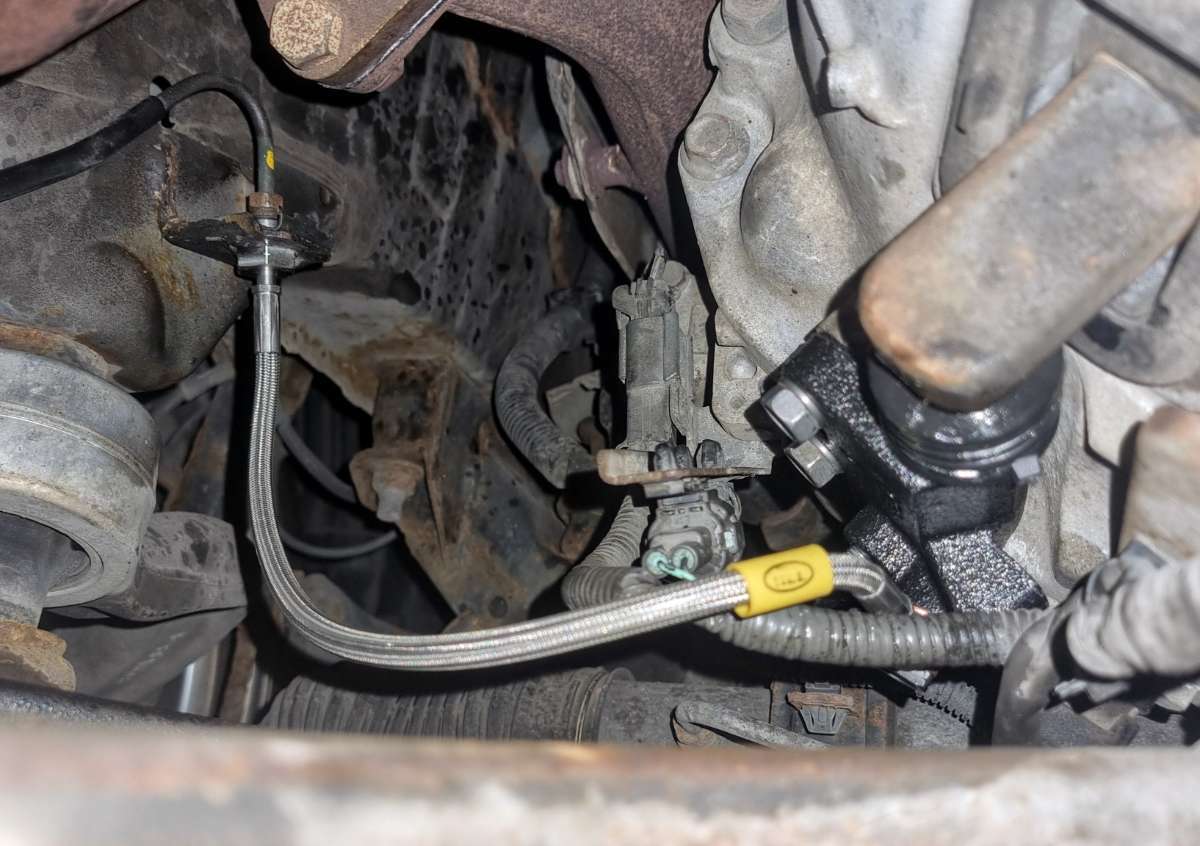
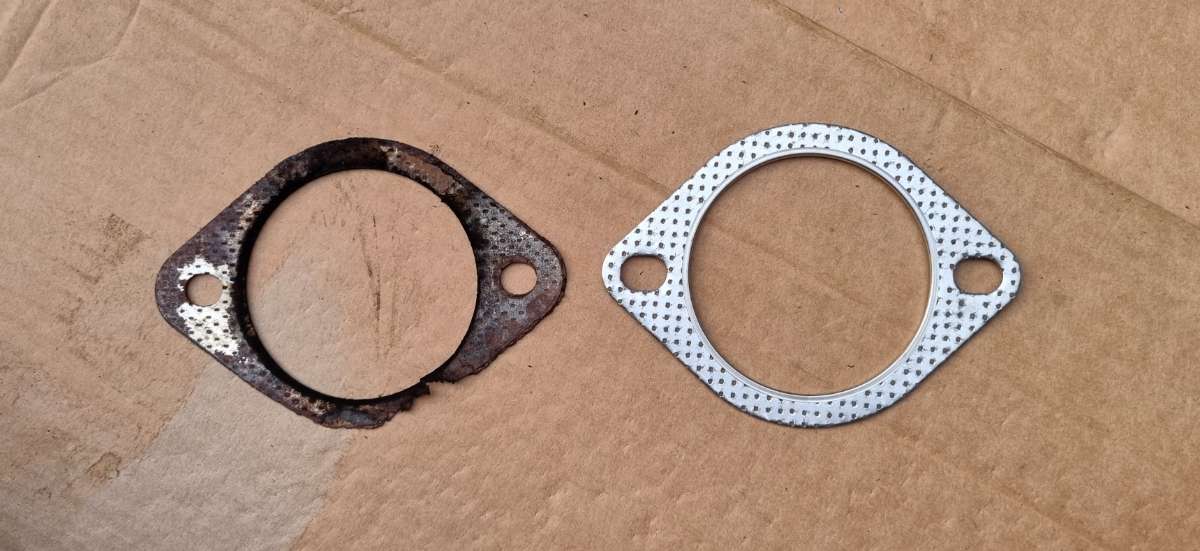
Ok, let's try this again. Big thanks to @Stutopia for sorting it out. It's been a while since I last updated you all on the Z. I always seem to be buying something or working on it here and there. First item on the agenda: sticky clutch pedal. I noticed my clutch pedal sticking in hot weather or in stop-start traffic so I bought a clutch service kit from Tarmac Sportz. This includes an uprated slave cylinder, HEL braided line and Motul RBF 600 clutch fluid. This seems to have sorted it as no more sticking! At the same time, I fitted a run-of-the-mill aluminium undertray from Tarmac Sportz. The new slave cylinder and line. As you can see, the original doesn't look a day over 70... As it stood. After messing about for three hours trying to bleed the bloody thing properly! Applied a thin layer of grease around the rubber boot to make it last that little bit longer (likely makes no difference). I realised I routed the line the wrong way so when I get the chance I'll sort it out. Fear not. Bought loads of Nissan OEM parts from Japan in preparation for 'the big job'. Who would've thought it's cheaper to get parts shipped all the way from Japan than to buy them in the UK? - Valve covers & gaskets - Rubber exhaust mounts (already fitted; see below) - Sun visor clips (both of mine had broken; already fitted) - Rubber oil cap filler neck - Fuel cap (the plastic line had broken on mine so I couldn't 'dangle' it off the filler cap; already fitted) - Red battery positive terminal cover (half of mine was missing for some reason; already fitted) - Gaskets: Throttle body, air intake manifold and upper air intake plenum Replaced all the exhaust mounts and gaskets (obviously not pictured). Nissan OEM mounts and original Milltek 3" gaskets to go with 8.8 zinc-plated bolts. Pretty sure I had a minor exhaust leak on one of the gaskets. My true ground-up project, a 1995 Suzuki Cappuccino, all stripped down in preparation for sandblasting early next year.
-
I thought that too but I couldn't see any evidence that there had ever been tabs to begin with. Thanks anyway
-
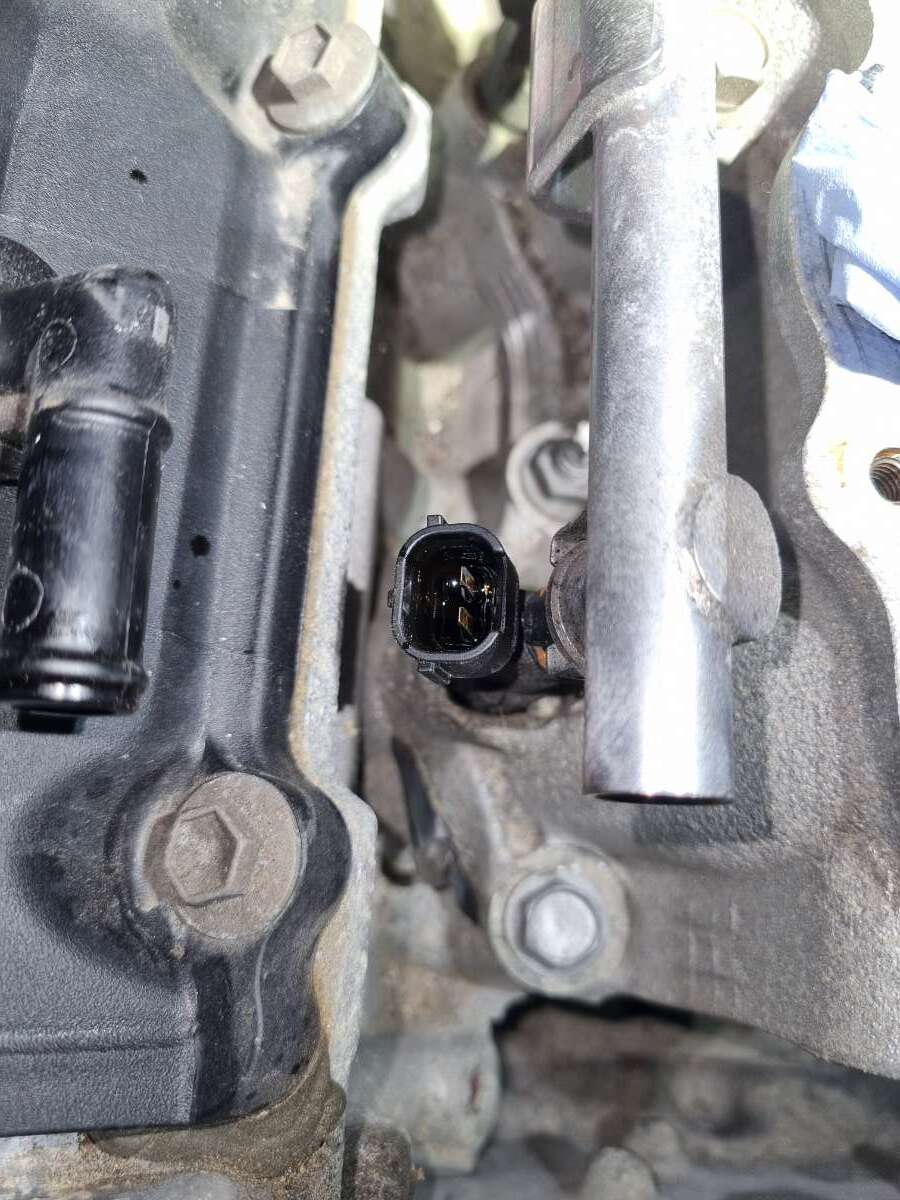
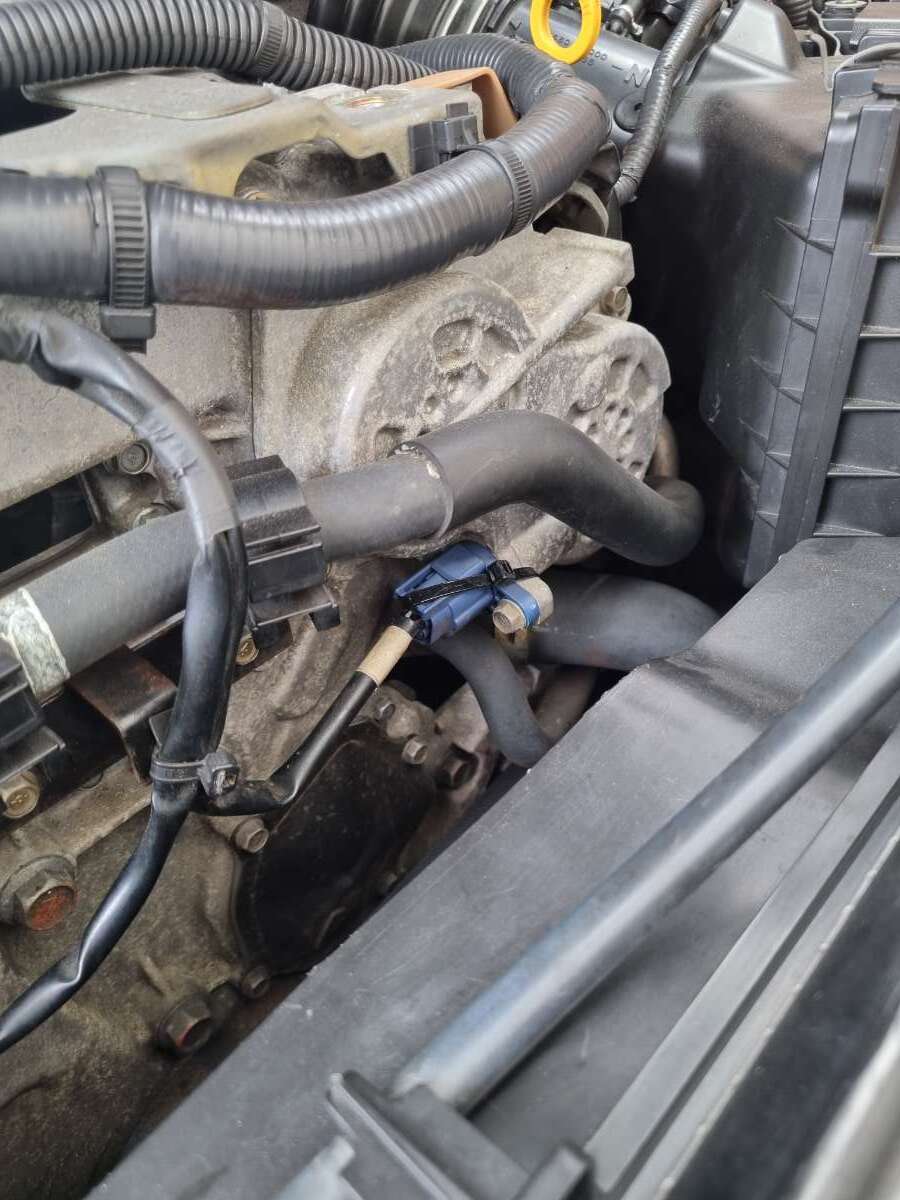
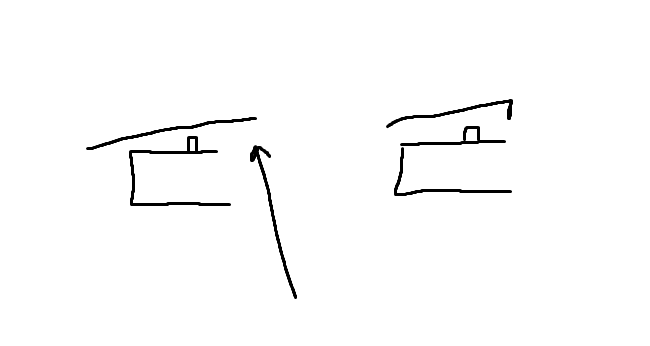
I'm back again with more questions. For some reason the connectors from the engine wiring loom don't 'click' into place on the VTC solenoids. The little tabs are there on the male VTC connector but the long tabs on the female wiring loom connectors are flat (I've tried to illustrate this below). It wouldn't be an issue if the connectors didn't slowly work themselves loose over time. To stop this I've just zip-tied them together. Anyone else had this issue? From what I've worked on previously on the Z, all the other connectors click into place. Zip-tied both connectors together Left (missing the 'click' tab) vs. Right (how I think they should be)
-
Hello and welcome. Sony do some nice double DIN head units; I had the XAV-AX5650 installed in my Z. You can find it on my build log.
-
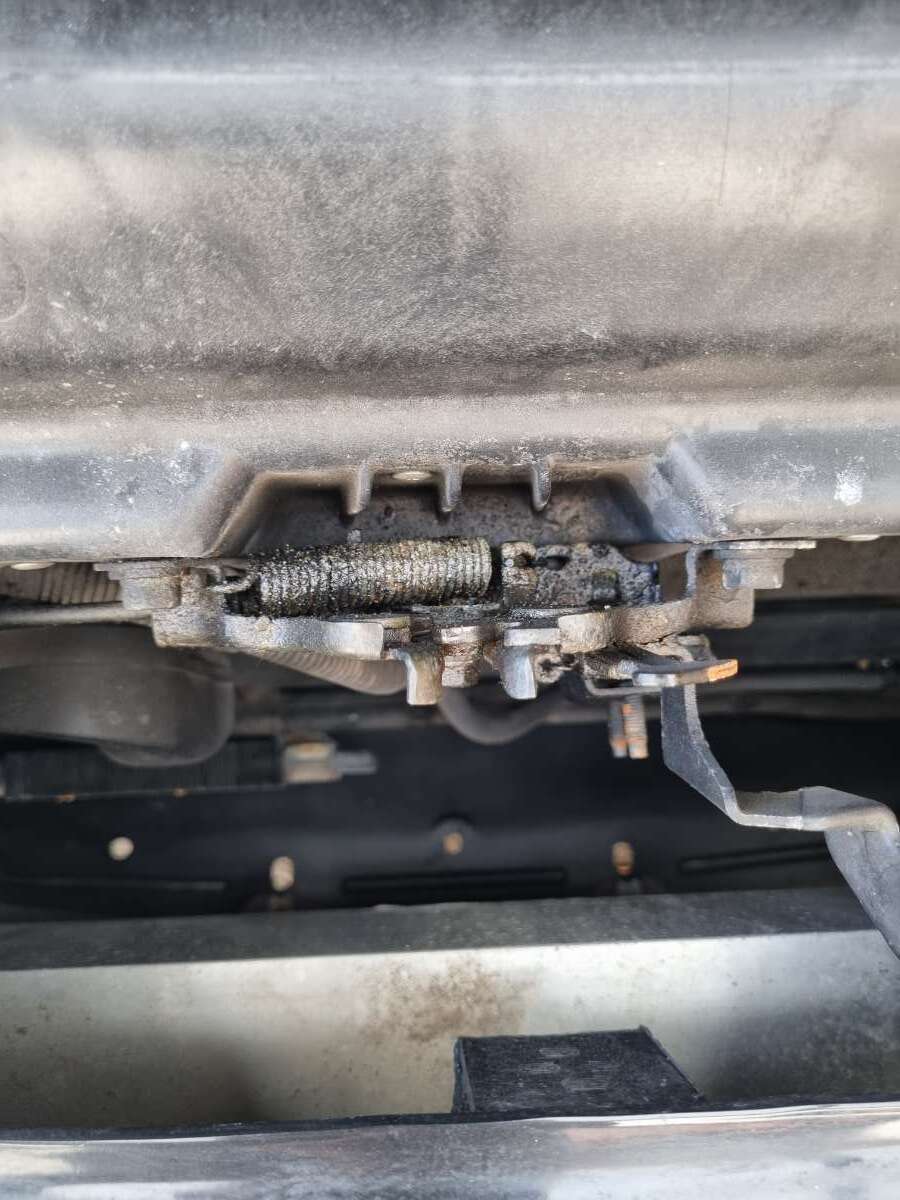
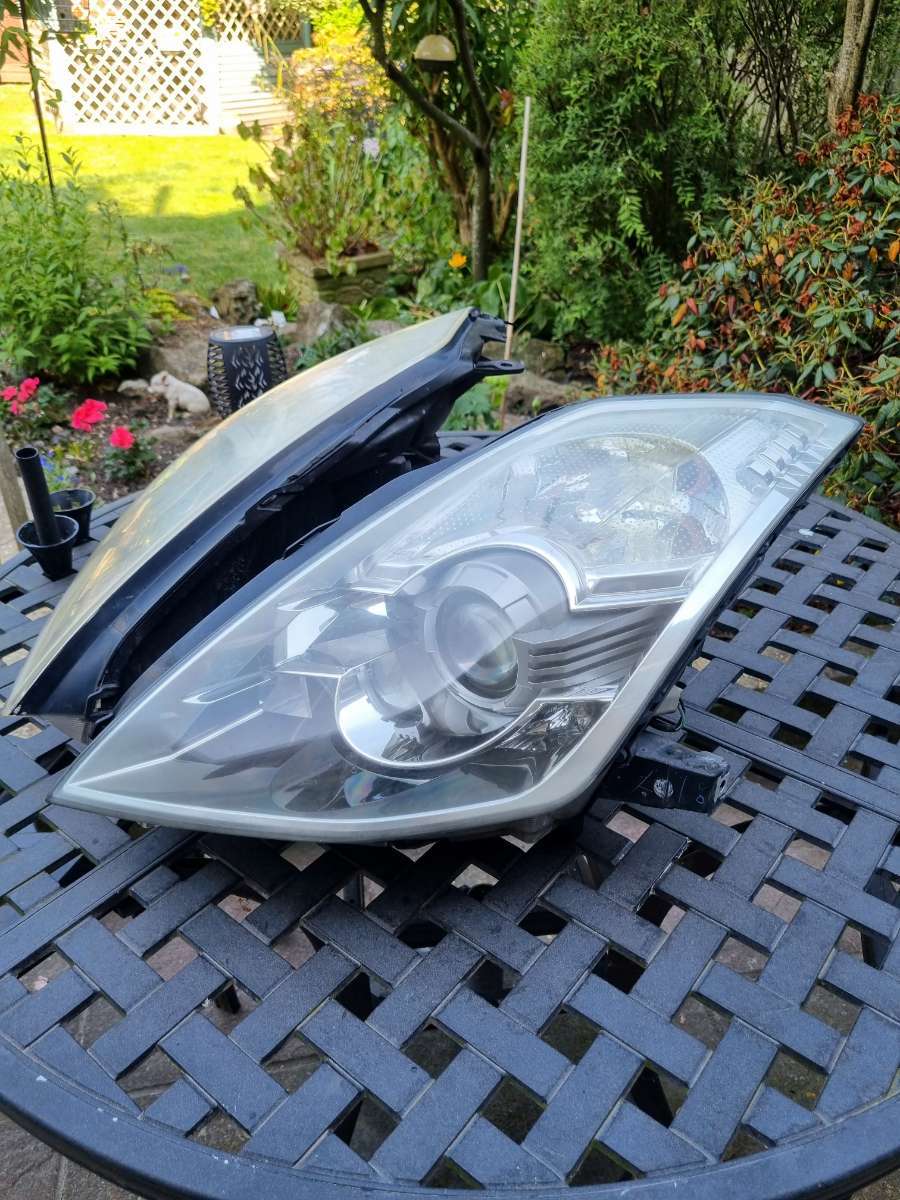
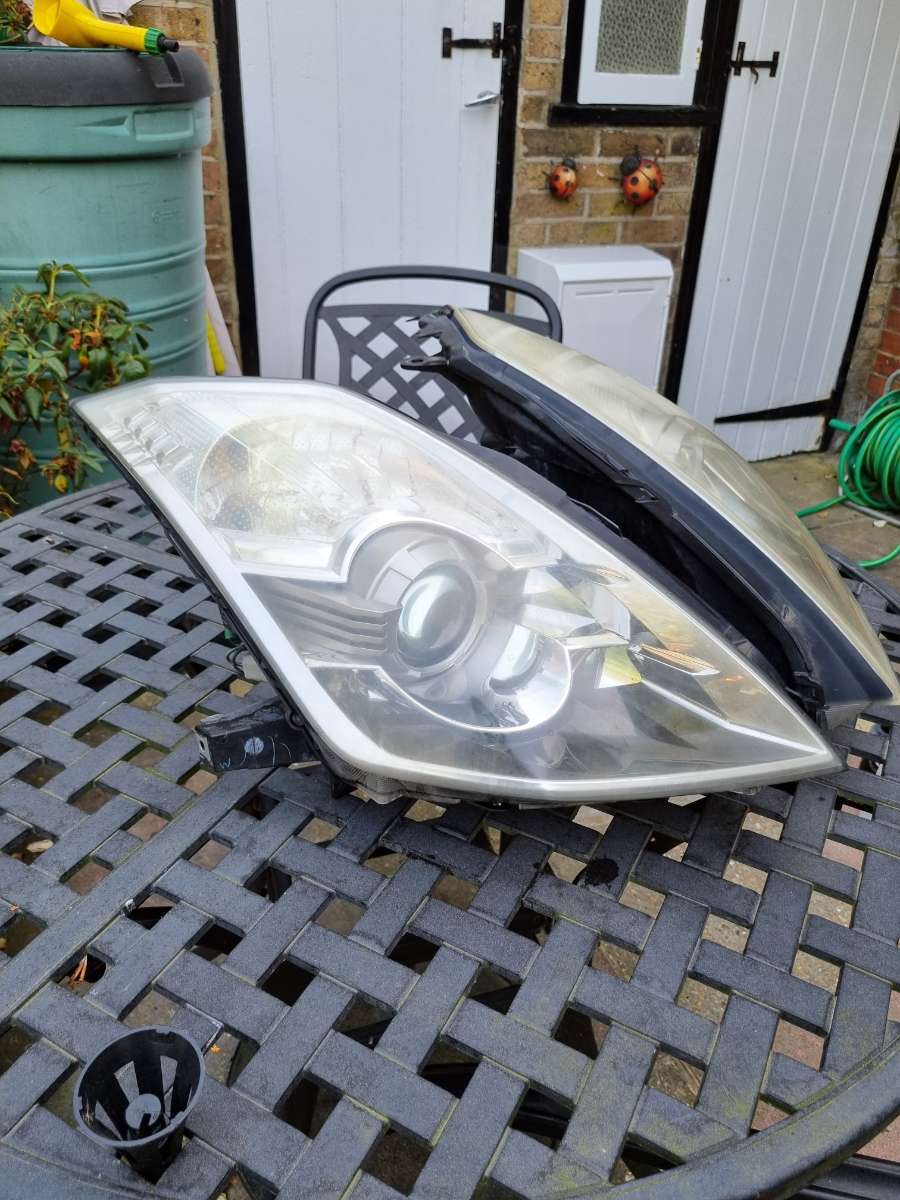
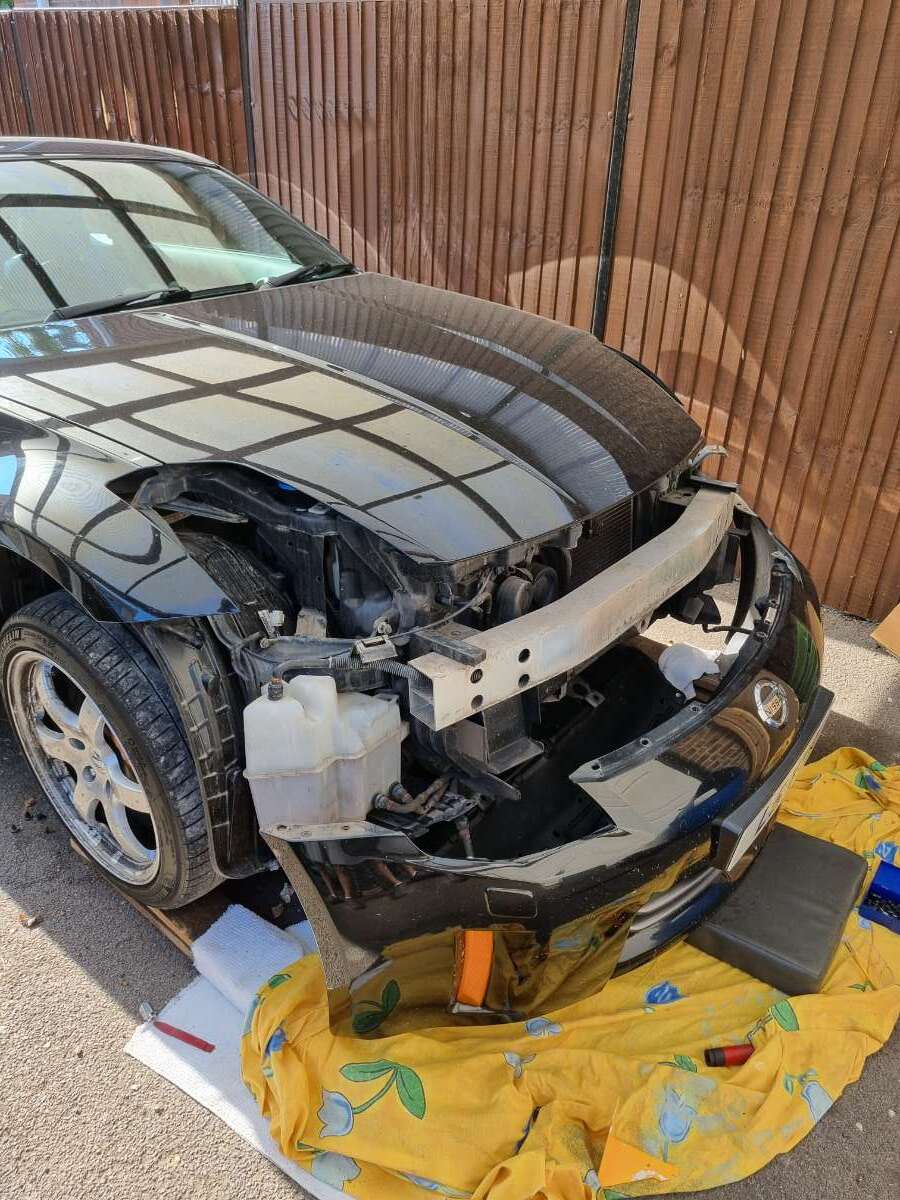
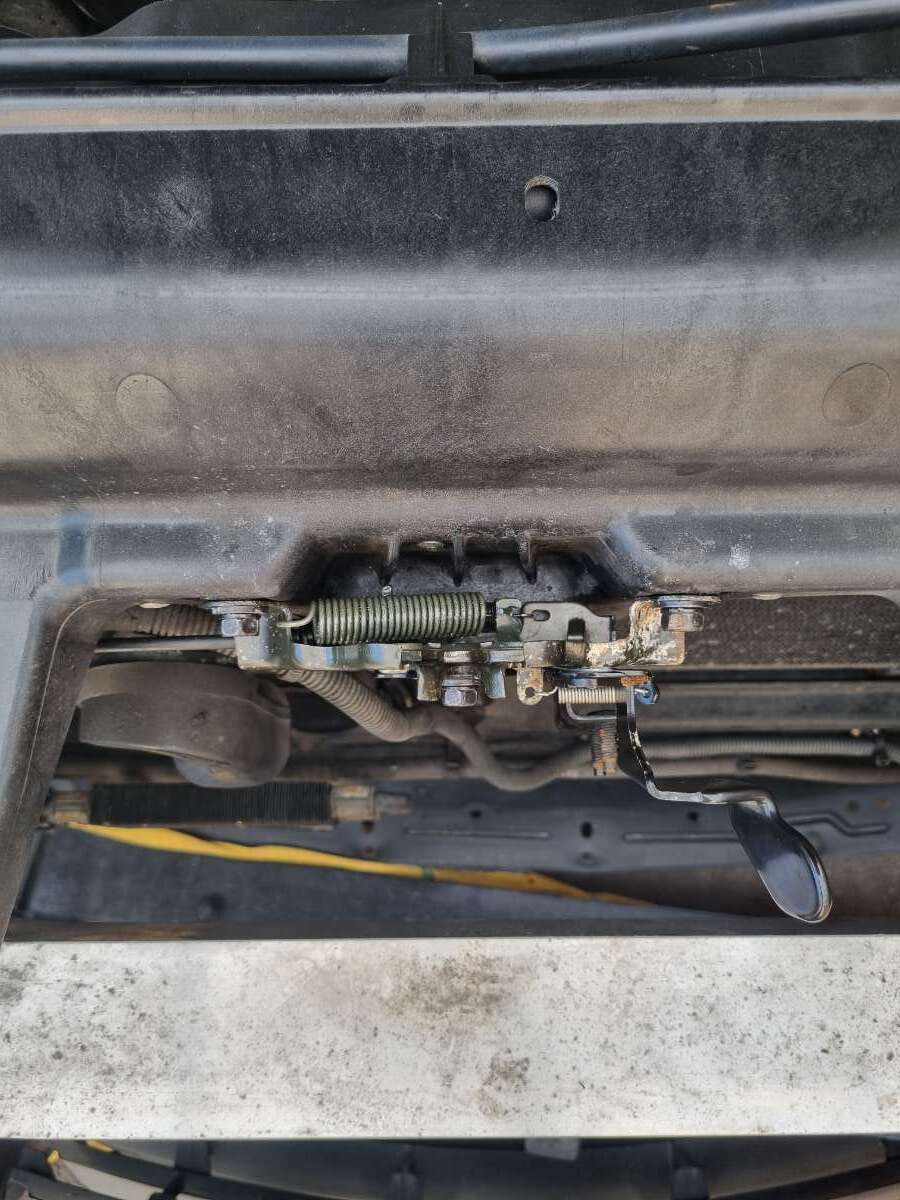
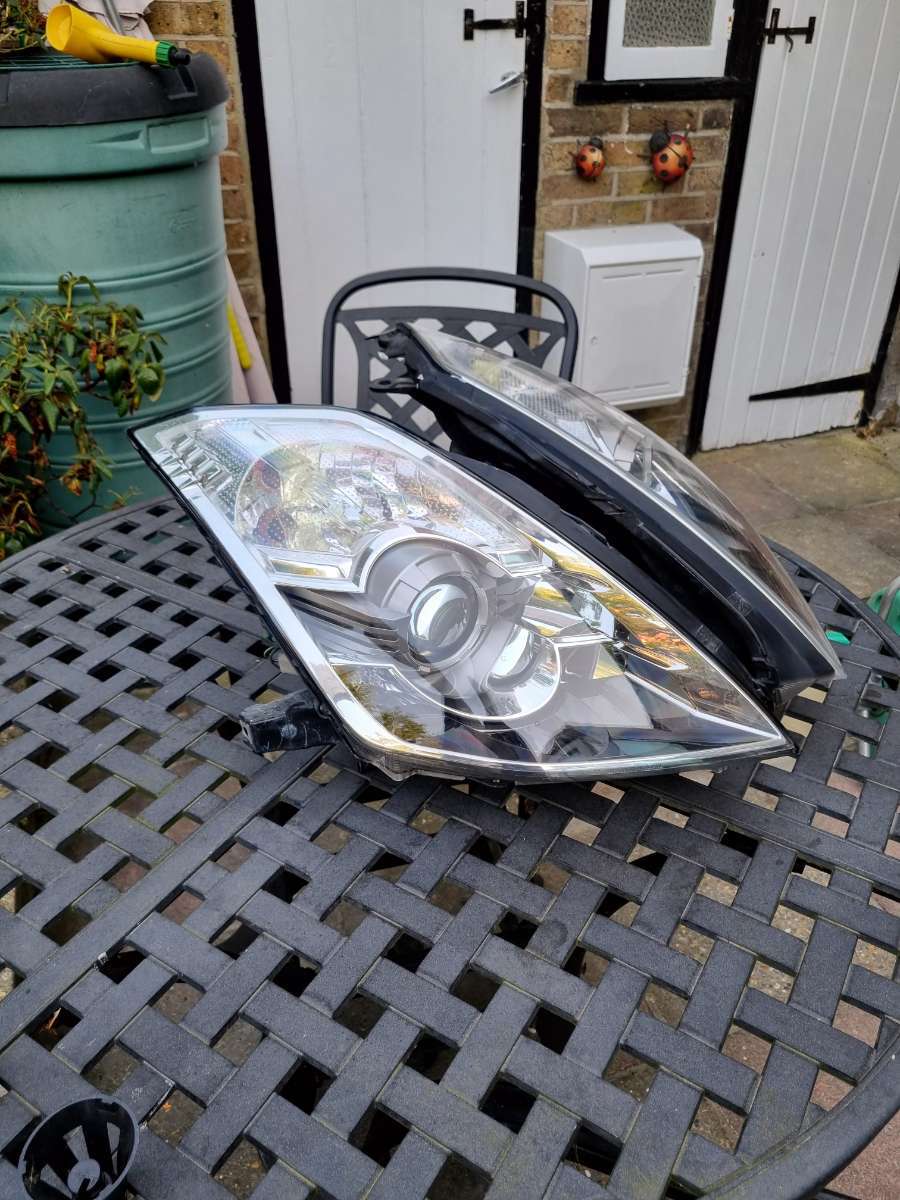
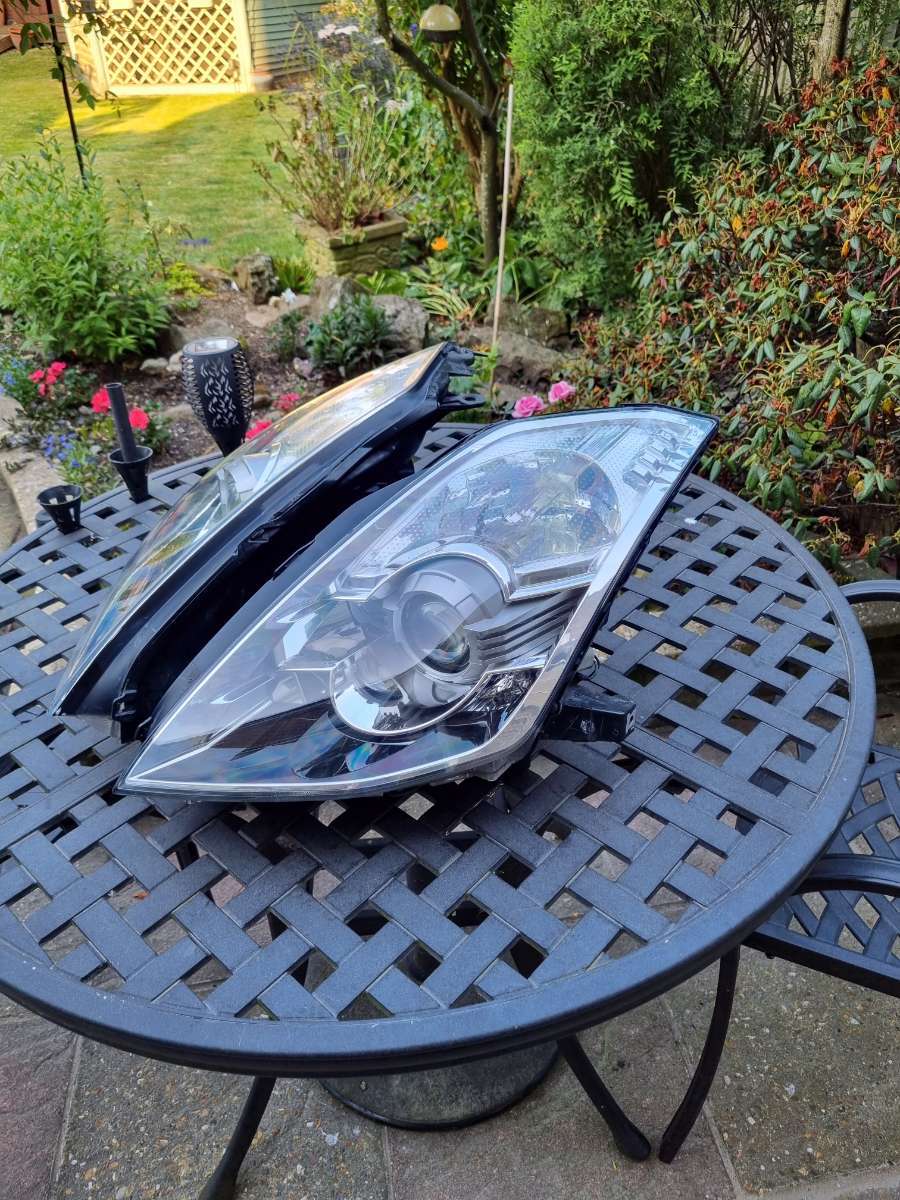
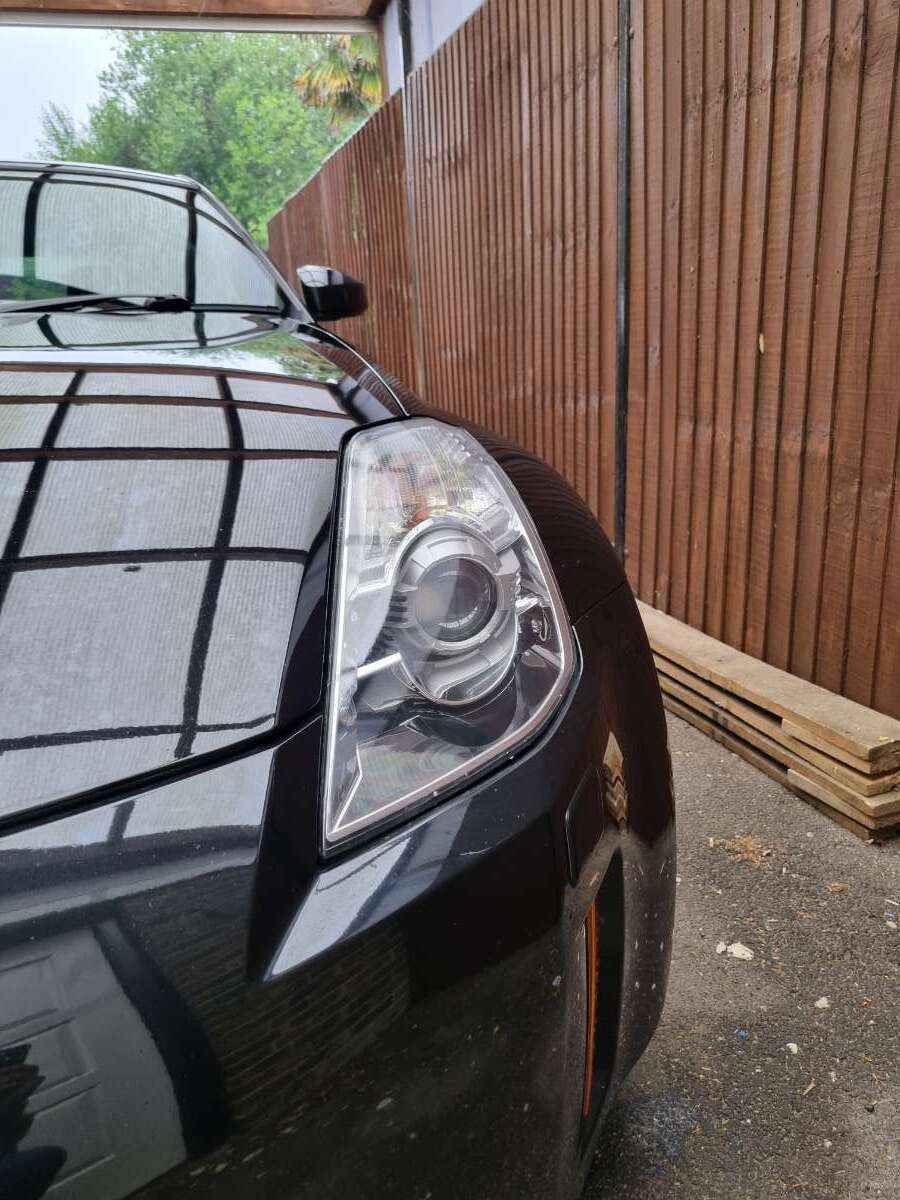
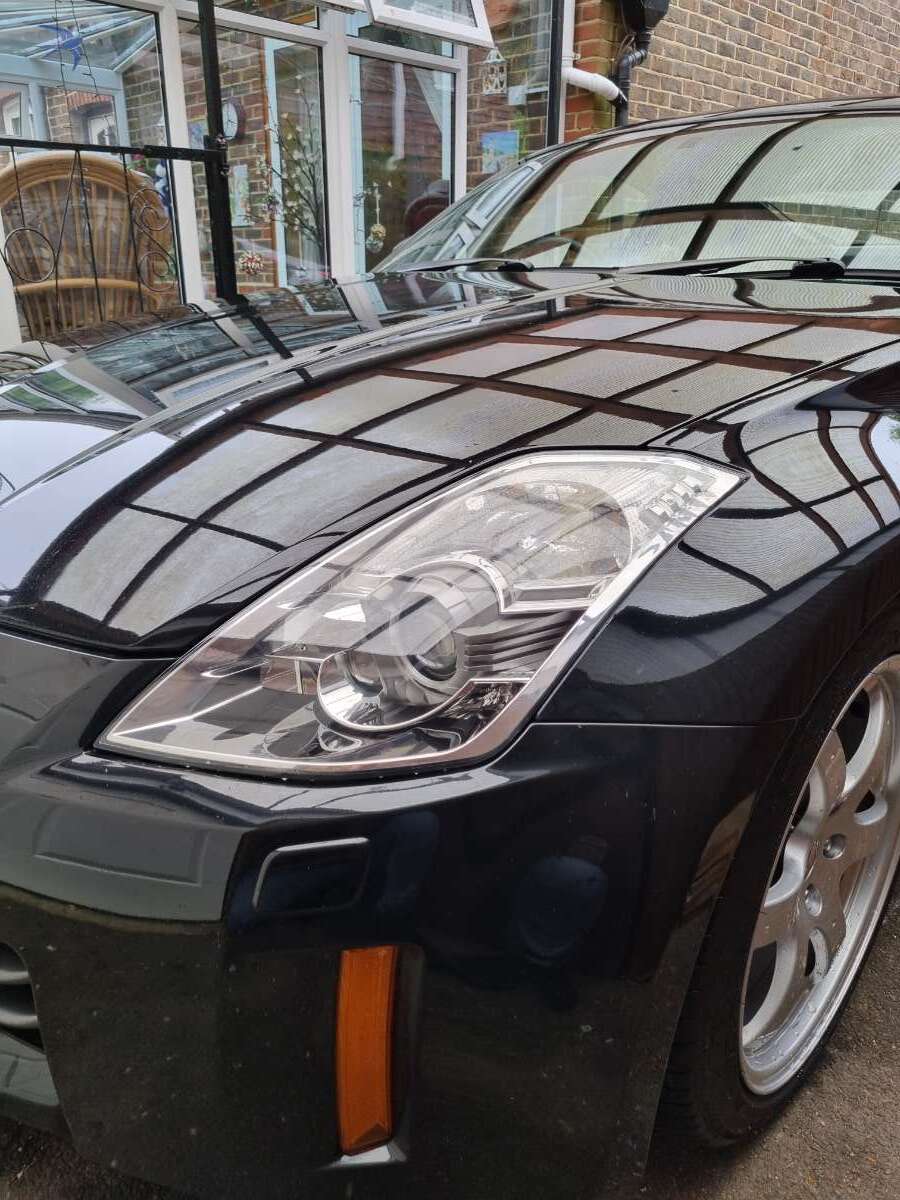
A proper headlight restoration. Lights were sanded back and then automotive clear coat was applied. Done by a friend of the family so didn't cost me a penny. Really makes the entire car look better. Noticed the bonnet latch assembly was pretty dirty and full of old grease so I cleaned that up too. Fresh grease was applied to the contact points and moving parts. P/S Before D/S Before D/S After P/S After After After Before After
-
No worries, just let me know
-
For some tools it's worth it. My Knipex and Wera tools, for example, will last a long long time. Much more enjoyable to use also I've just had my Z UpRev'd, find more info here To summarise, you can't get much more out of them without going down the FI route


.thumb.png.33a006e68a0043c68f319d9956befc69.png)


