

Azurez33
-
Posts
790 -
Joined
-
Last visited
Content Type
Profiles
Forums
Events
Gallery
Store
Everything posted by Azurez33
-
Did see drive shaft seal was there too, couldn’t see a quote for that?
-
Definitely way too much- sump doesn’t look dreadful but you could replace it to be safe- Defintely wouldn’t cost that much at my garage, should also do an oil and filter. Is that for the one aux belt or both? Problem is Nissans labour is probably ridiculously high due to main dealer and them being scarce 😂
-
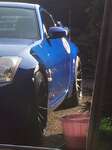
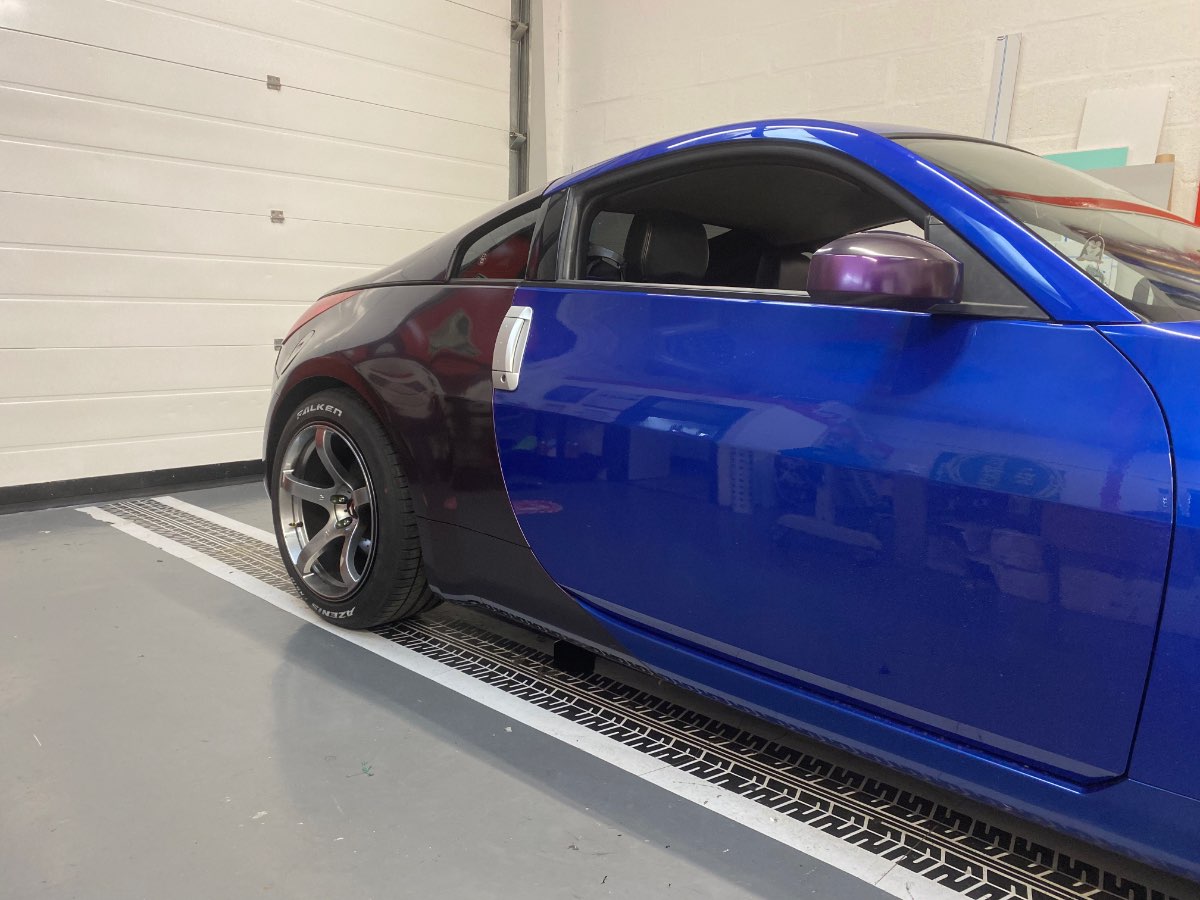
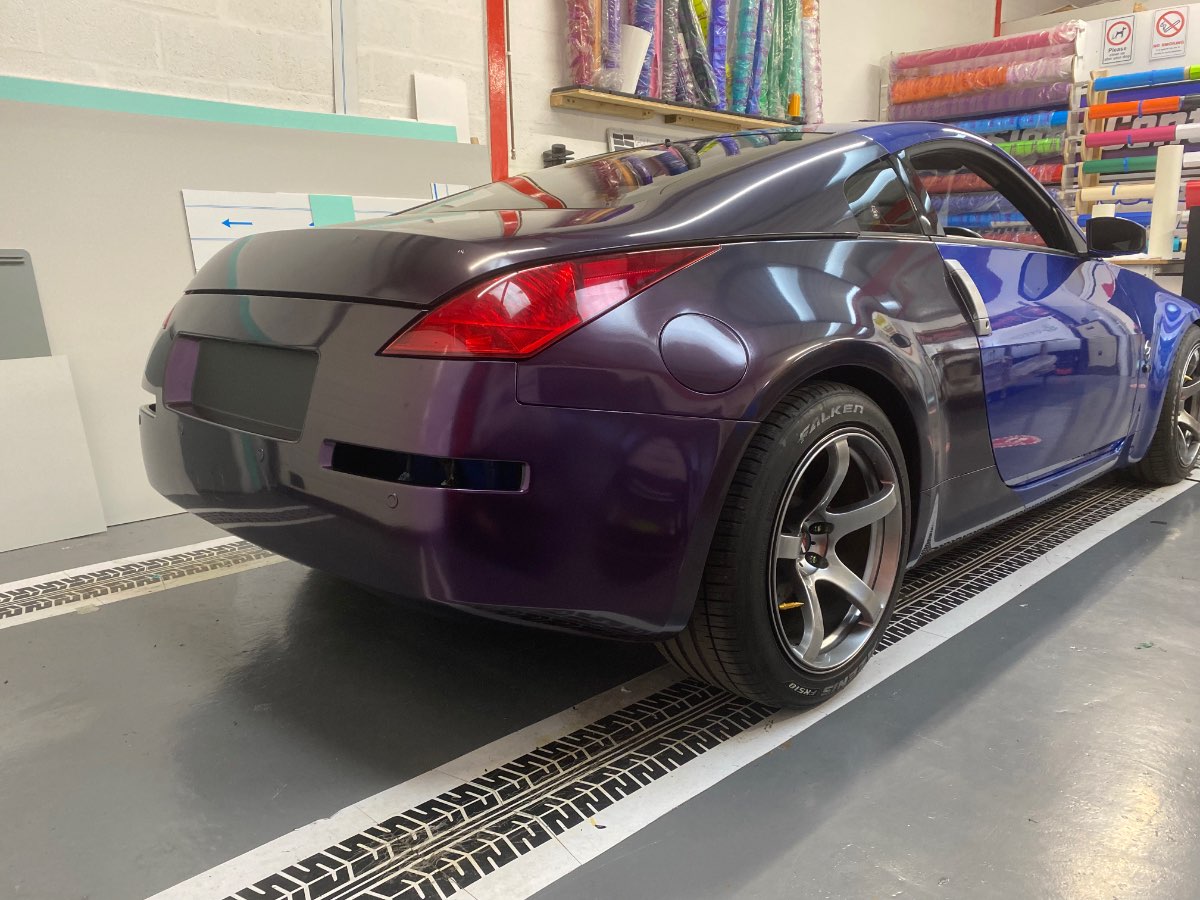
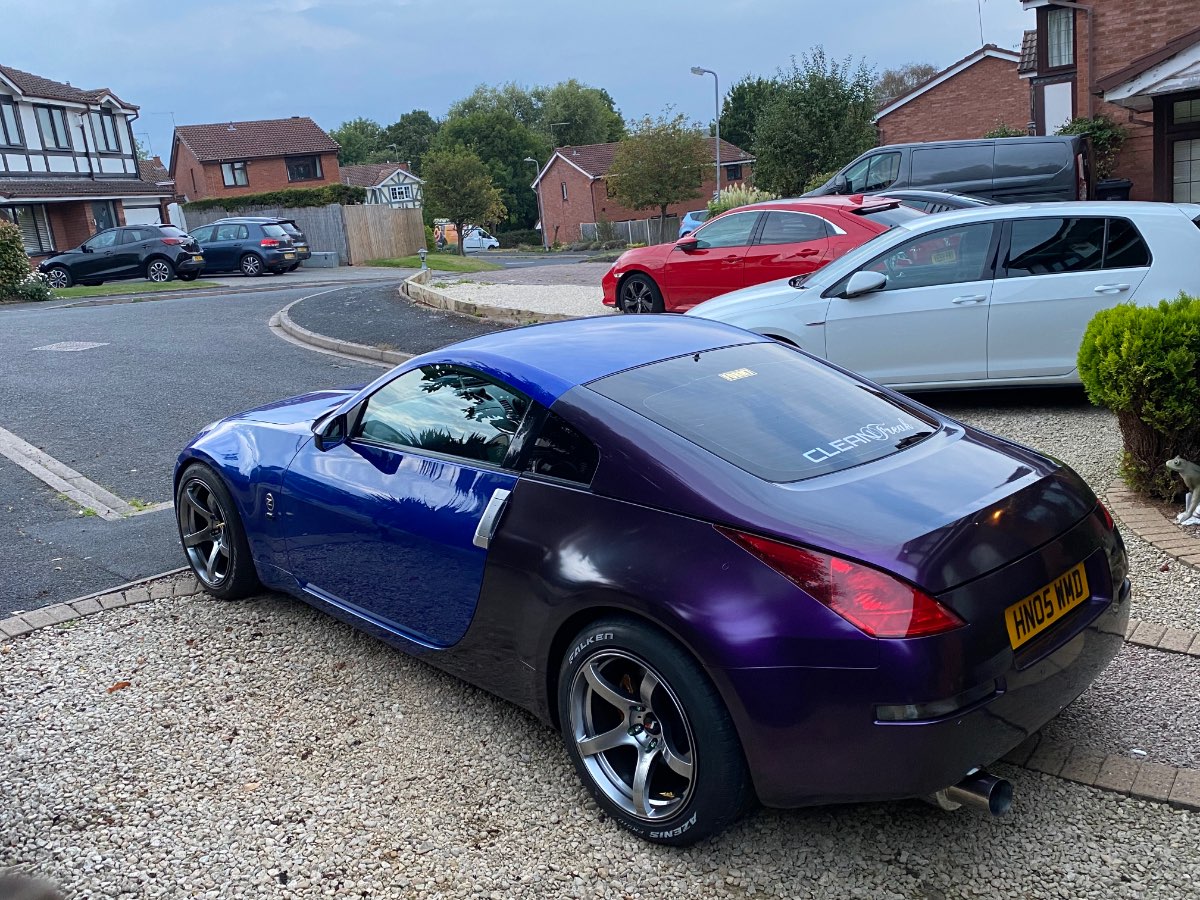
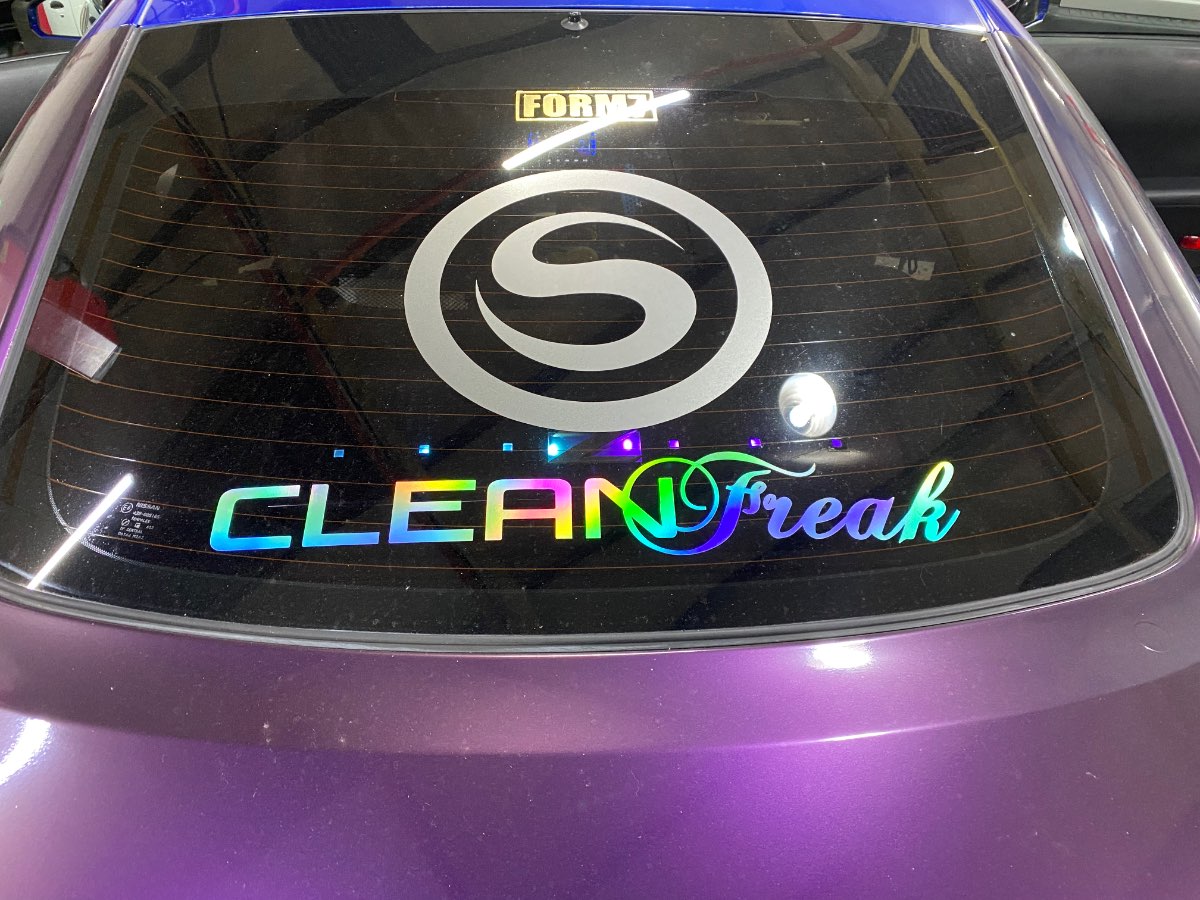
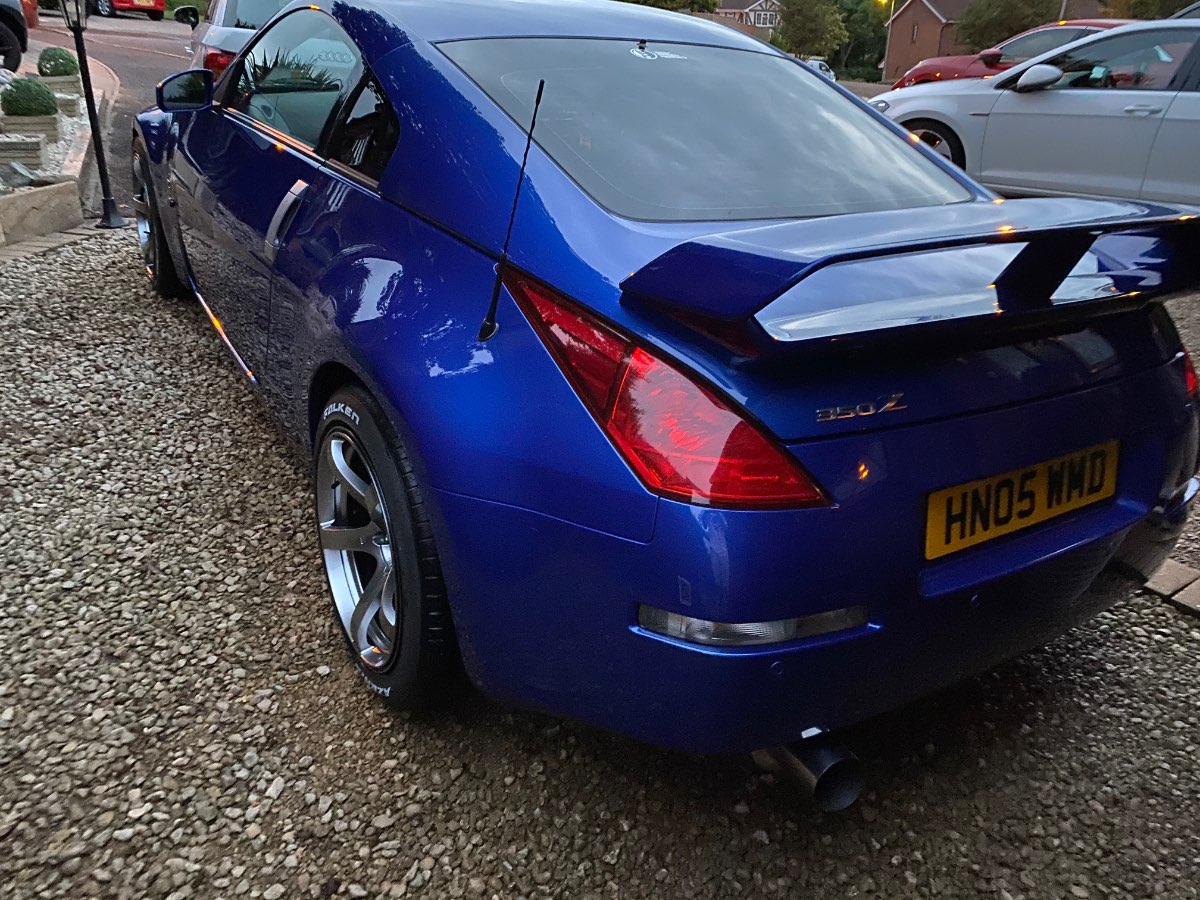
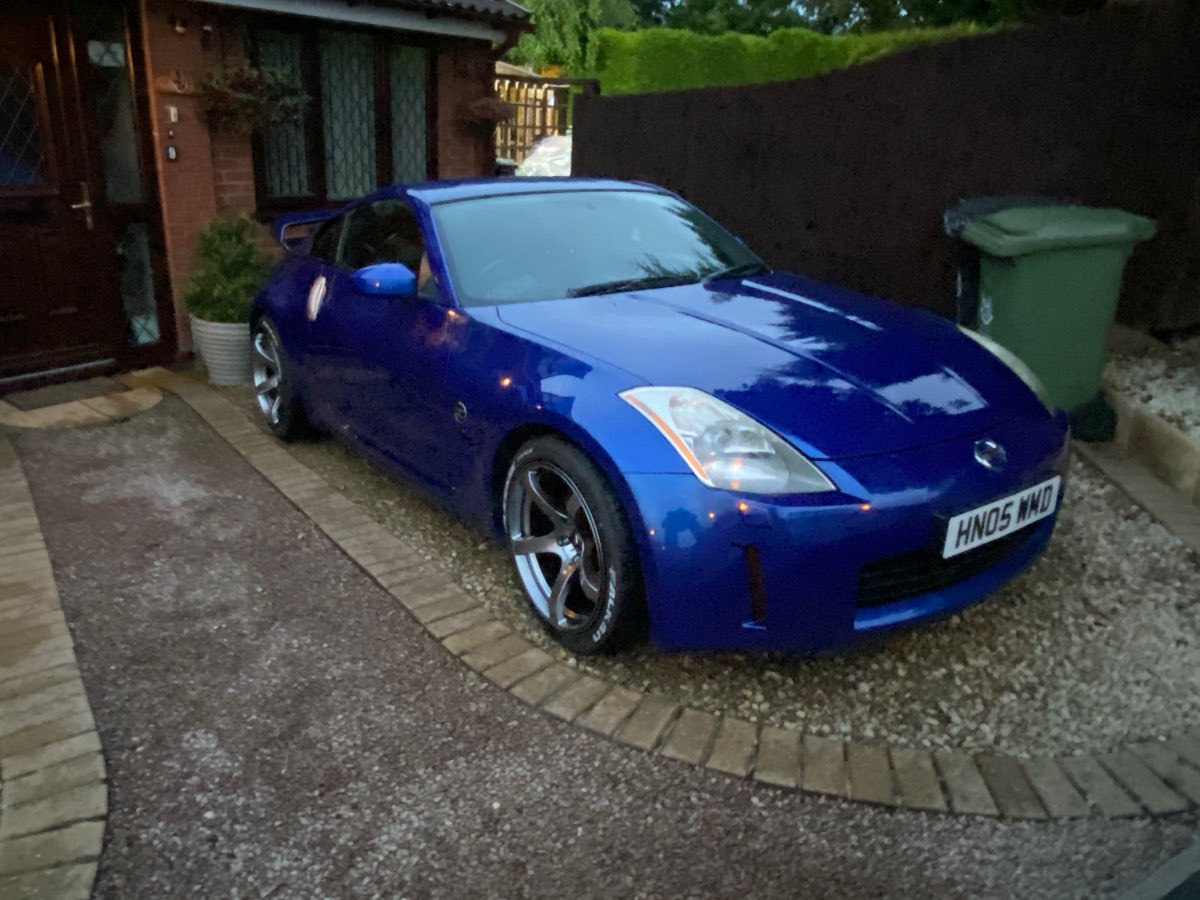
So… finally some real time updates- I’ve finally gotten to a point where this is new stuff I’ve added or modified since my initial welcome thread. I’ve owned her now for roughly 2 and a bit years, I’ve replaced or modified common areas of the z uprated some major areas. Now for the bits that I feel make it different to the rest- As I’m very good friends with the wrappers on our industrial park it made perfect sense to make this move- product was ordered through mdpsupplies as getting hold of decent wrap is hard through customer sides. I went for Purple/black gloss, but this was only the start/base colours- took them a day or two and the worst part was me putting having to put the bumper back on without damaging it! they even did the wing mirrors- They managed to do it in time for wheels on Wednesday too! I just didn’t have time to put the spoiler on! they even put on my decals from japfest, and this is how my colleagues decided to call it chop shop haha
-
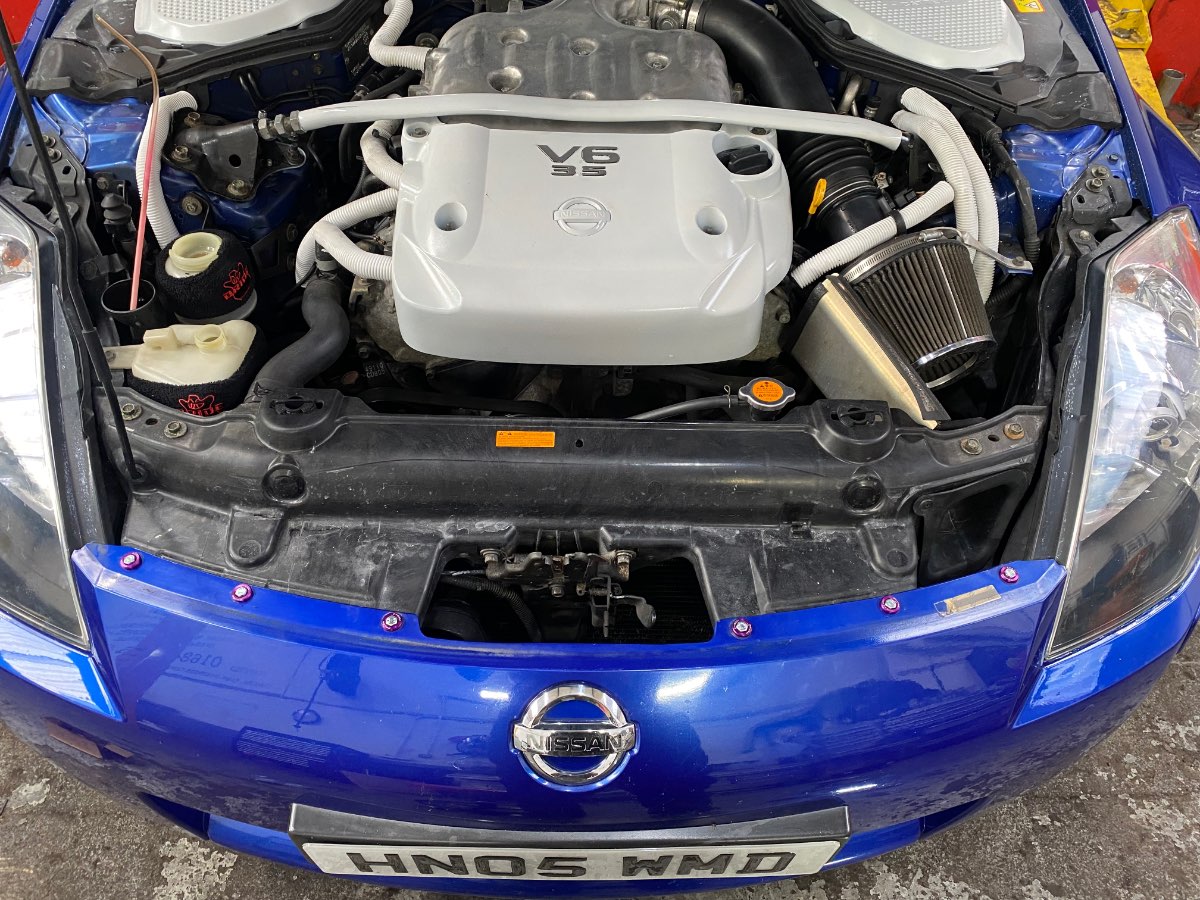
A few dress up bolts really make a difference!
-
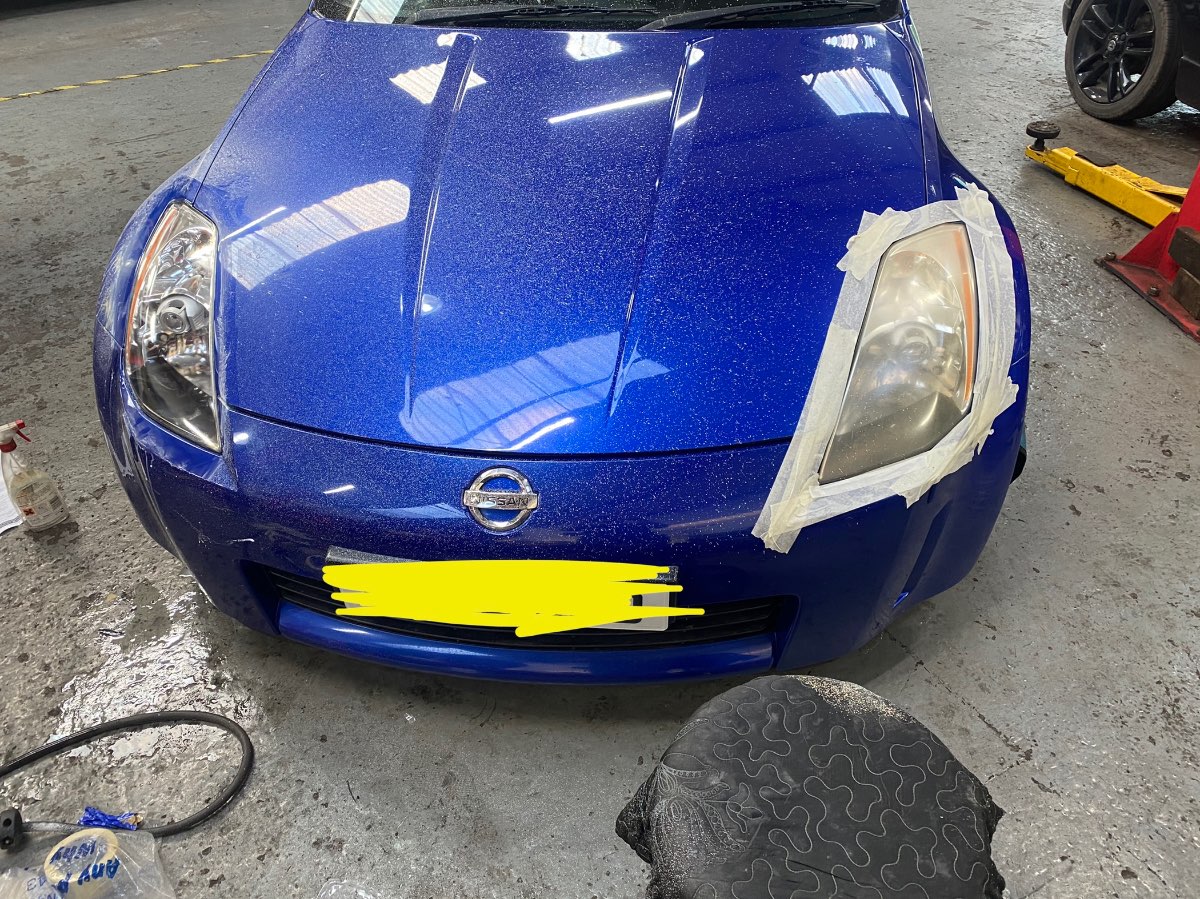
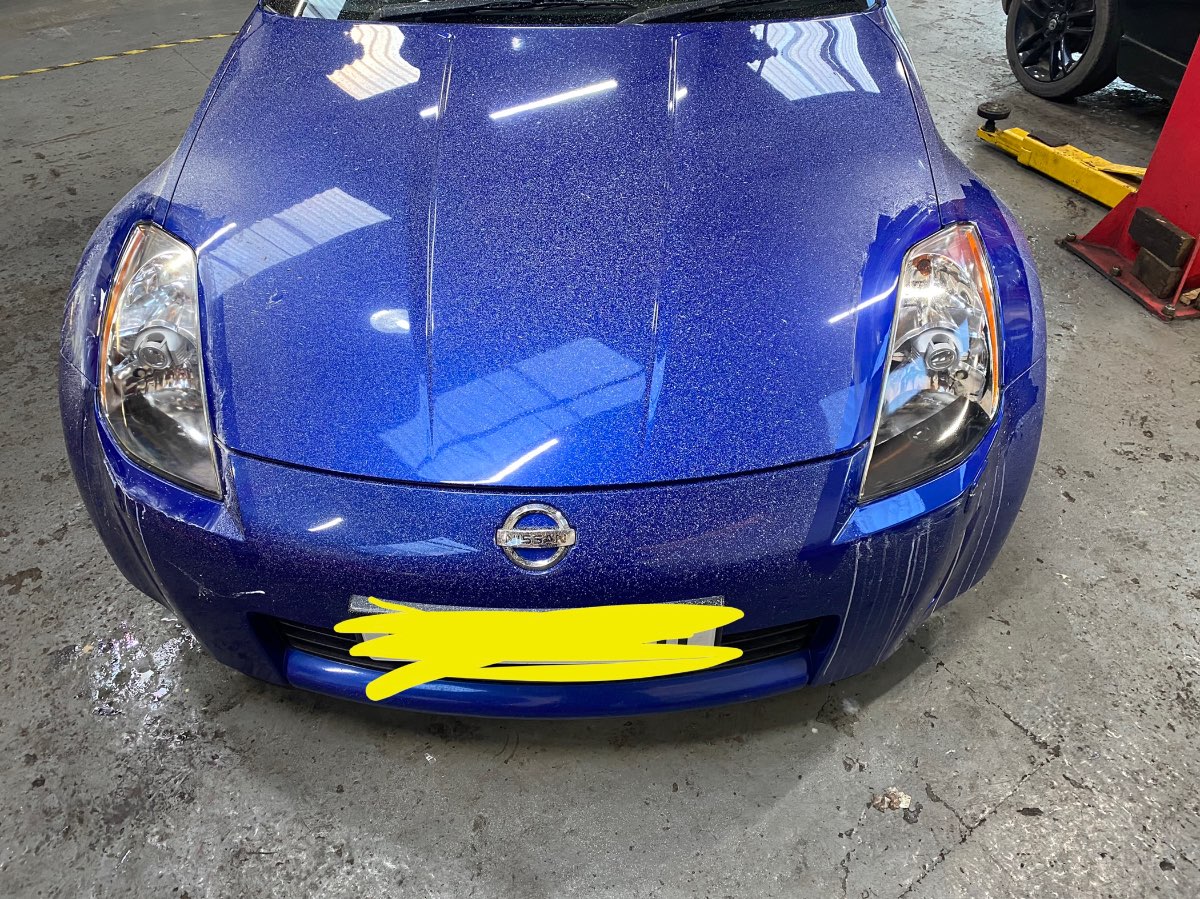
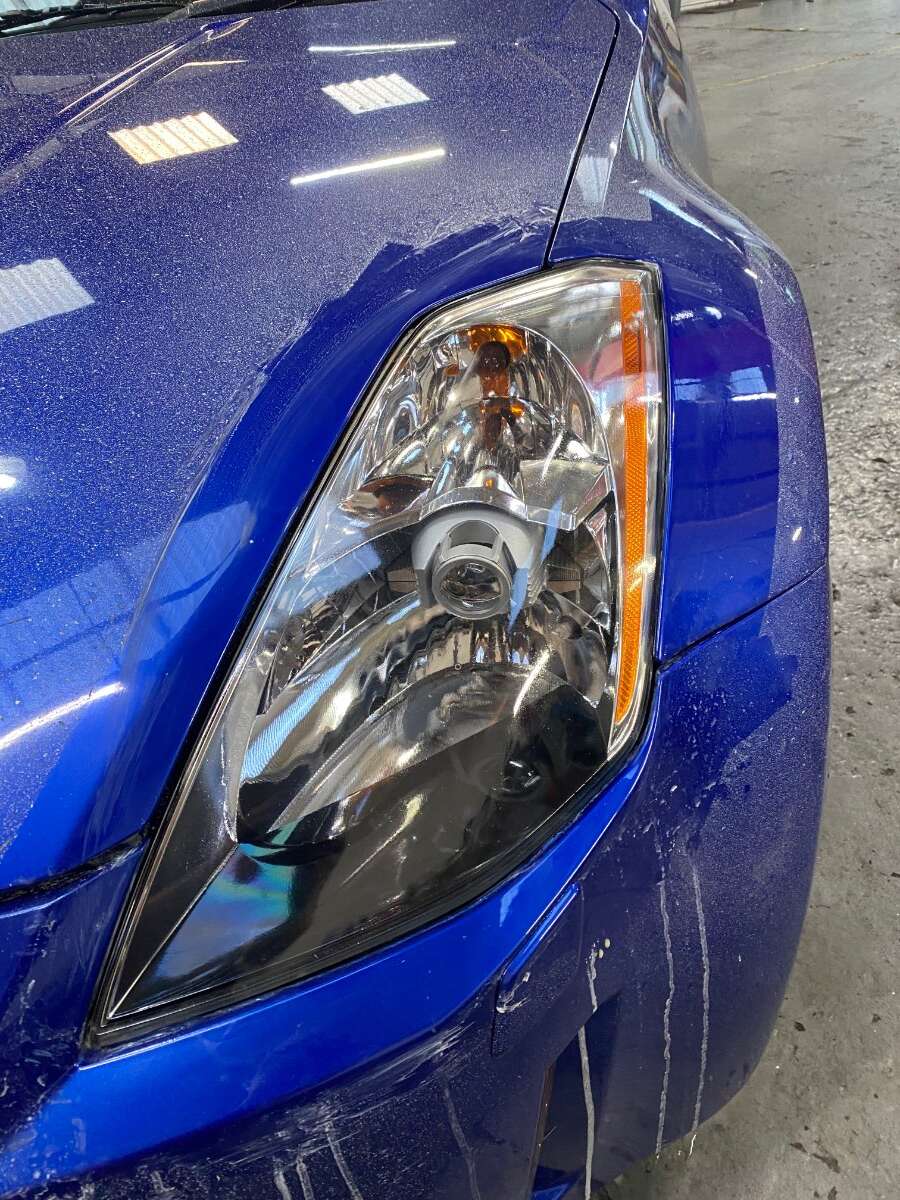
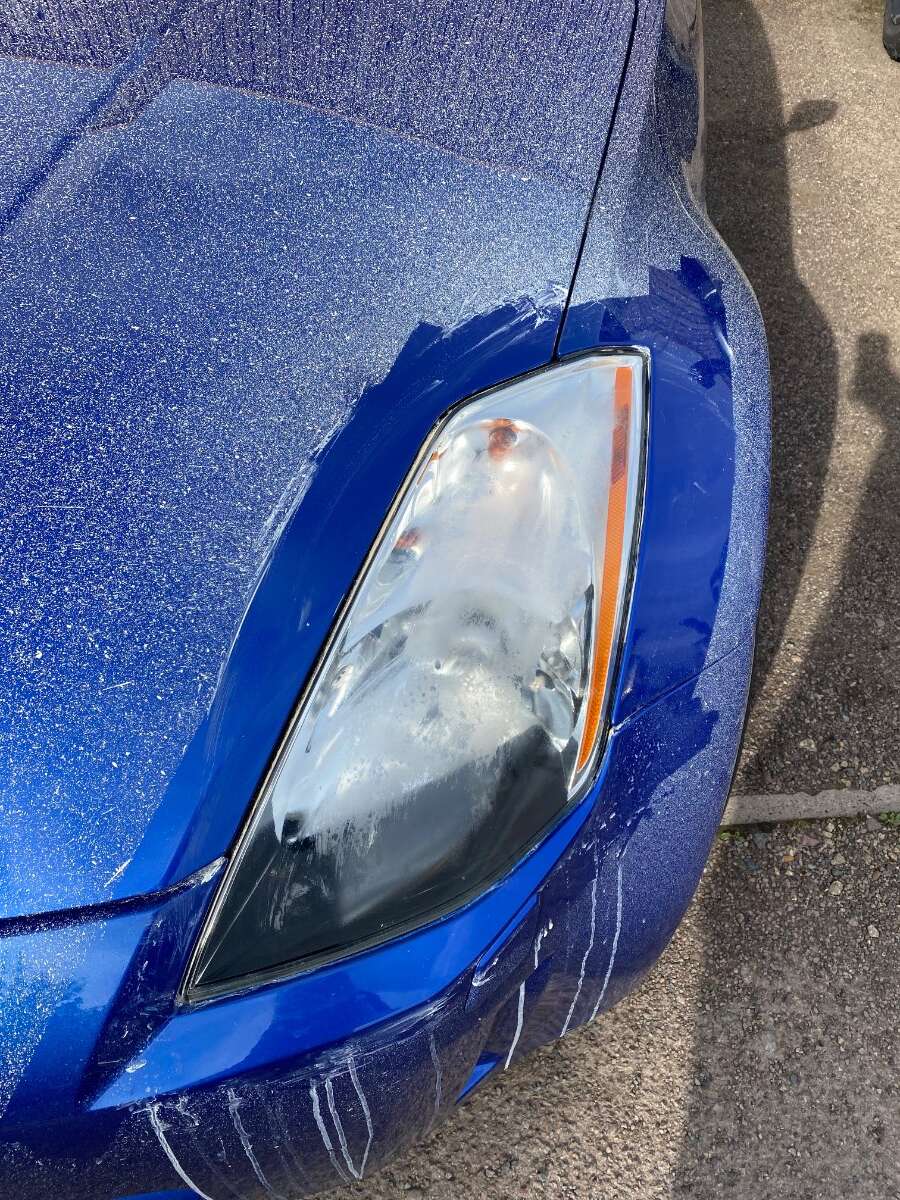
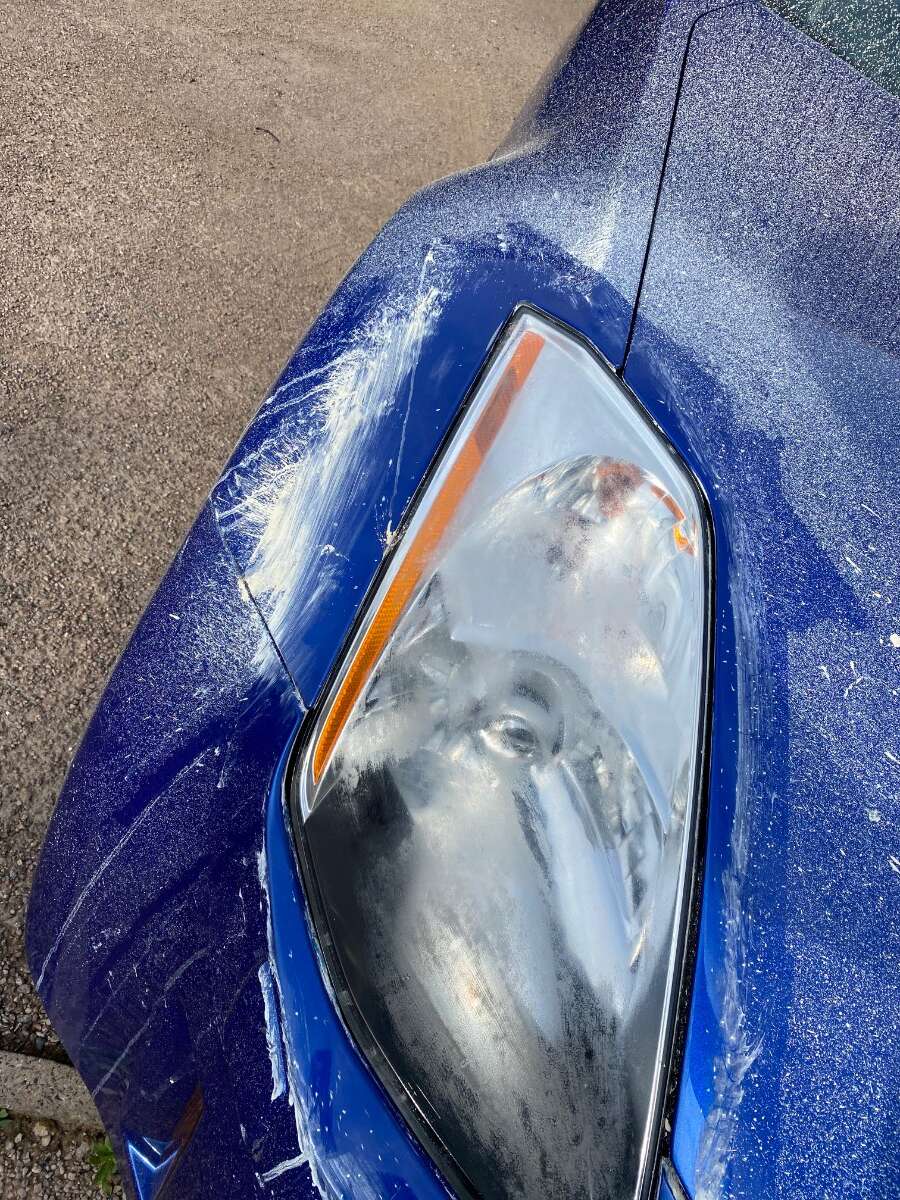
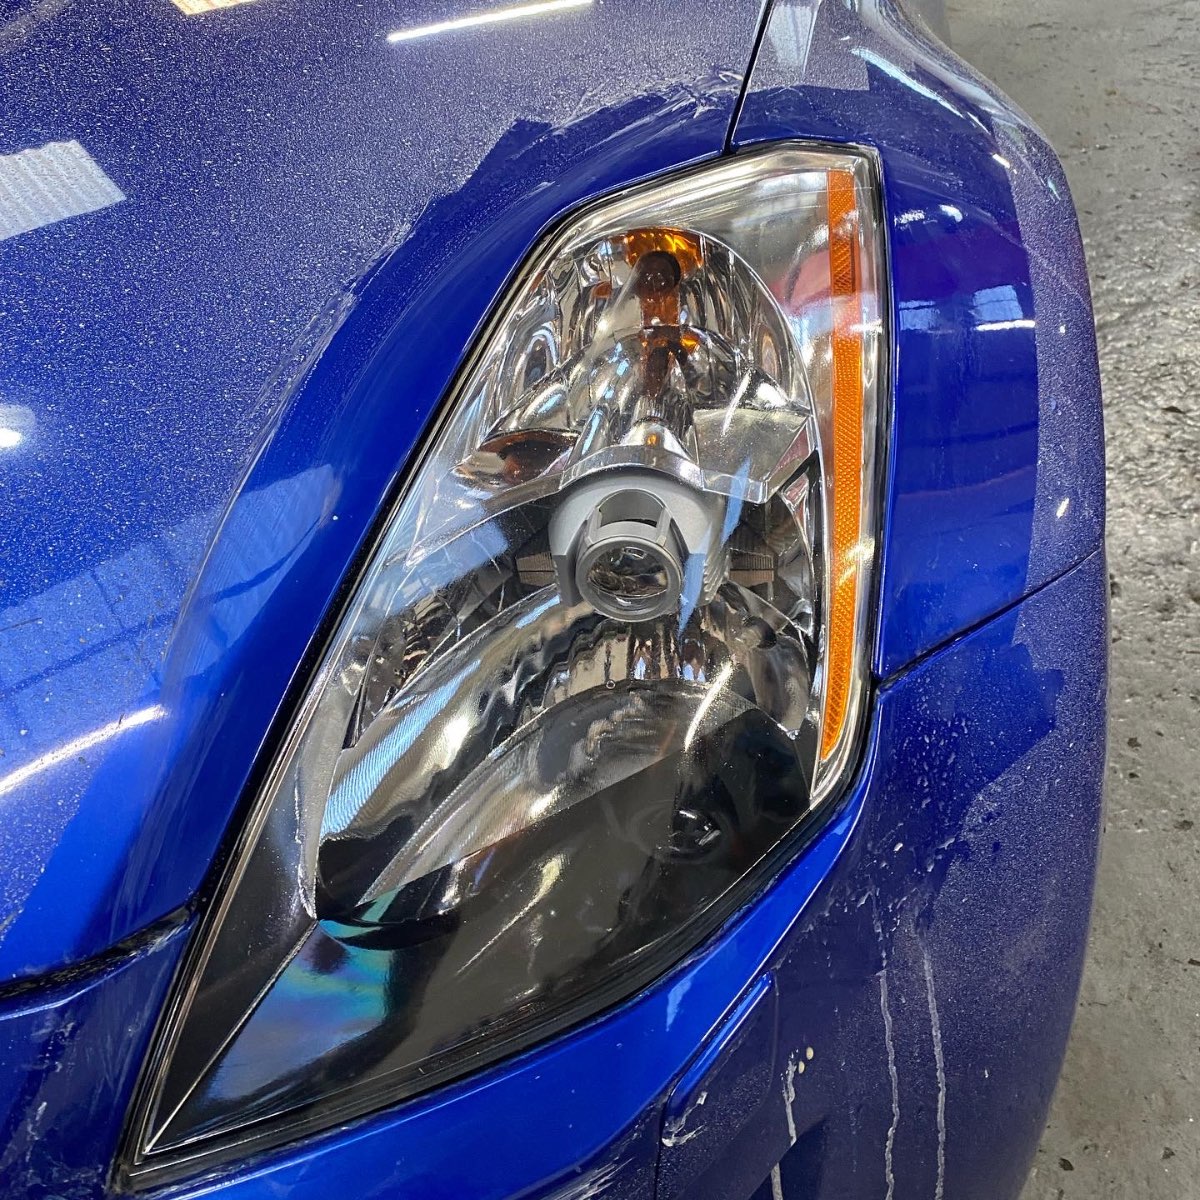
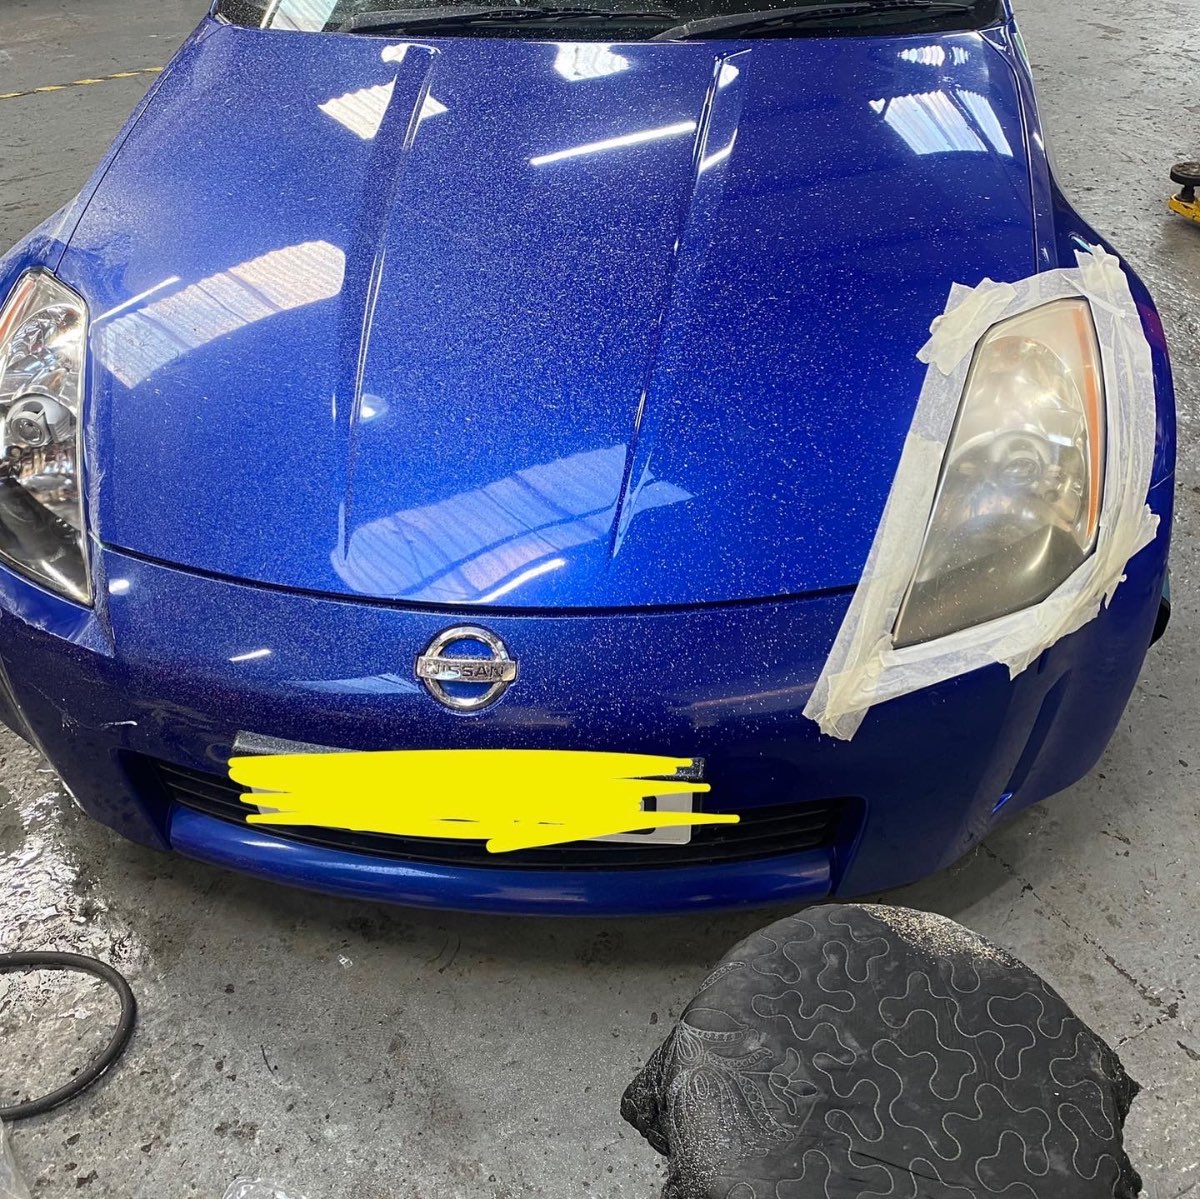
Follow on from this a full head light resto- good hour or so of sanding and polishing- abs the mistake of using the silly uv protection which clouded up and made them look crap- and then had to re blooming polish them for another hour
-
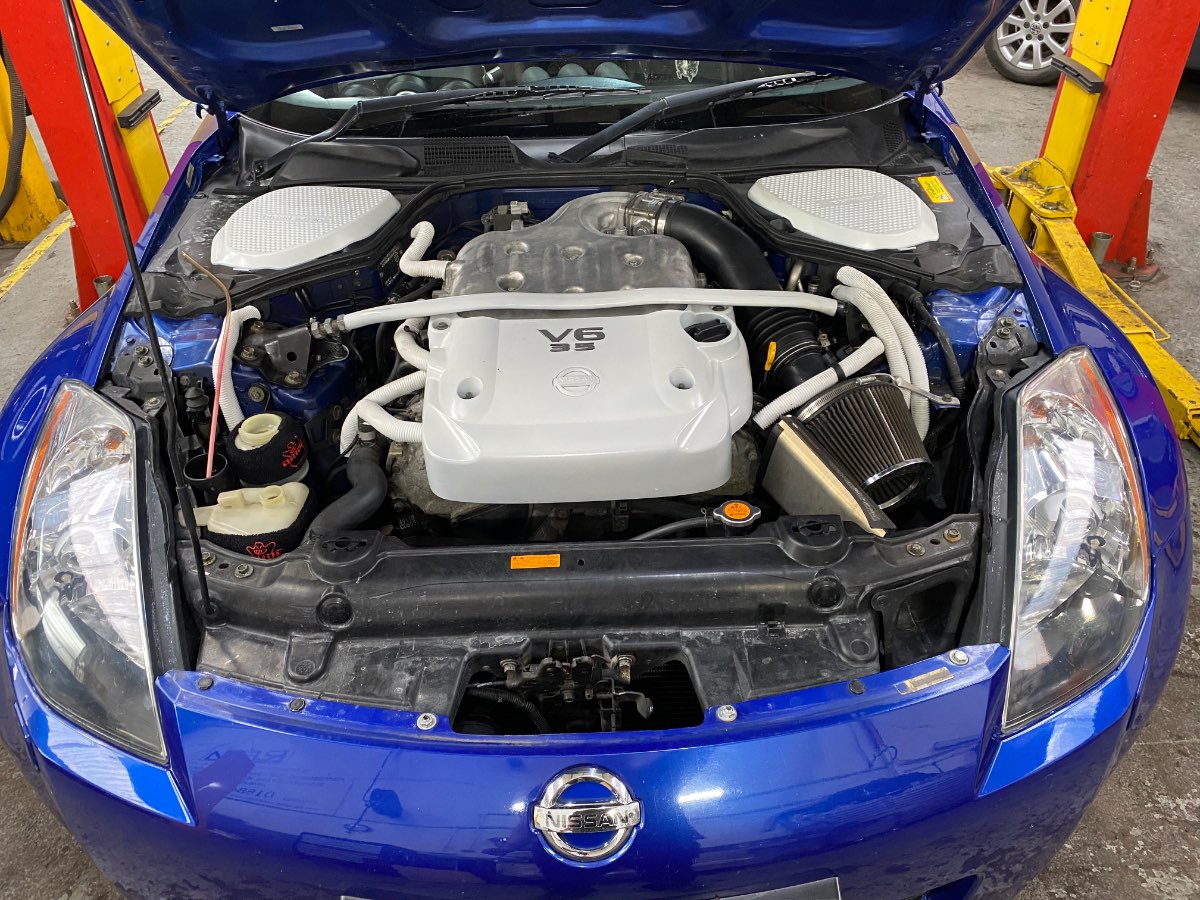
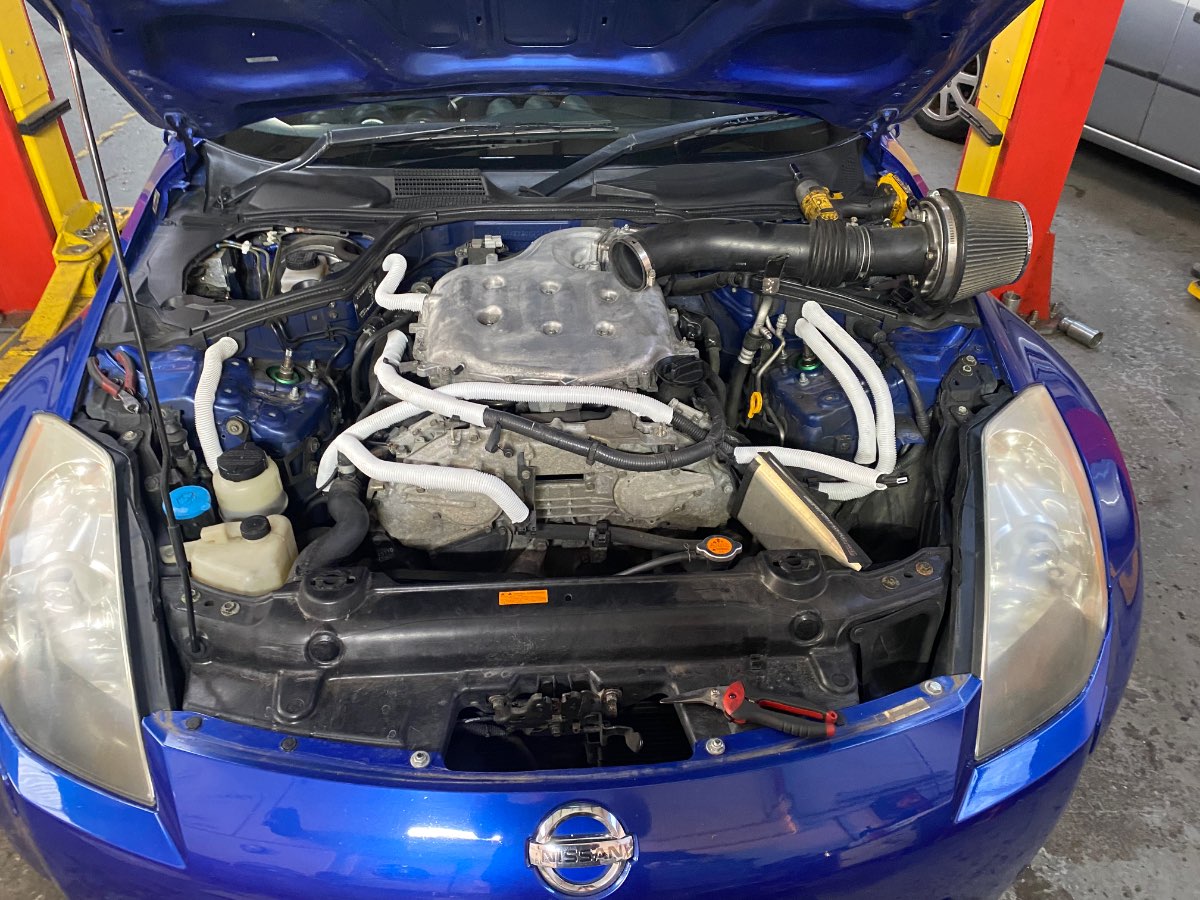
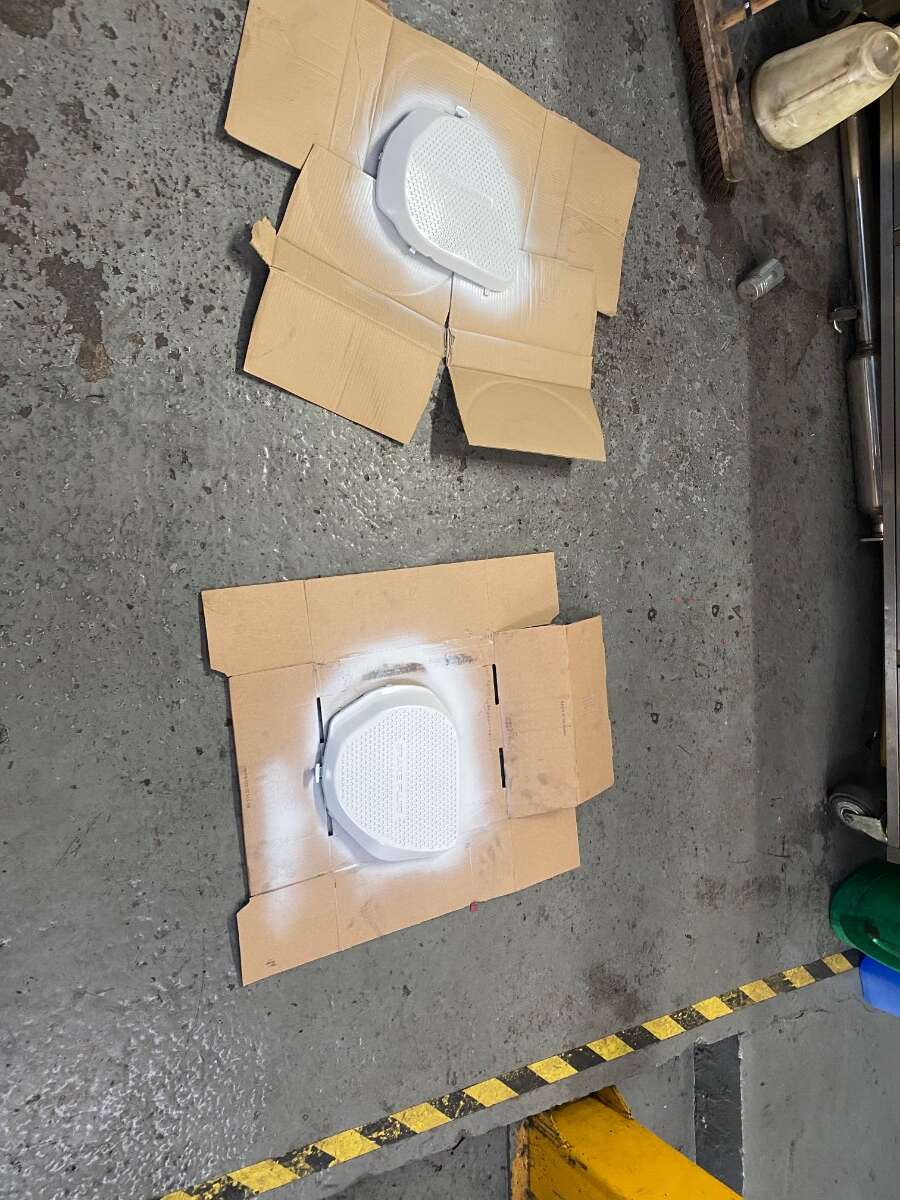
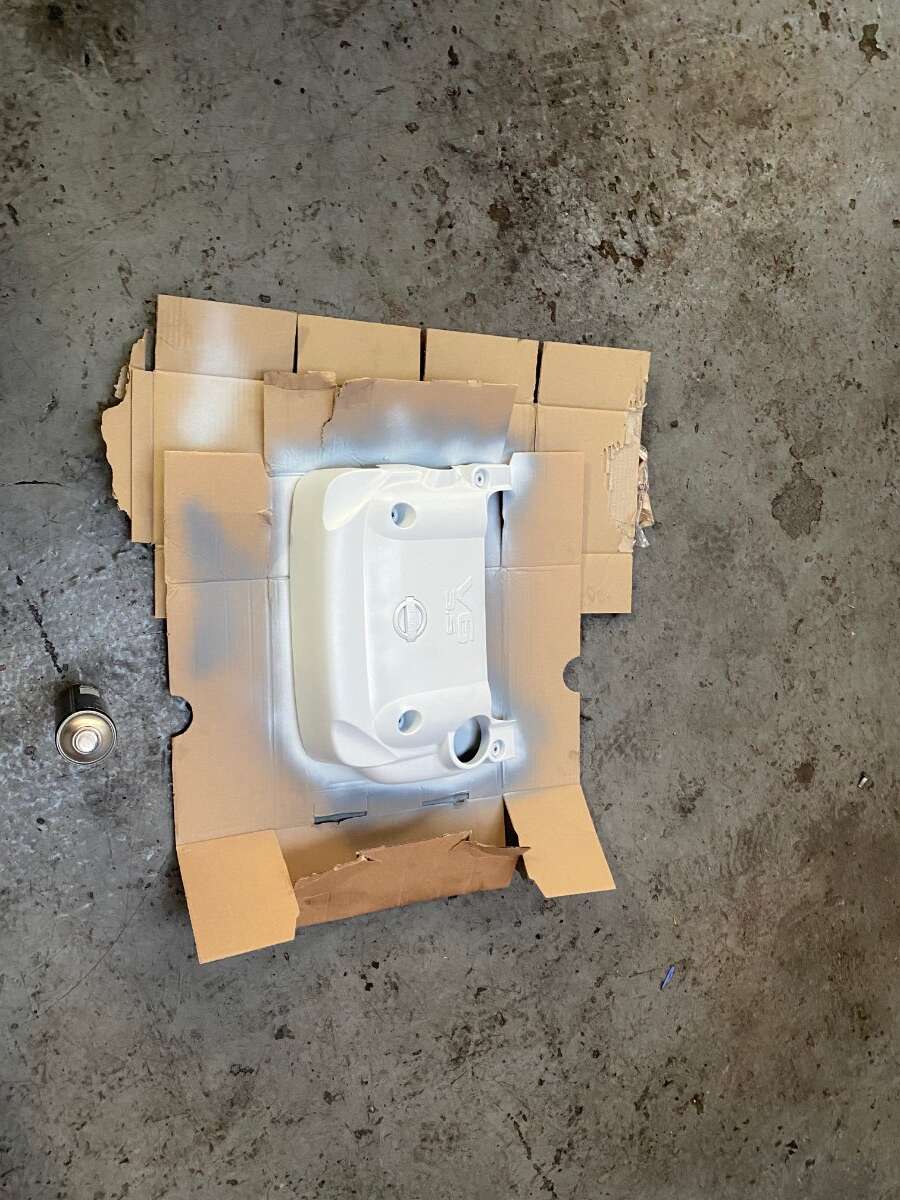
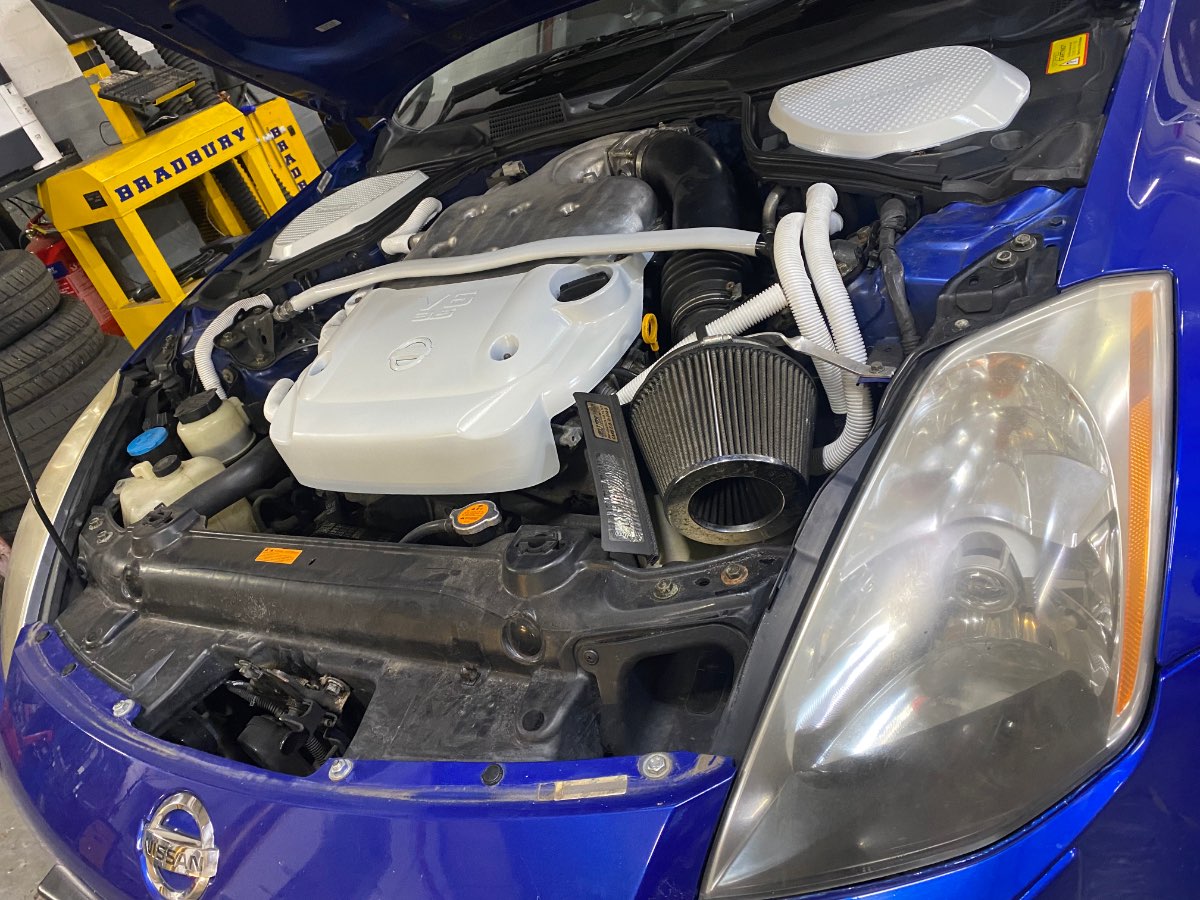
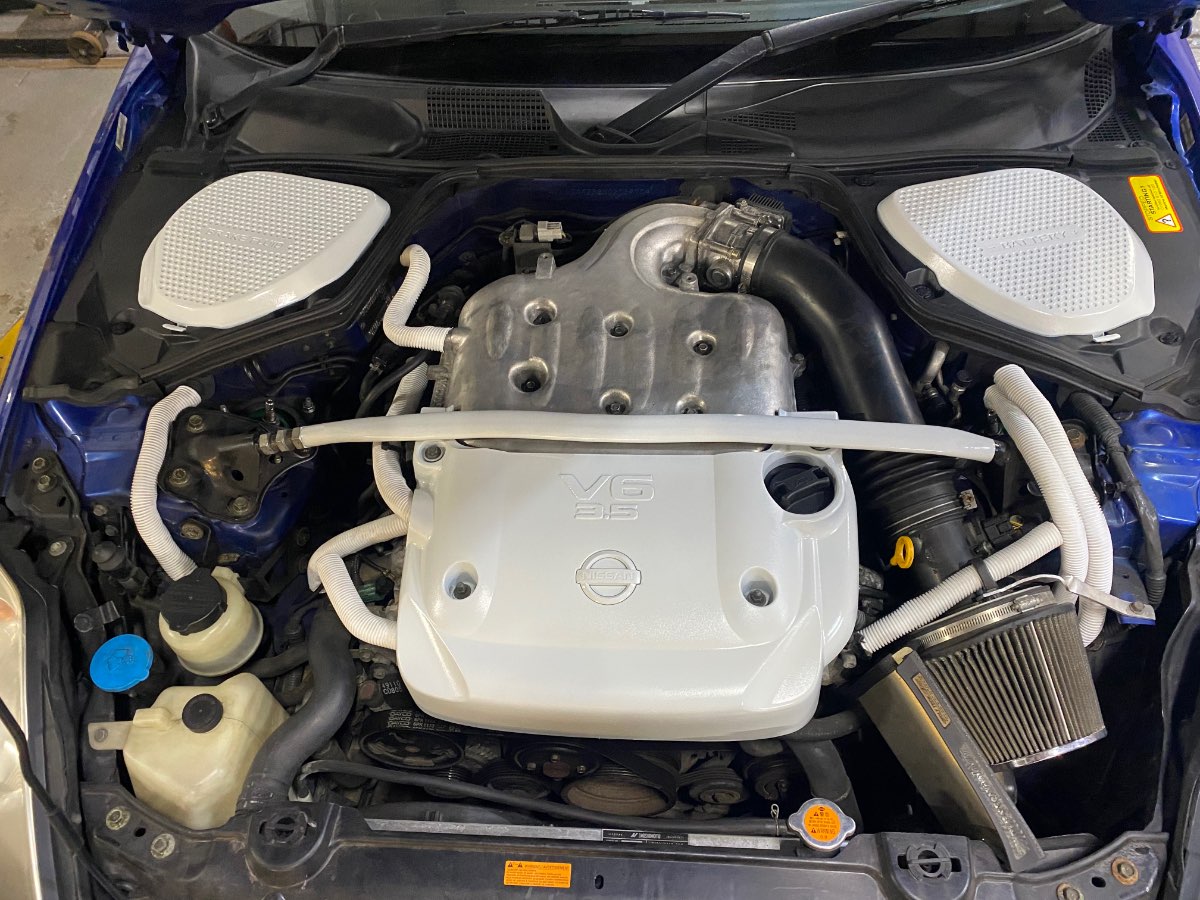
Continuing on- decided it was about time I atleast did something to address my dirty boring engine bay- with some ideas borrowed from Sam, I felt that I wanted to go a different route as not seen many people go white in the engine bay- volvo ice white to be precise- aswell some electrical convoluted tubing to help set off some of wiring- this was not fun to fit and also I’ll have to replace soon as it’s dirty already 😂😂

-
Great work thanks everyone who was involved! and all the hard work it takes! looks awesome!
-
Love the name 😂😂 nope I didn’t as when I asked for a price for fettling they couldn’t give me a price and I could just hear alarm bells in my head, they said they just paid a body shop to fit it and he didn’t discuss a price, you could always go in to speak to them
-
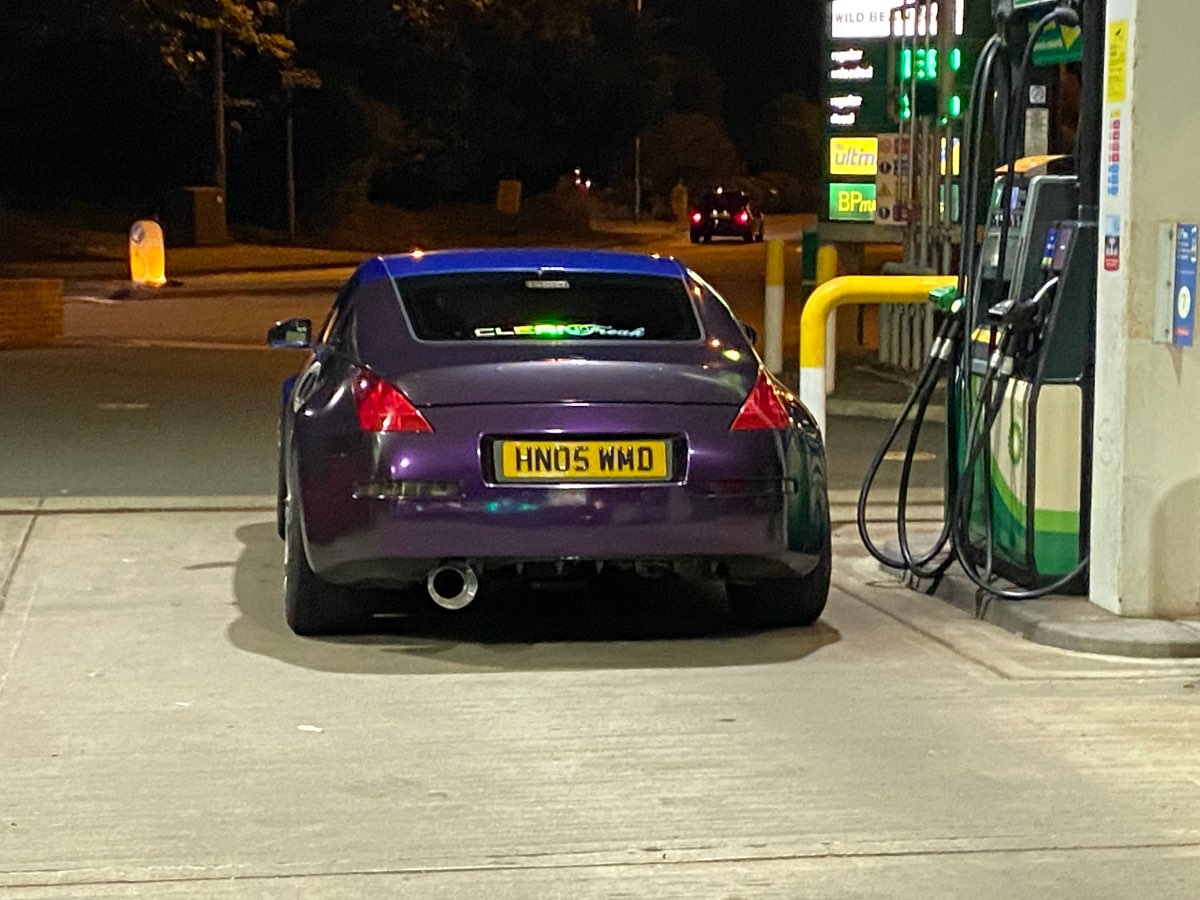
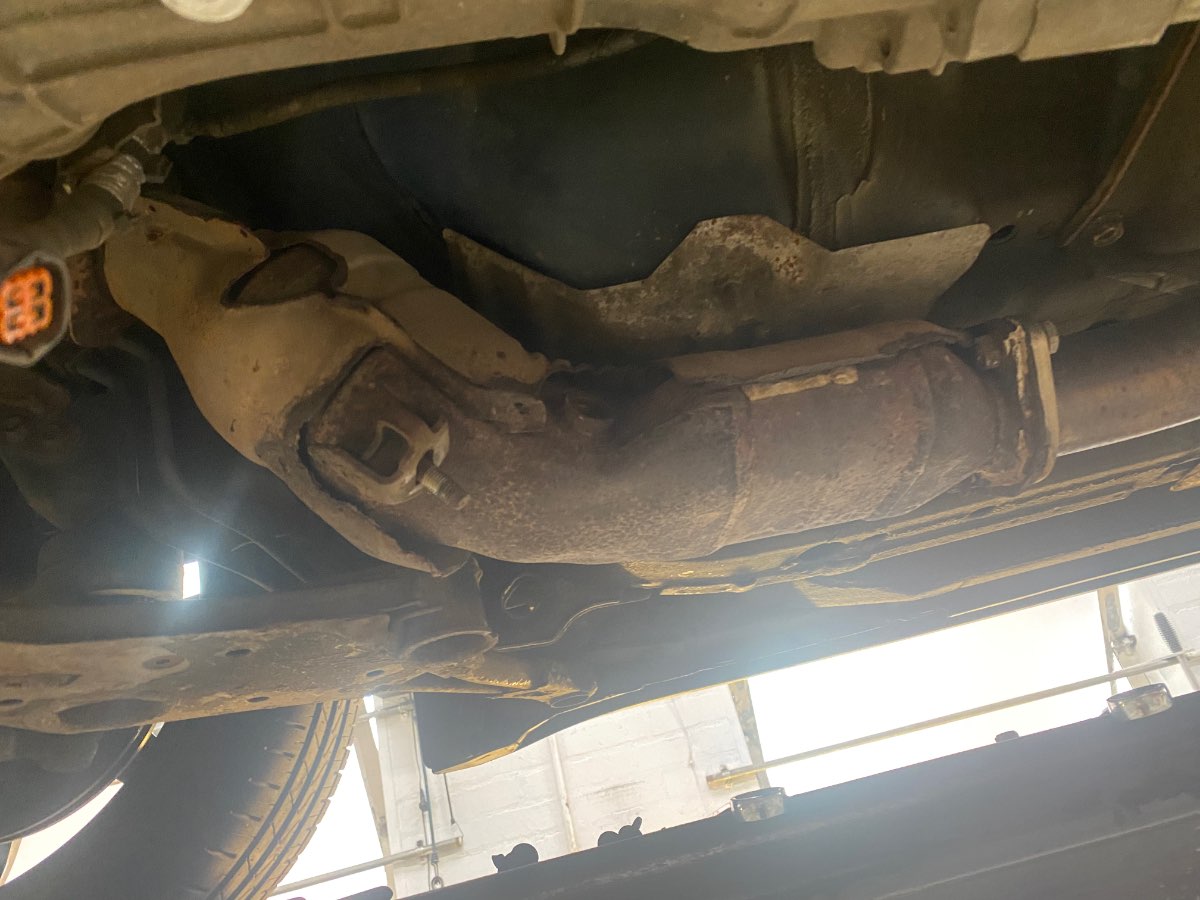
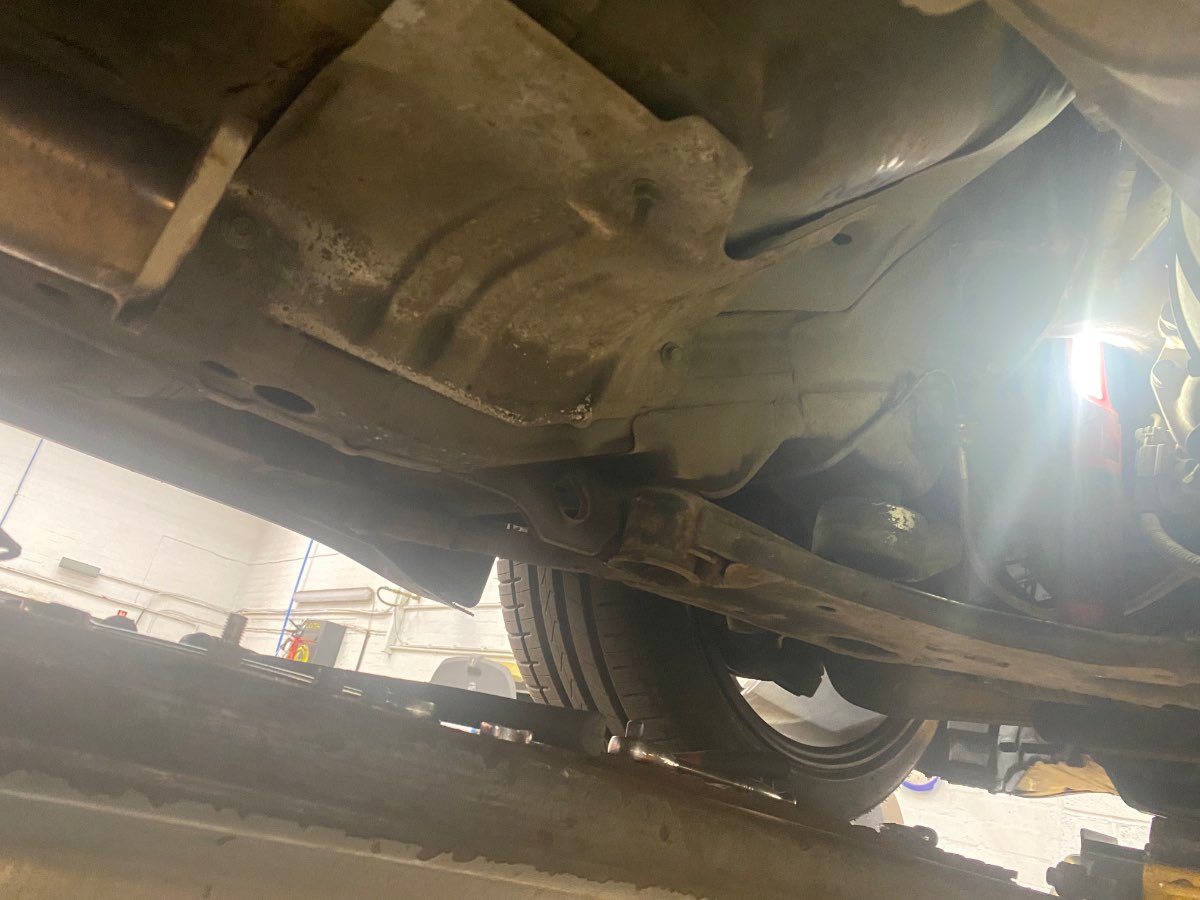
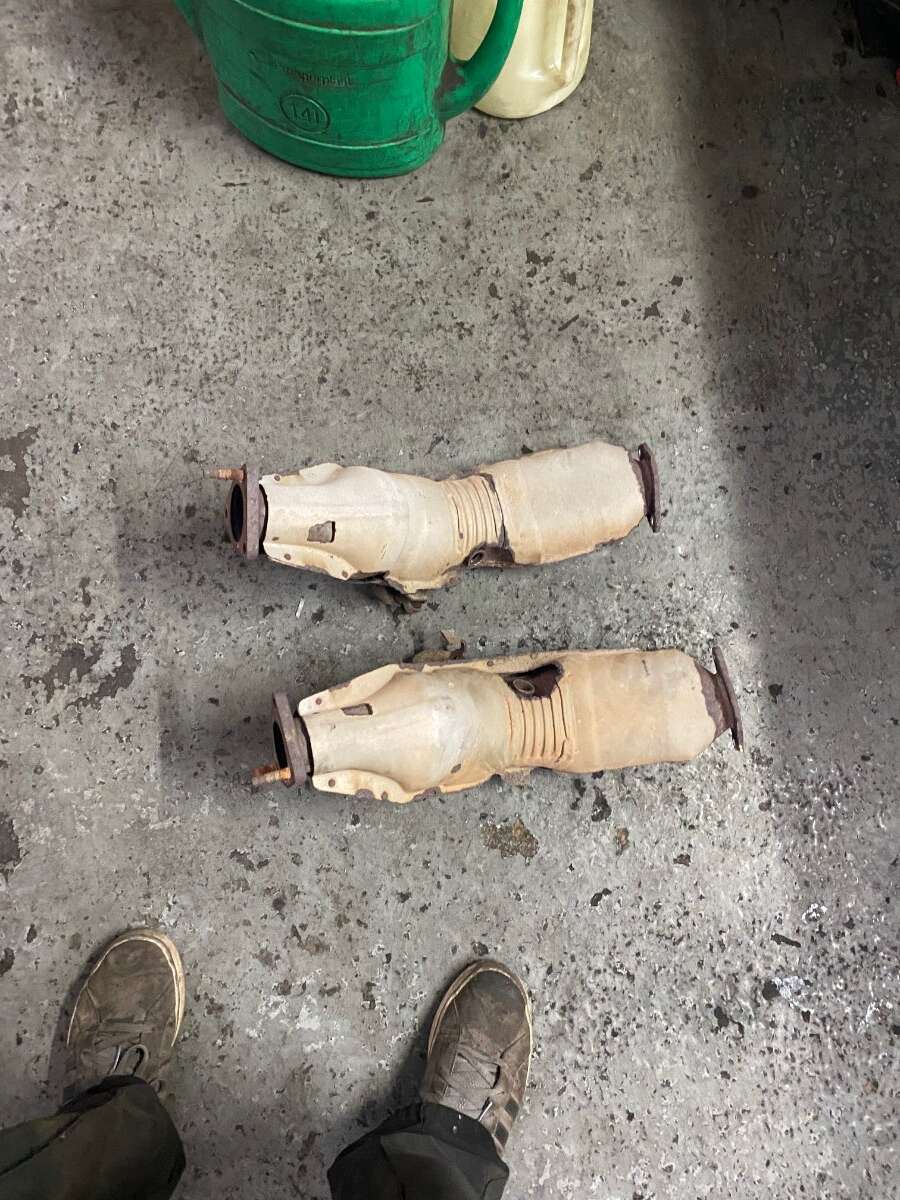
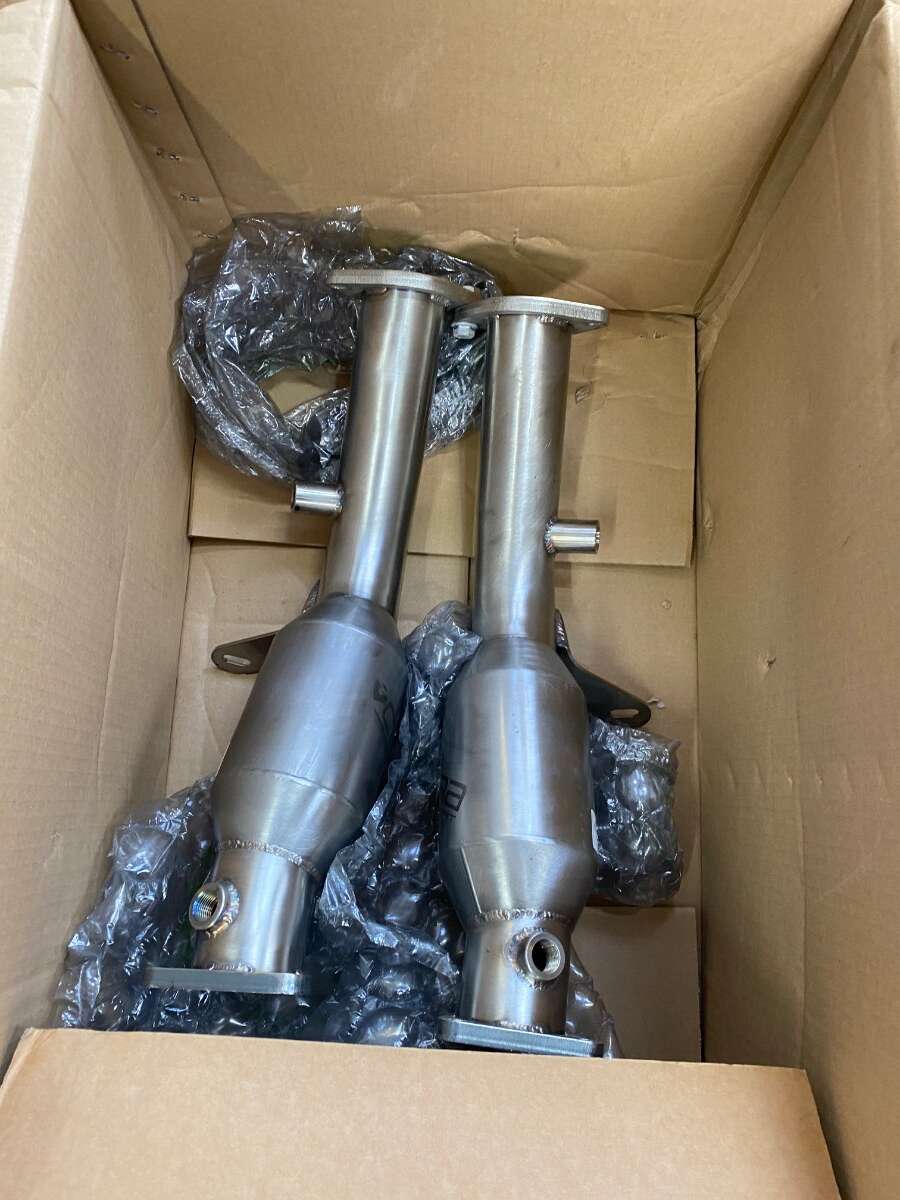
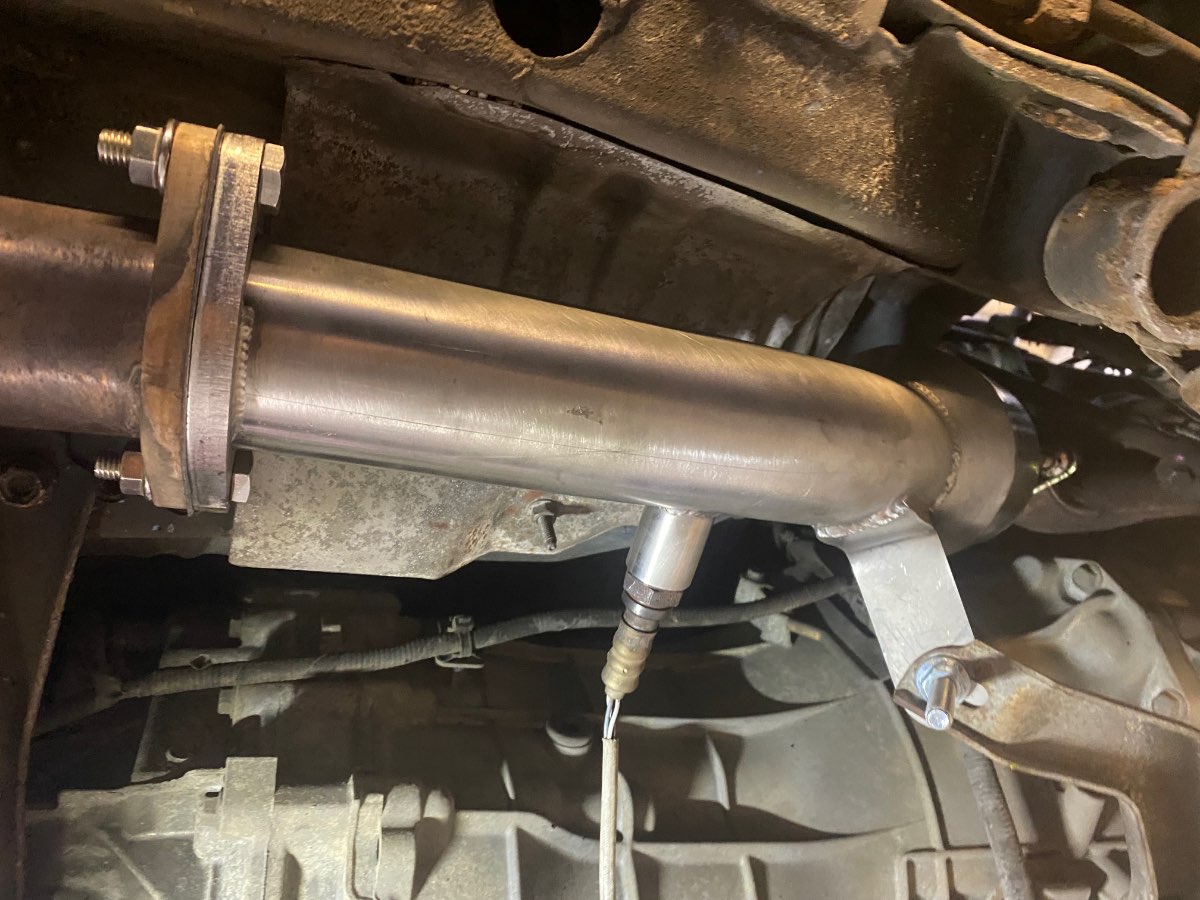
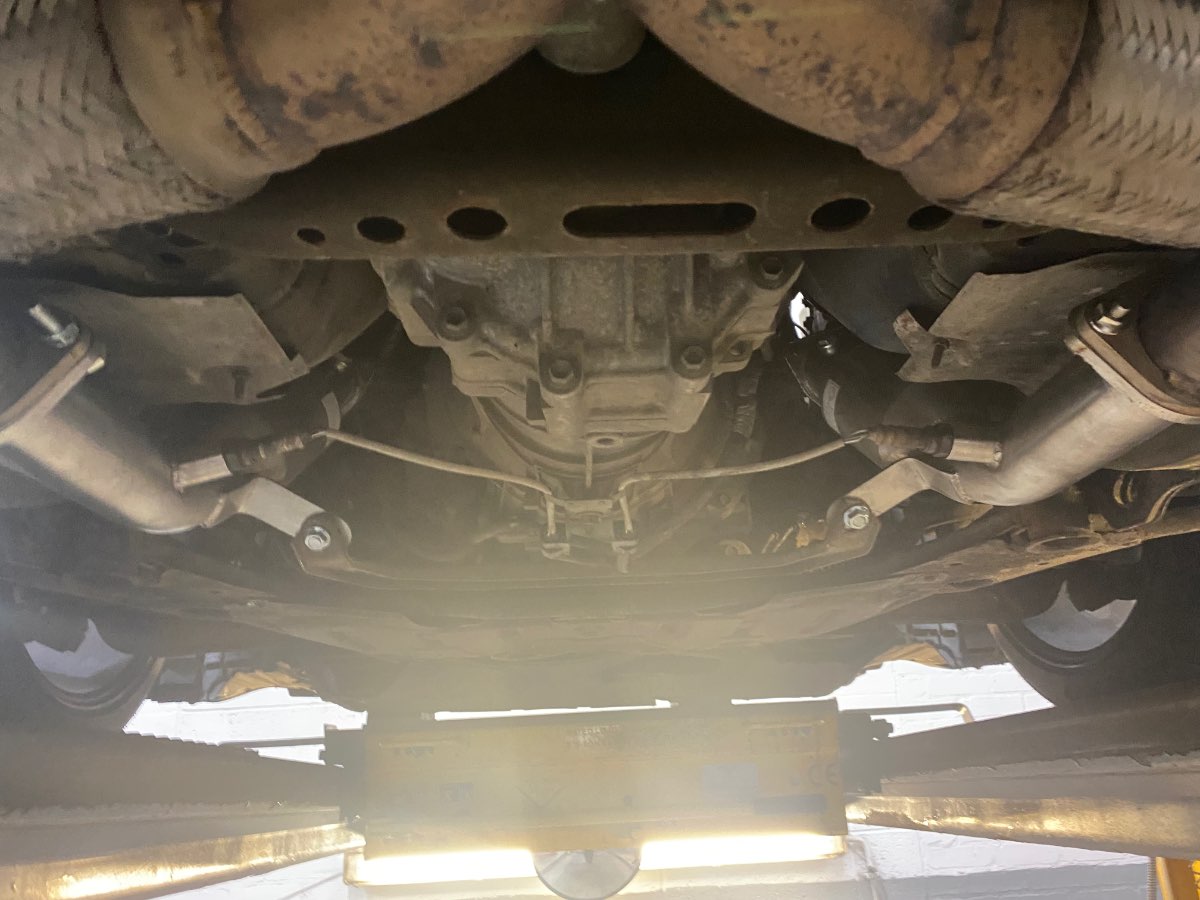
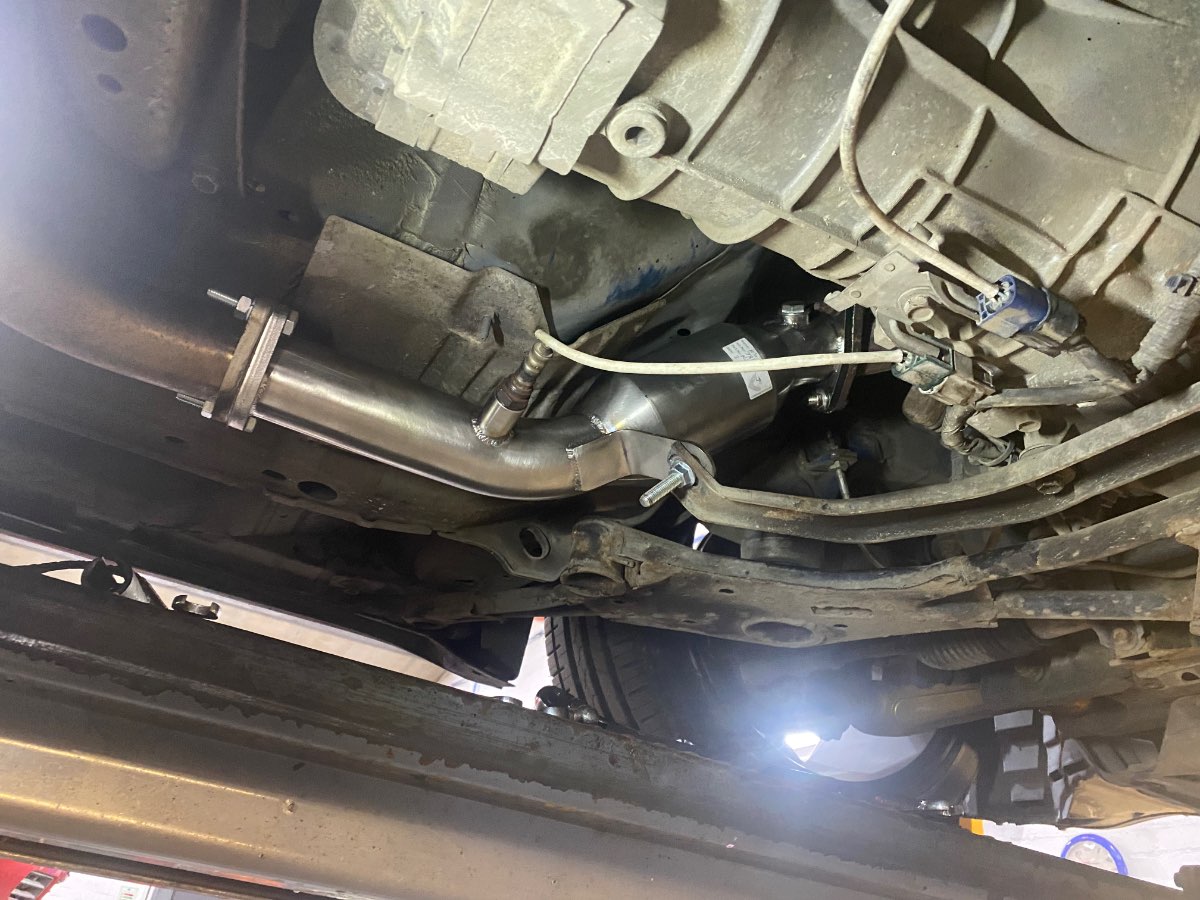
So… start to the big stuff, purchased these cobra sports cats off @Fluke ages ago, fitted them the day they arrived- 4 of the easy access nuts easily came off and of course the two rear facing nuts were hard as hell to get off, had to use a couple of long as hell extensions and a lot of brute force but they went eventually! Tie that up with some new flame ring gaskets and bolts n it was good to go! The lambdas came out good as gold bit of copper slip on the threads and cleaned the tips. Happy days! the sound is just phenomenal combined with the single exit! almost deafening at 4k haha
-
Haha thanks mate, only a few bits here and there, really really nice feel to it honestly so happy aha
-
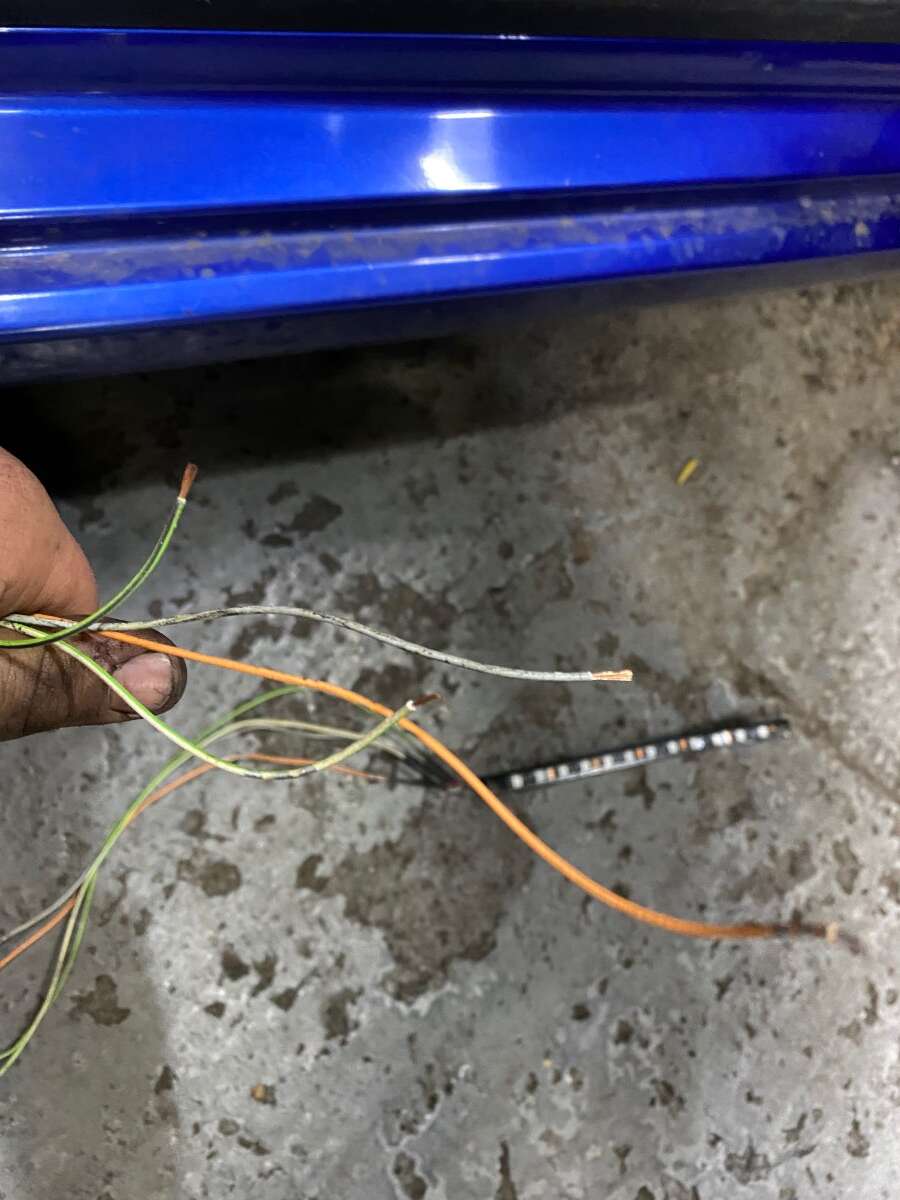
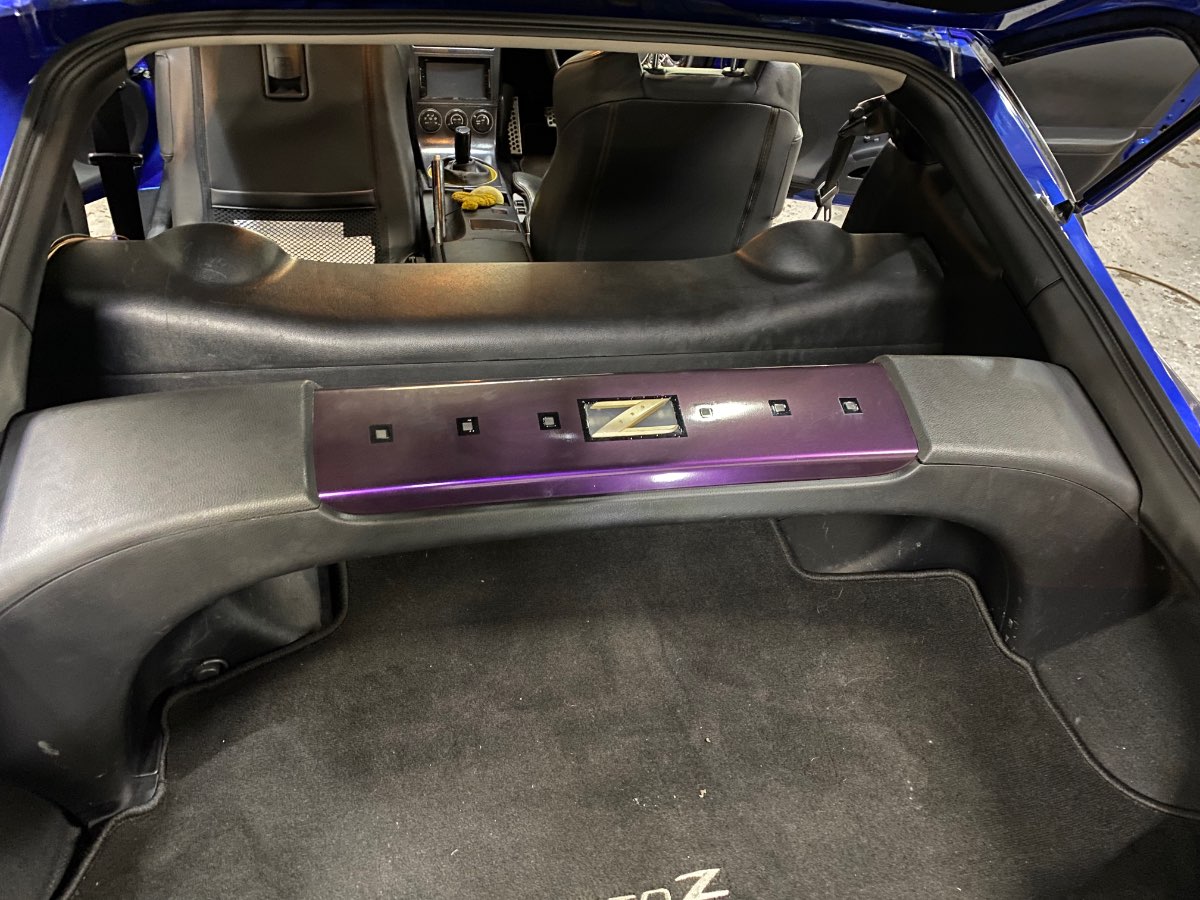
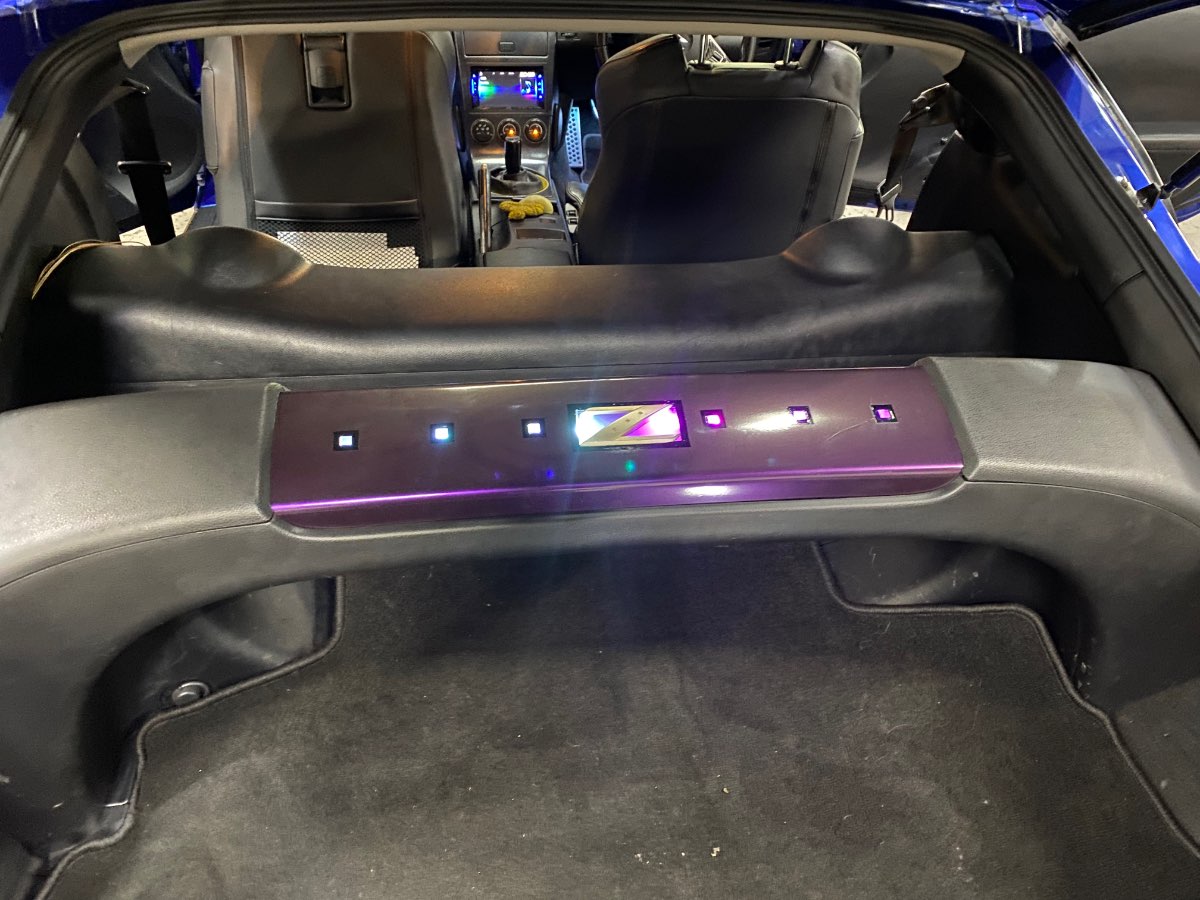
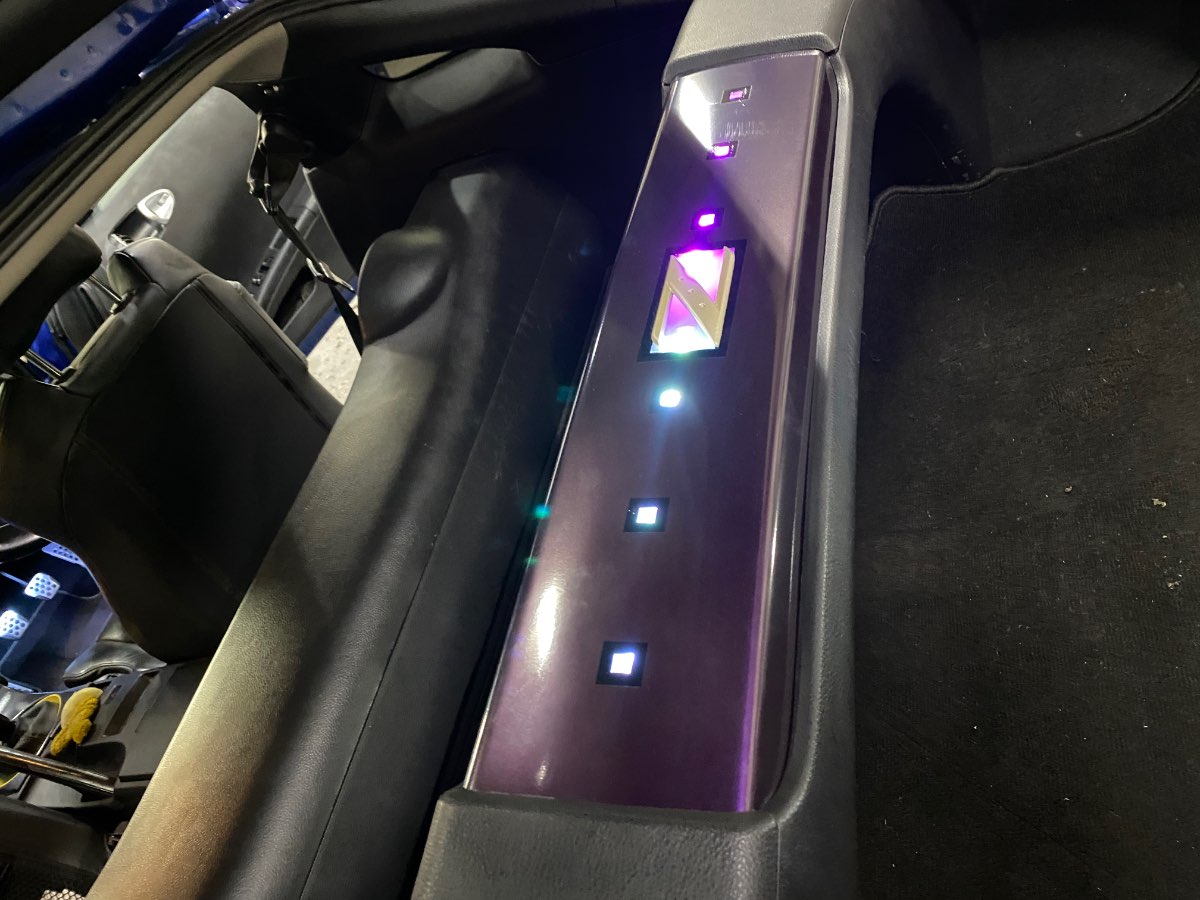
Had the trim wrapped bu my trusting wrapping friends at signs central who will be featured shortly here! they also bordered the squares for added feature. As I already have an interior lighting system and we only have two footwells I decided this would be a better use for the other two light units- so I cut and soldered two lots of extensions done in so I could reach the wires up to the rear strut bar, after tucking away the wires and trying to not stress the joints “being the heavy handed thug I am” I tried to press the body clips into position and cracked the one side! But ta da I’m happy with the overall product

-
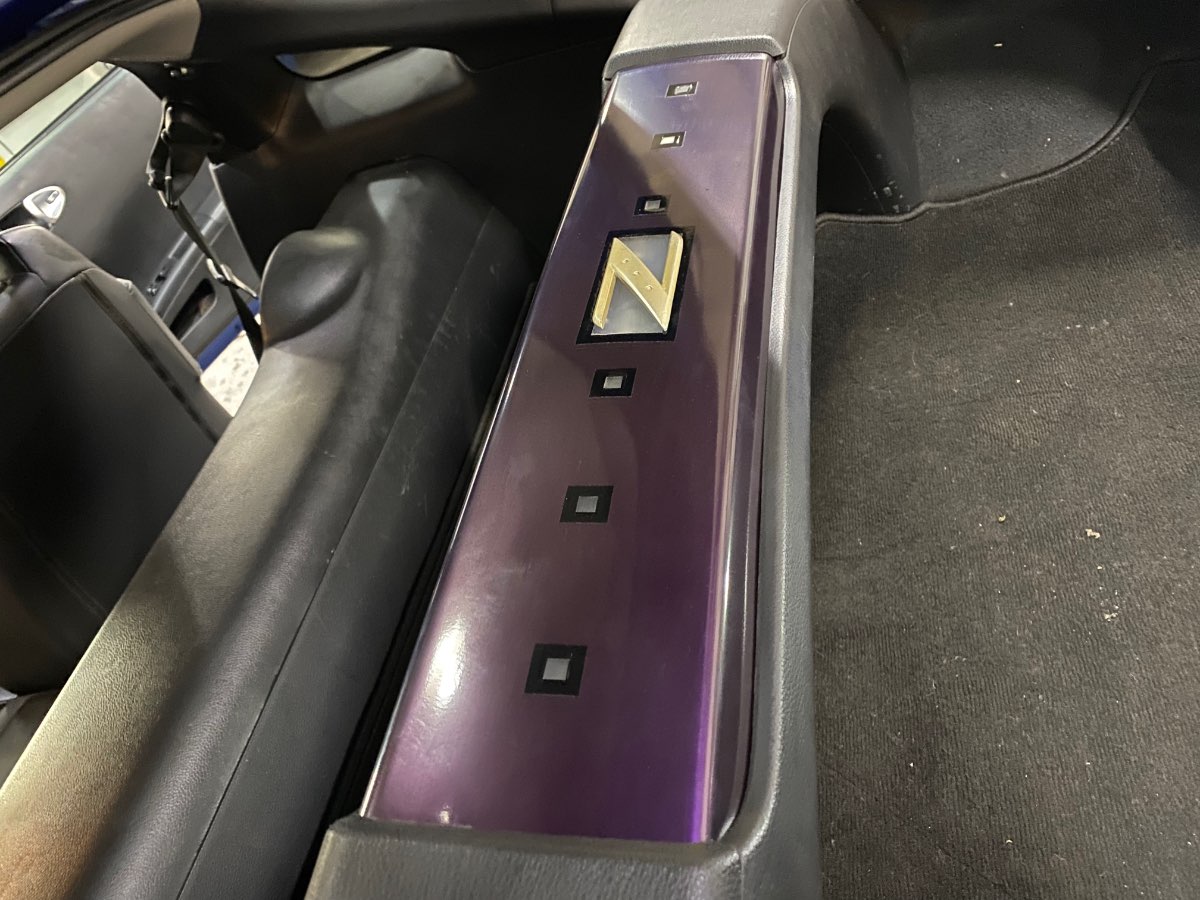
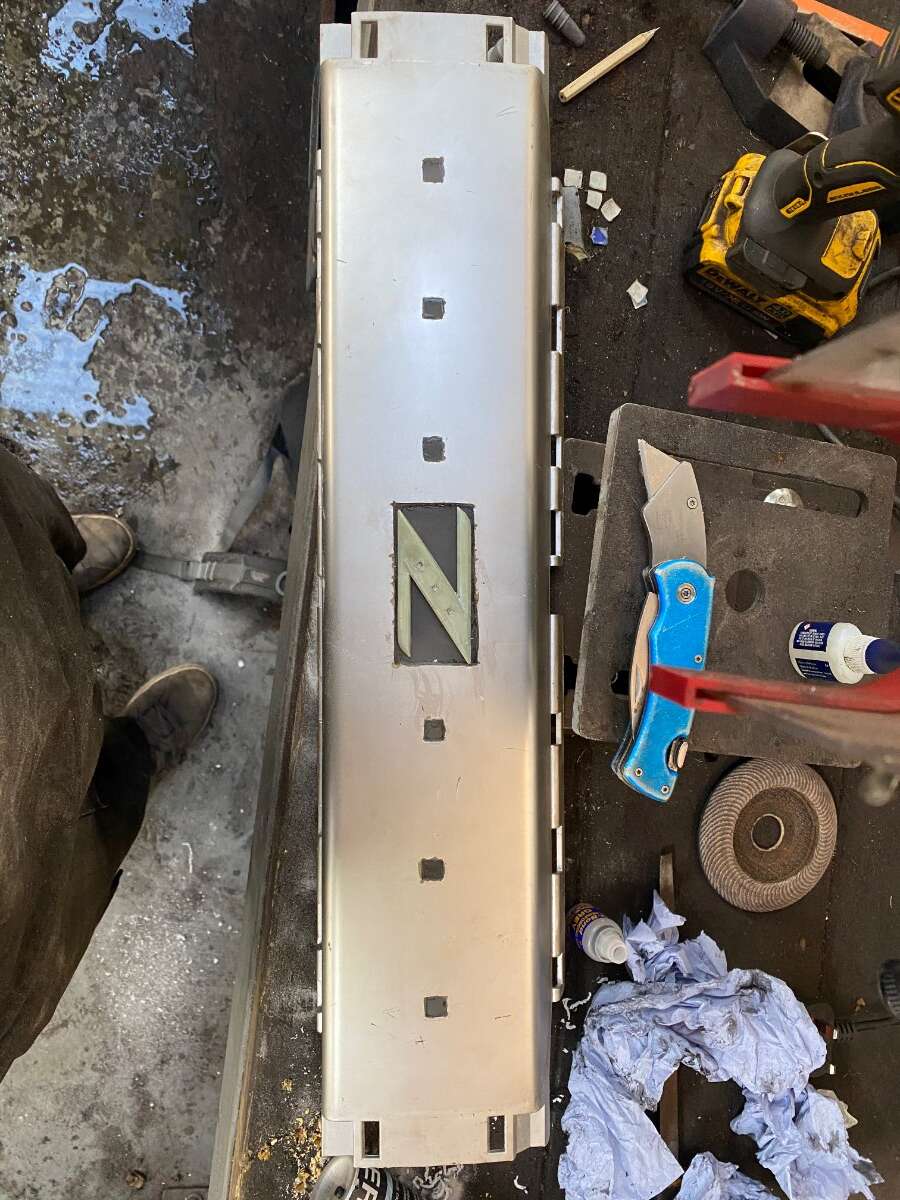
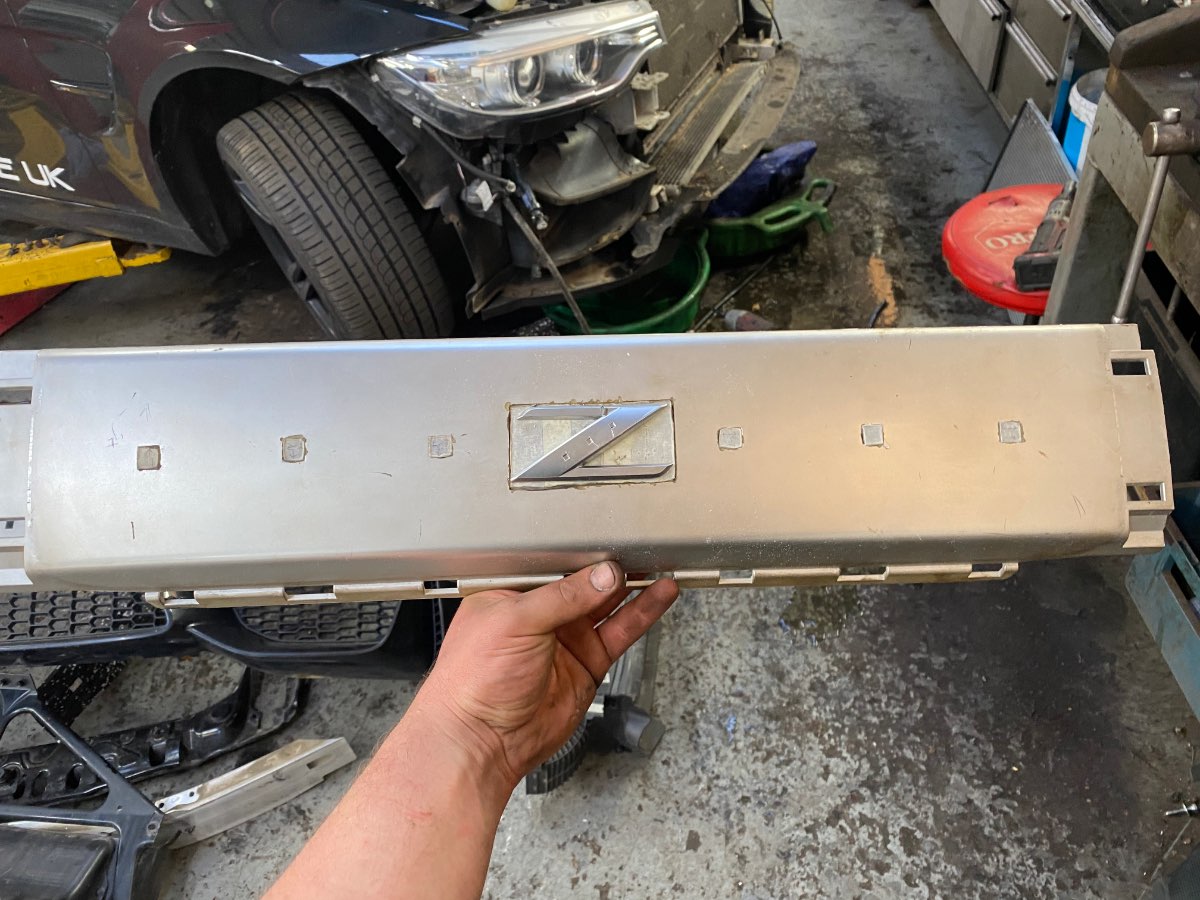
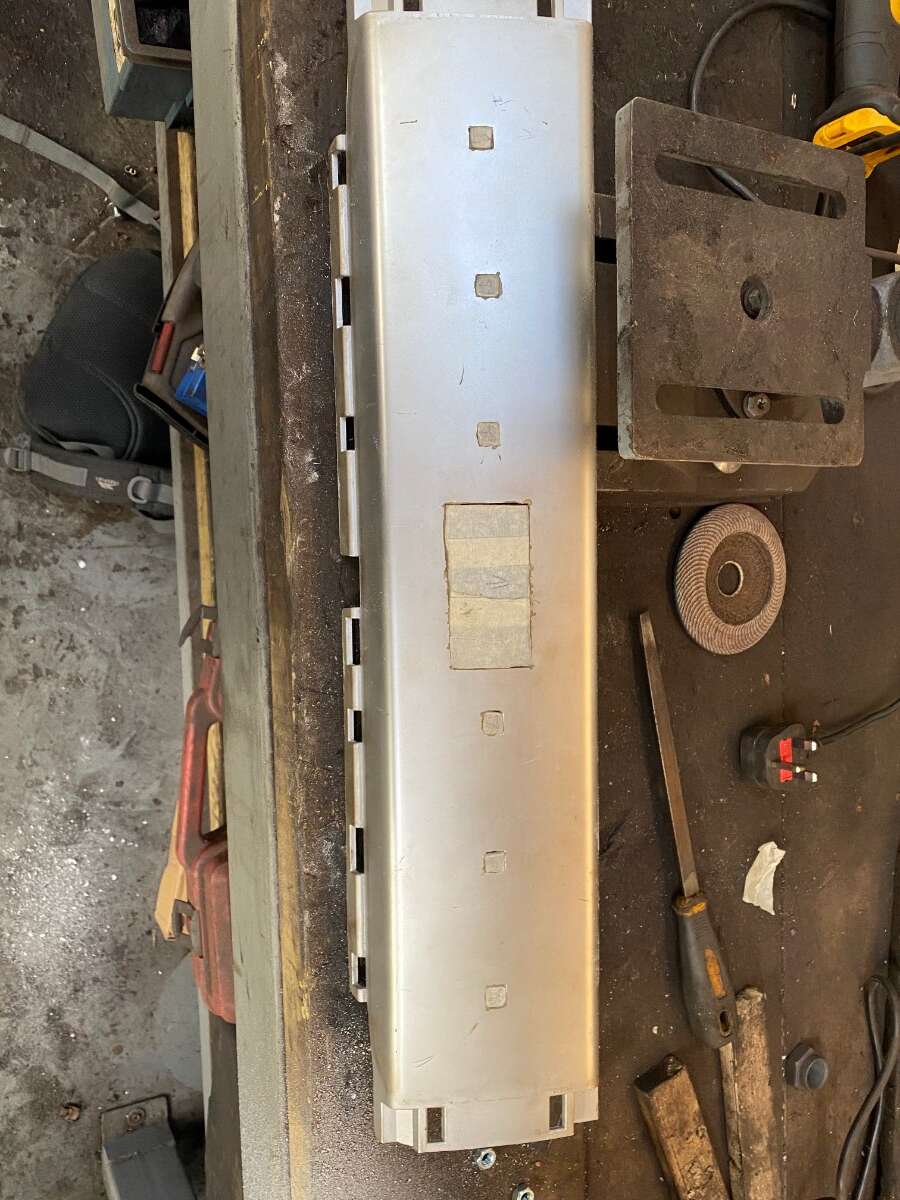
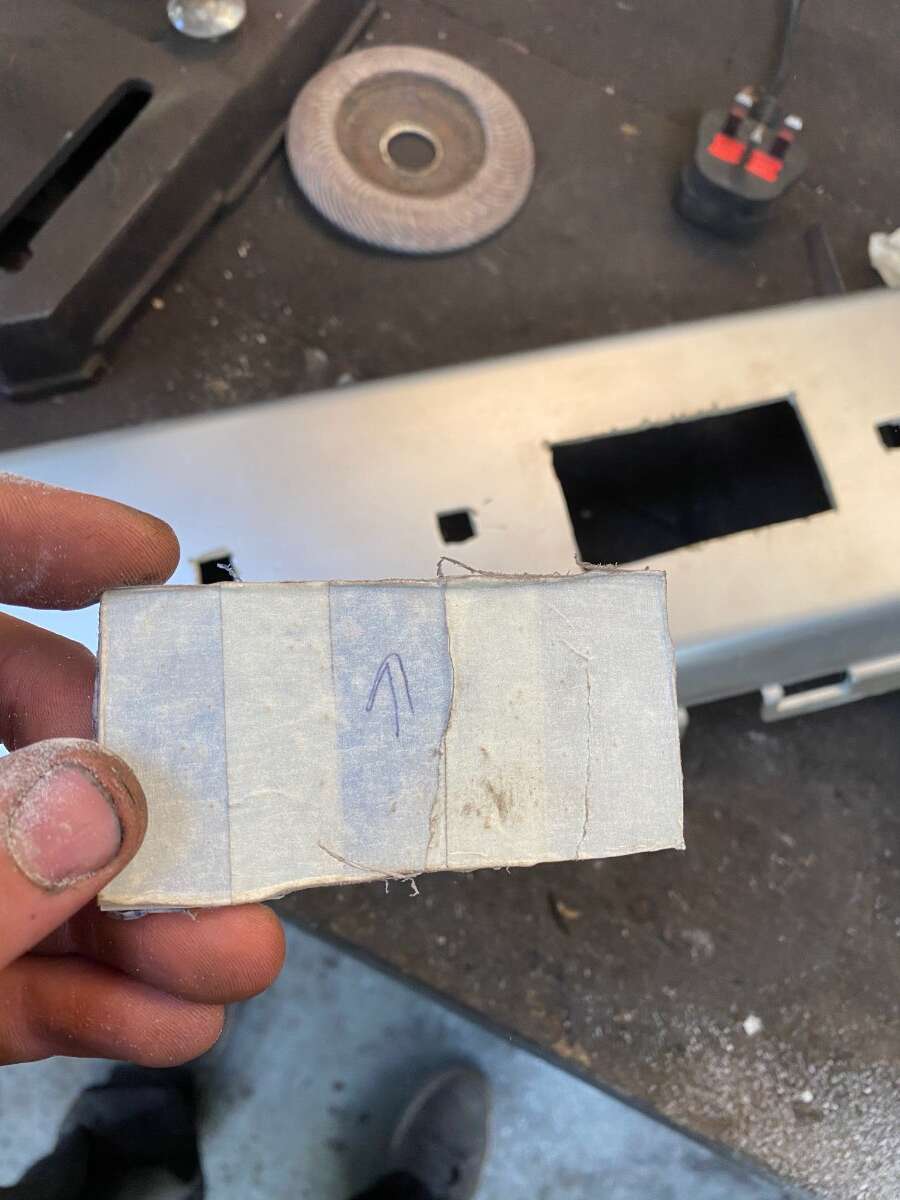
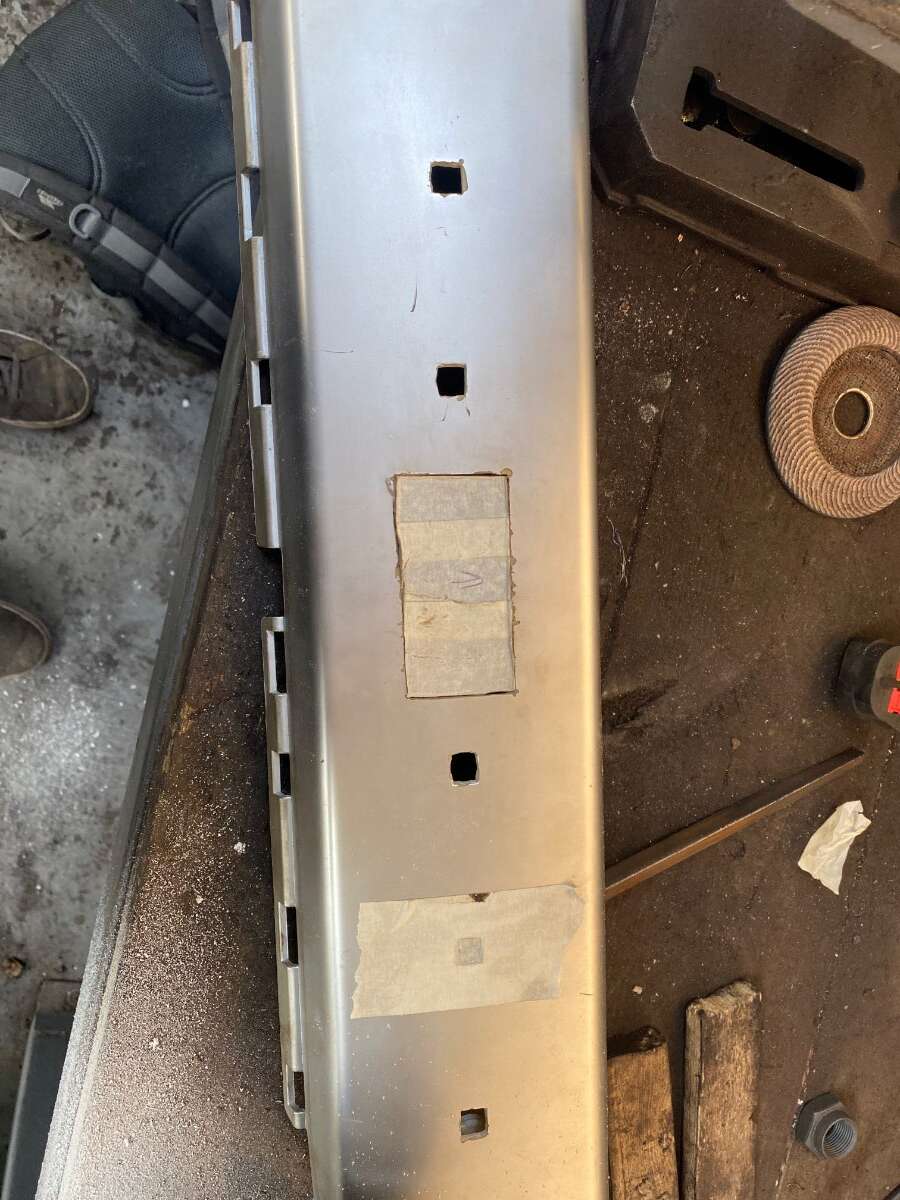
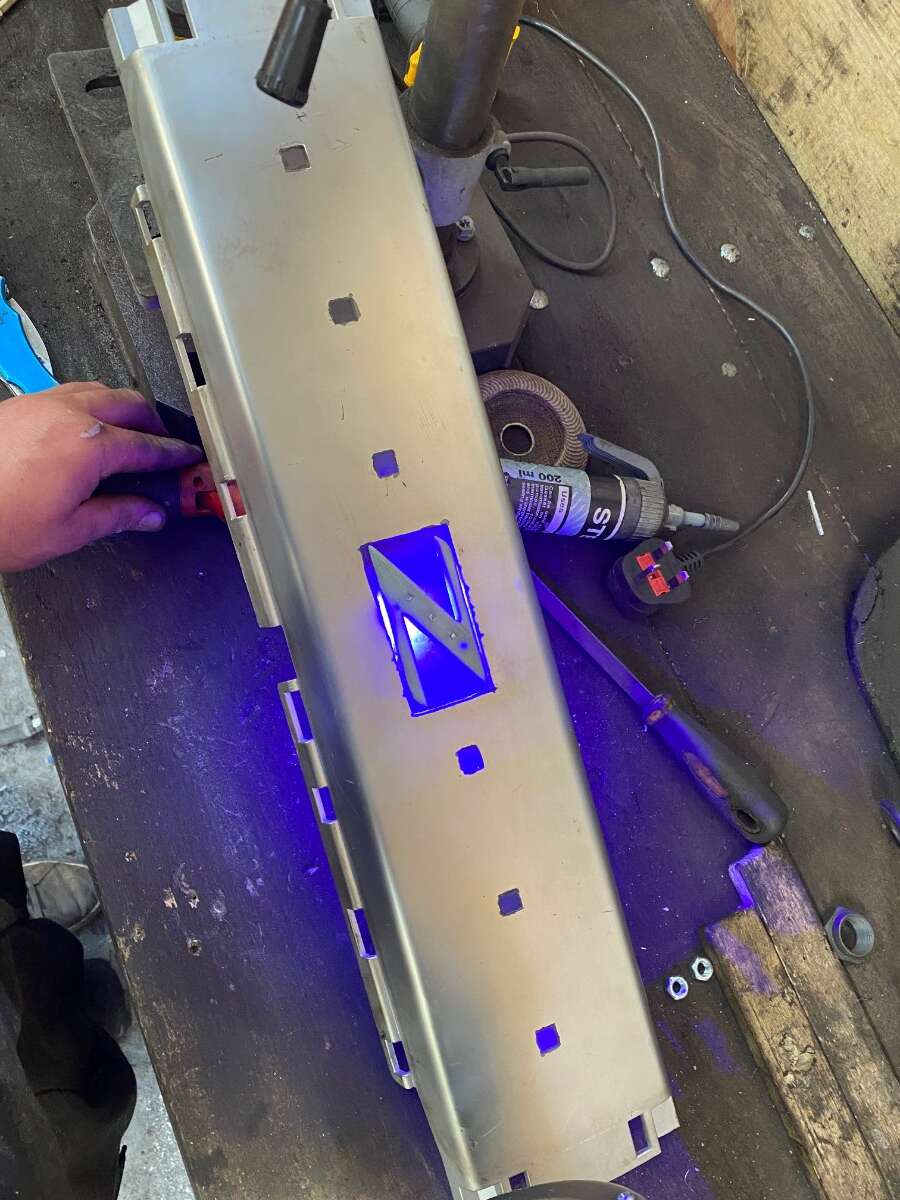
So continuing on- I decided to do something a bit different by doing something with my parcel shelf logo as it’s such a great idea which could be built in greatly- I saw someone make their own idea but I’ve never seen anyone use the Oem bar- You’ll see the idea that I’m going for here- used drill to bore out the majority of the spaces, then a small dremmel and a finger grinder to work out the spaces- this grp material is not fun to work with and you have to be careful as it chips really easily. found it good to actually warm up the drill first to sort out melt the plastic- then I used my super saver mini files I bought from Aldi To save writing up later I’ll give you the finished product here- this was a good three months in the making- after cutting and filing the frosted Perspex to fix exactly in the holes, after supergluing and filling holes I emery taped the excess glue off as you wouldn’t see the joins after-
-
Sam from Worcestershire ( update April 2023 )
Azurez33 replied to Monkey1983's topic in Introductions & Welcome Messages
What he said 😂 -
Sam from Worcestershire ( update April 2023 )
Azurez33 replied to Monkey1983's topic in Introductions & Welcome Messages
As am I as they were dreadful to get the tyres off 😂 -
Well atleast twos company haha! I get much worse ones at work haha! yeah exactly what I did mate! Now I don’t feel like a lemon thankyou! Yes we have issues with some of those aswell haha! Stick to a bloody metal one not with plastic rubbish on it
-
Tbh I’ll probably be a pariah after saying this, level surface start it up once for a few seconds then leave it for about 30s then quickly dip it and pull it out and I can get a good read- atleast it’s not a sodding Renault traffic with the stupid plastic filller dipstick lid with a slow filler 💀
-
Sam from Worcestershire ( update April 2023 )
Azurez33 replied to Monkey1983's topic in Introductions & Welcome Messages
I didn’t say what work 😂😂 -
Sam from Worcestershire ( update April 2023 )
Azurez33 replied to Monkey1983's topic in Introductions & Welcome Messages
If you need anything else bigger done let me know, I’m at a a garage in Malvern and regularly do the work for @Monkey1983 -
Sam from Worcestershire ( update April 2023 )
Azurez33 replied to Monkey1983's topic in Introductions & Welcome Messages
St. John’s aha and always fill up in St. Peter’s, not seen you about yet haha we need pictures -
Sam from Worcestershire ( update April 2023 )
Azurez33 replied to Monkey1983's topic in Introductions & Welcome Messages
Where abouts are you mate? I’m also Worcester -
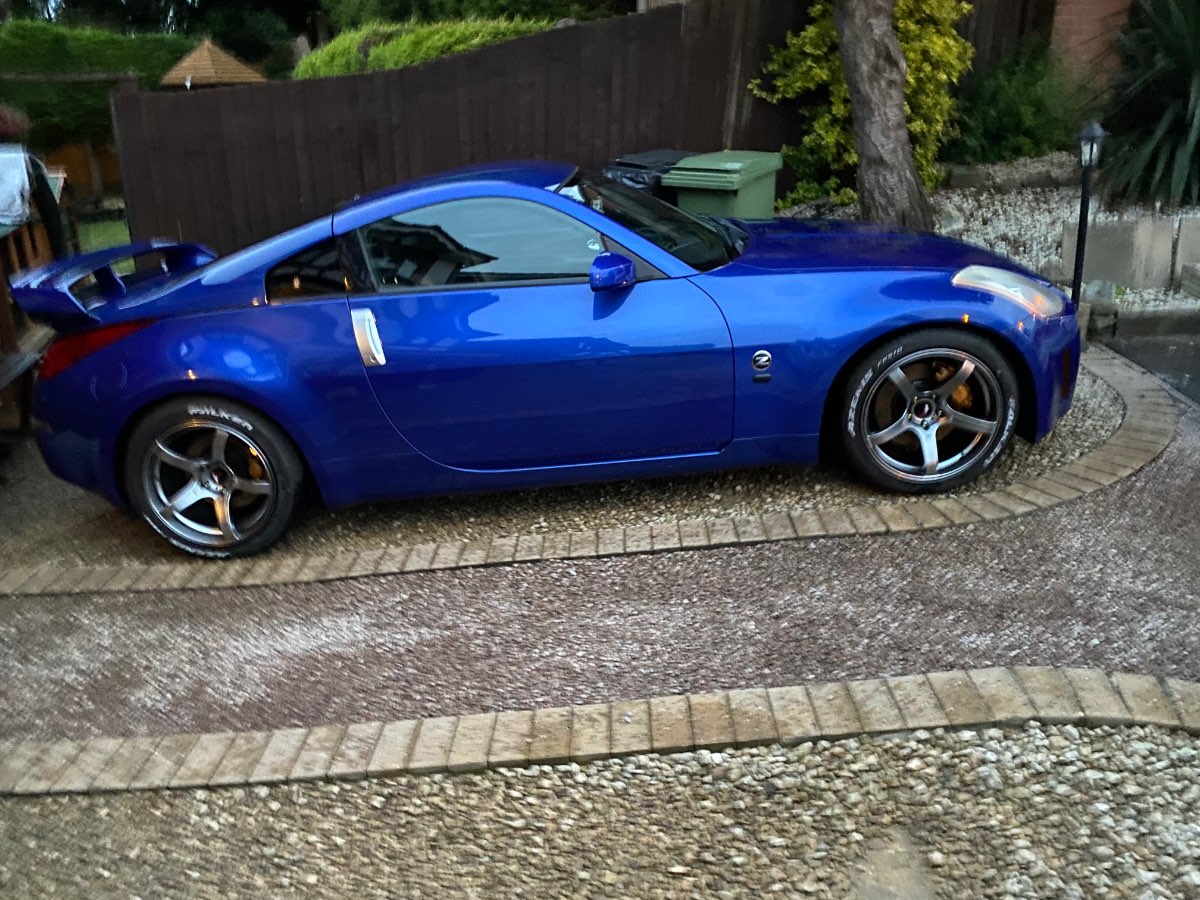
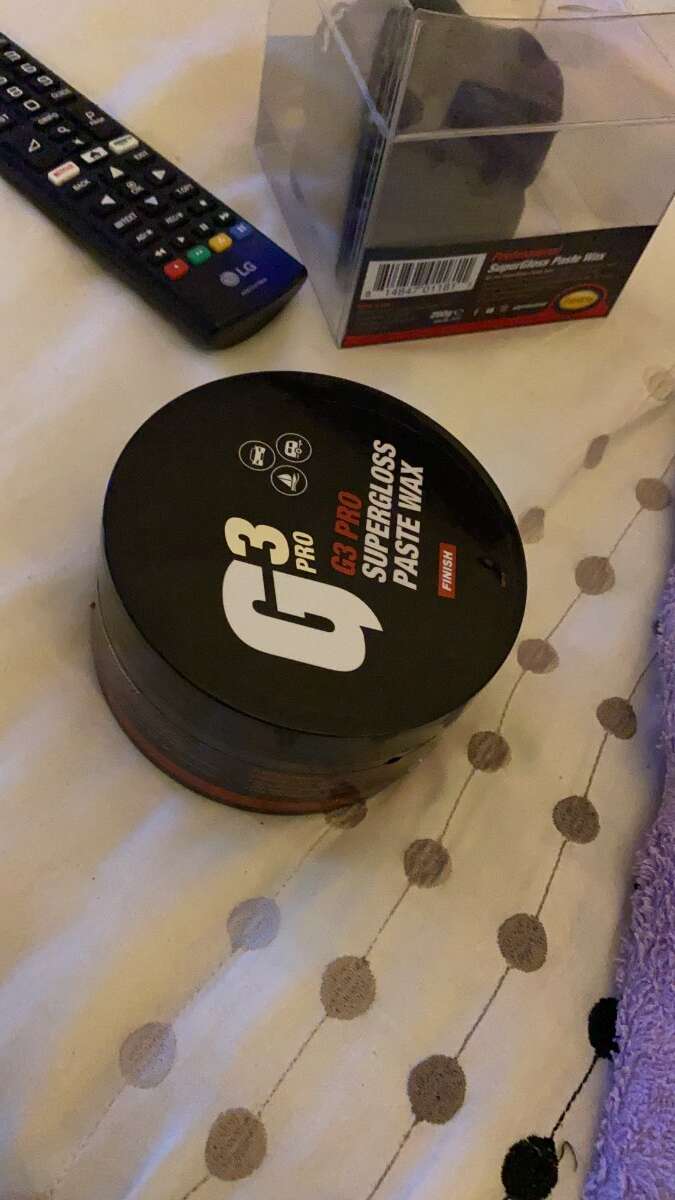
As I’ve got time I might aswell continue the spam- sorry- Had a spare day to do a full wash polish and wax without any time restraints apart from a do at a mansion for my other halves work party. I would have liked to get a picture with the grounds in the back but we were slightly late so will have to go back at another point- I finally got the chance to use my new G3 pro super gloss wax- tell you what it spreads really well and tbh it works very easily too- will require further uses but happy so far! the finish looks very good Definitely got a bit more depth in it- I must admit I’m Definitely steering away from some of these spray sealants as I just don’t feel they do as good of a job that the physical wax do- if you know you know

-
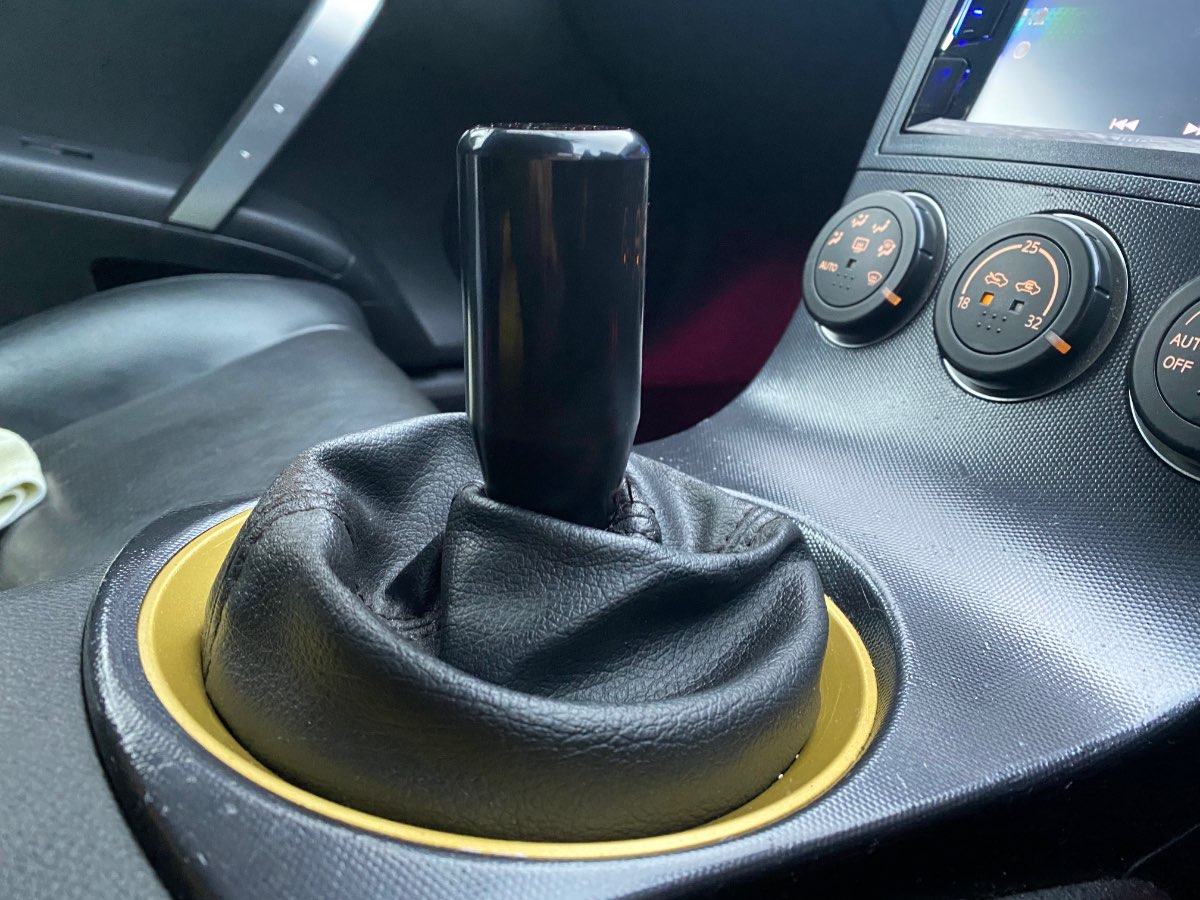
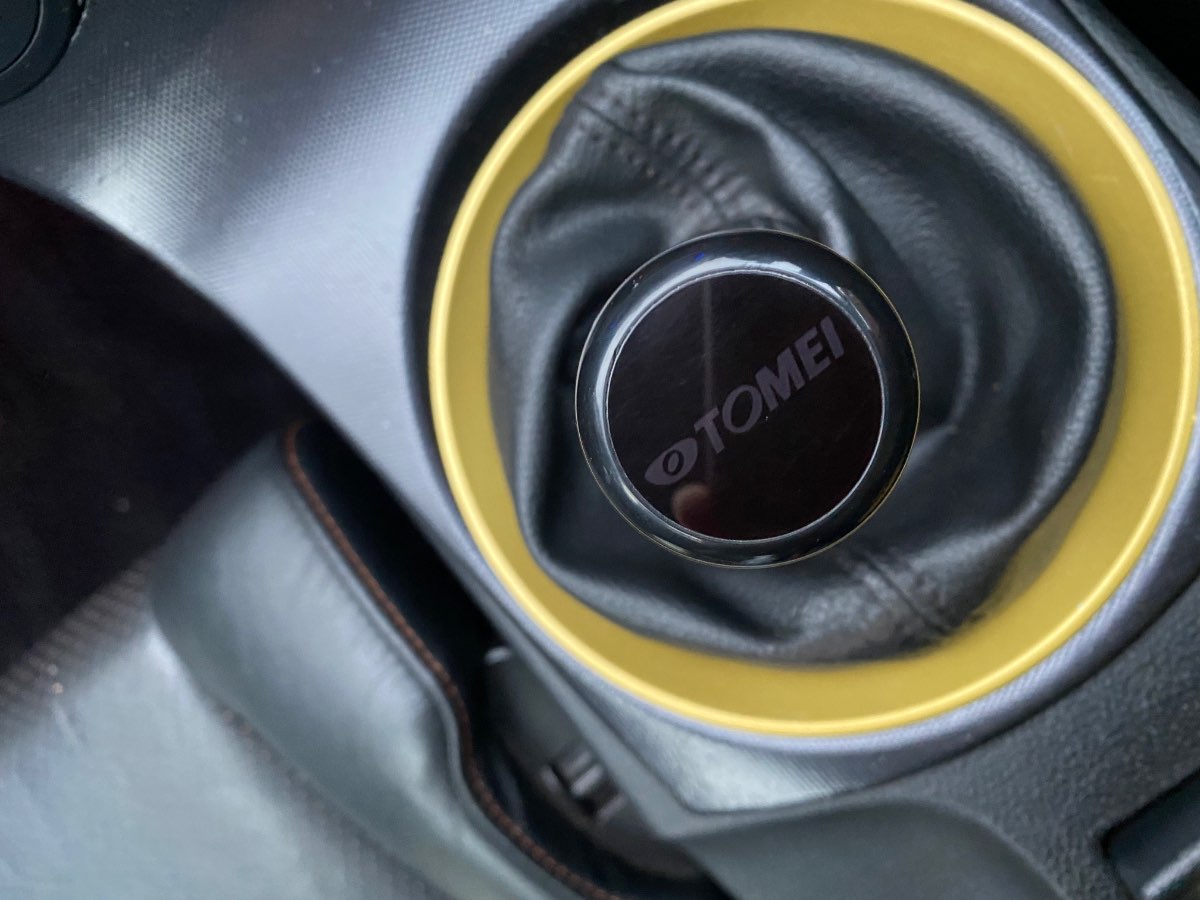
Further spam of gear knob
-
Sam from Worcestershire ( update April 2023 )
Azurez33 replied to Monkey1983's topic in Introductions & Welcome Messages
I approve of this greatly! so nice and great to see those dreadful wheels gone 😂 can’t wait for show season! -
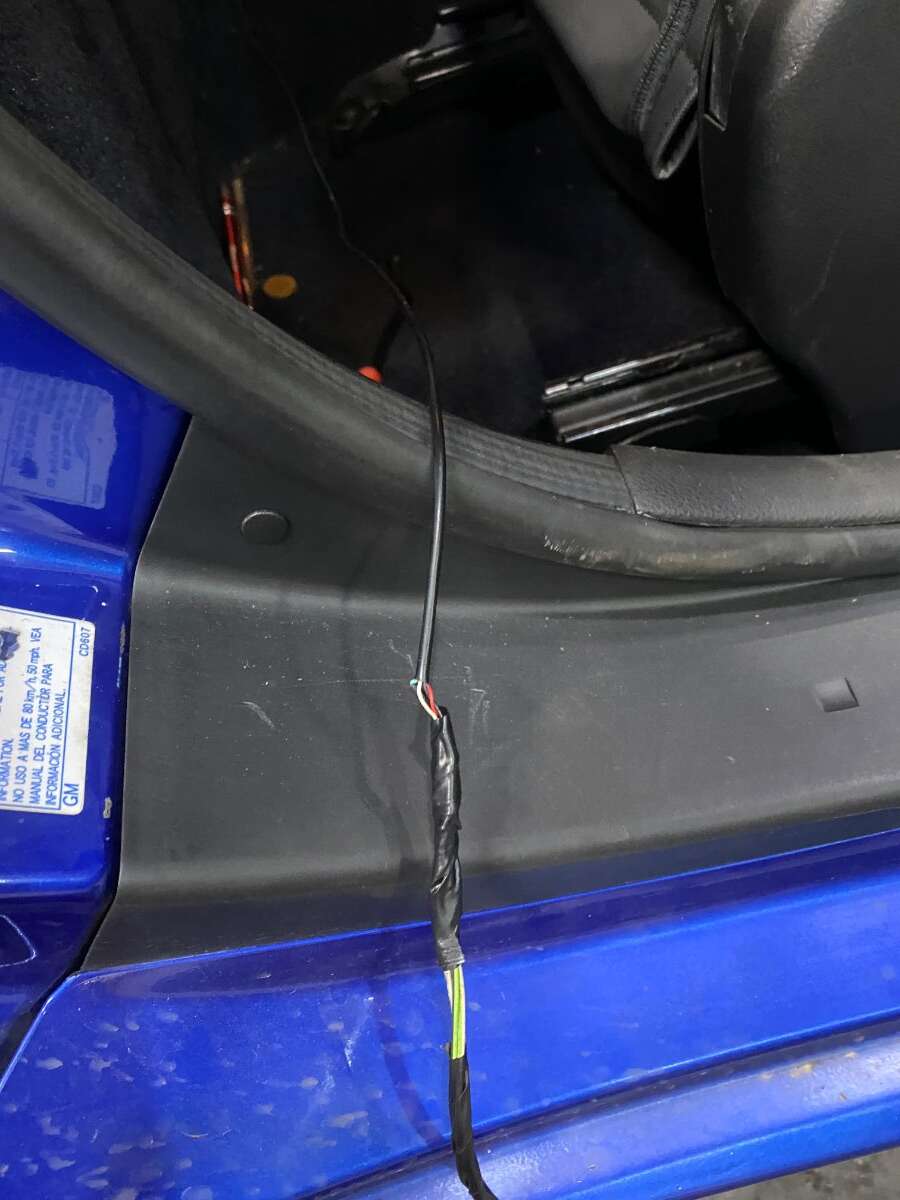
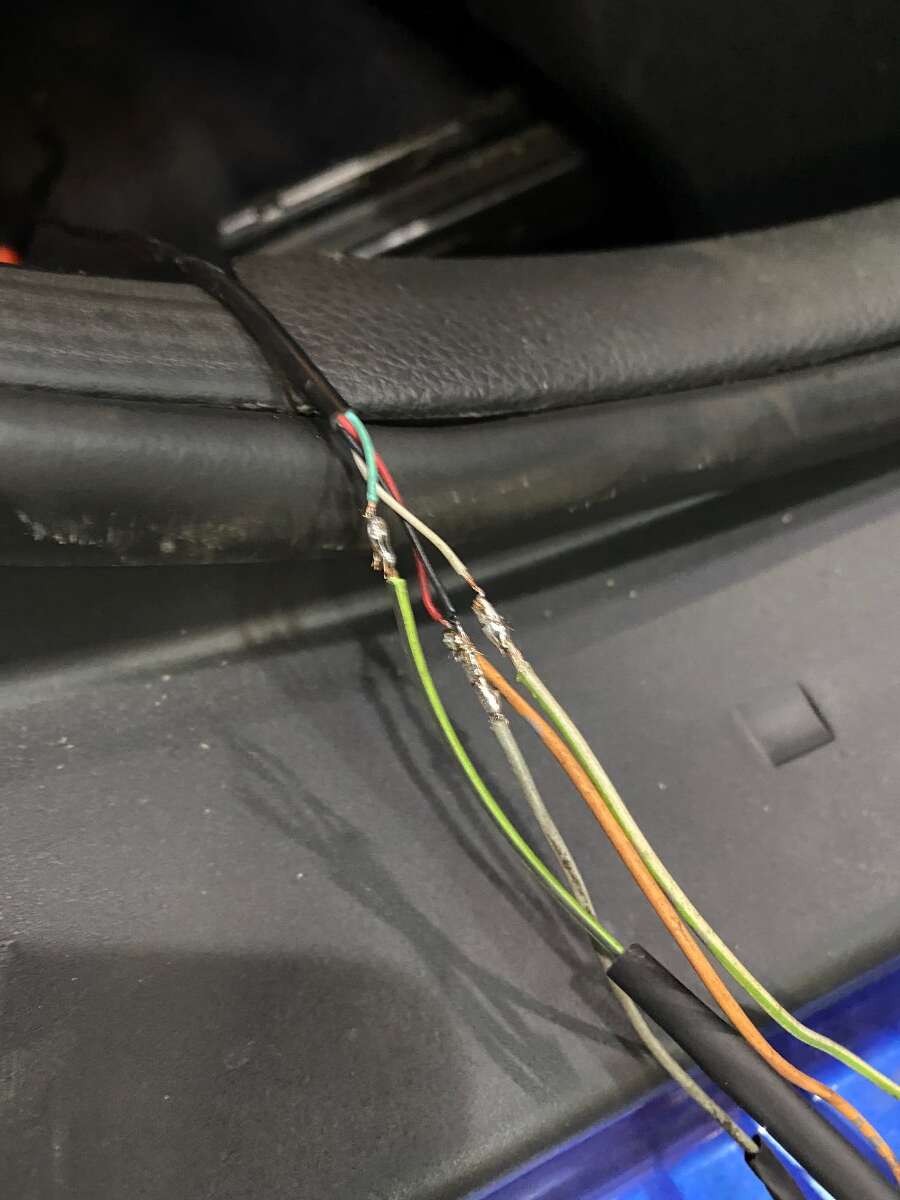
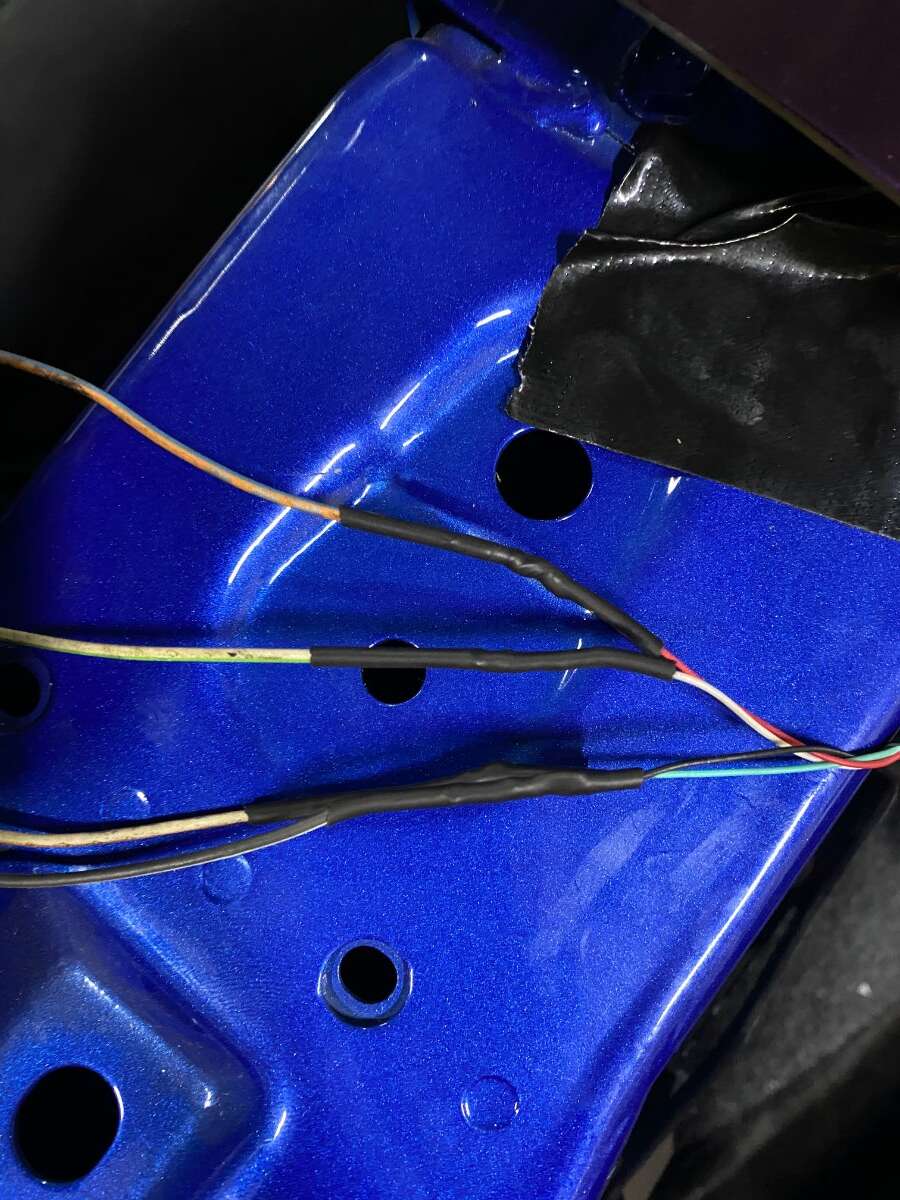
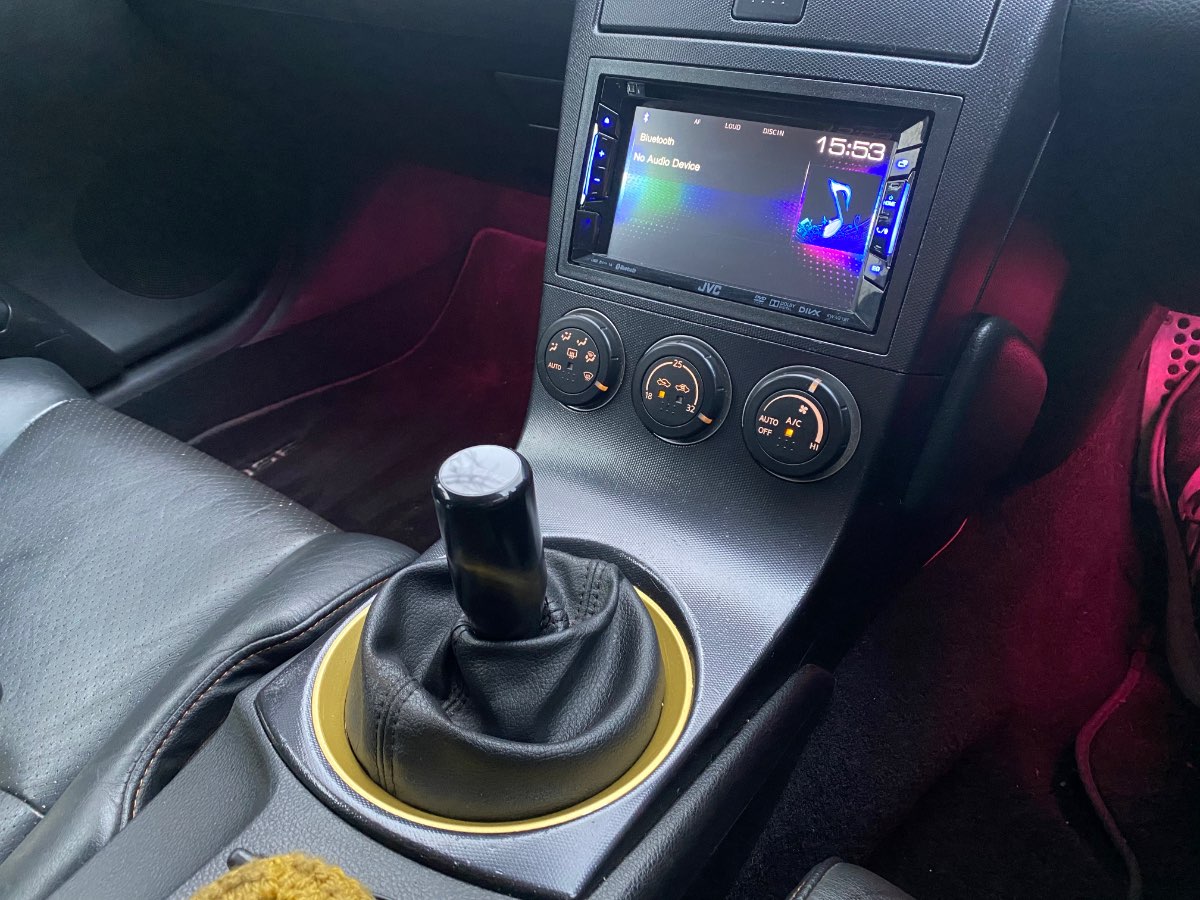
And finally my other quick job on the weekend- dynamic side indicators ordered off eBay- best easy cheap mod I’ve done cost effective and looks the part- very easy as fits where it sits- just make sure to get all the wiring behind the seal and job a good un - please excuse the state of the car I didn’t have much time to clean her at the weekend so quick jobs were a must haha!

-
At the same time if bought a Tomei duracon gearknob as I hate the standard 350 one just doesn’t feel nice and plus the leather was wearing on mine- for anyone wanting to swap theirs over- yes if it’s not been off before it probably is that tight- you’ll need a pair of hands (preferably another set aside from your own) maybe water pump pliers, some real willpower- and some spinach because I tell you what mine was a **** to get off, and I’m not weakling 😂 Once I had destroyed my old gearknob I used a bit of copper slip onto the thread so I would have that issue again! twisted it on and placed the tomei logo on top- it’s fair to say I love the duracon material just feels nice and the finish is brilliant! I went for the medium as didn’t overly want a big king dildo till I go to start drifting again! my other job at some point will be to change the poor dated leather surround to something nice and fancy! More photos to follow


