

Zalas
-
Posts
95 -
Joined
-
Last visited
Content Type
Profiles
Forums
Events
Gallery
Store
Everything posted by Zalas
-
Looking good! Making me have the urge to finish mine off that’s so far been missing for the last eight weeks… rad change is needed but apart from that it’s good to go. Apart from not oovkng for three years
-
Bump! Many months later still here
-
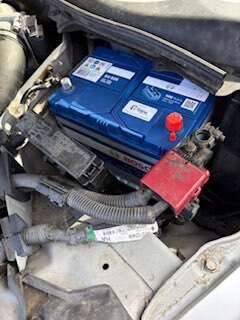
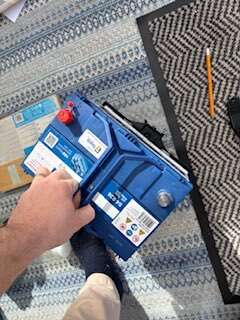
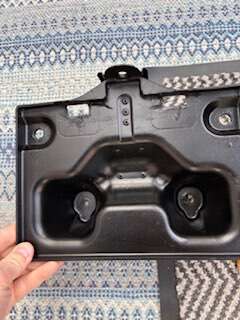
Can still trim those tabs down on the metal bracket to fit bigger batteries
-
2k4 JDM owner here, just replaced. If you remove the tabs on the battery tray and trim the top of the battery clamp bar then you can fit some biggies! 630 cca plus 70AH S4026 Bosch Heavy Duty 068 Car Van Battery - 12V 70Ah trimmed base: battery nice snug fit and nicely nested in the car also take the time to derust and clean the battery scuttle and the drain beneath the ECU!
-
Looking good! Massive difference. How were the bushes in the banana arms? It's a never ending saga isn't it - I started with that brace ended up replacing the bearings, outer/inner rods, multiple patches of rusted component and still not done
-
Spotted a black zed at Weyhill petrol station, Andover. I was walking in to get milk and slyly admired from afar.
-
Nice work! What brand were they? Irwin? Normally I end up snapping the bolt shaft before rounding the head Chinesium much? Mine's been on axle stands for the last three weeks waiting for the droplinks to be adjusted under load and the outer tierods tightened ... give it another 2 months and I might get around to it X5 arms and e92 subframes are first jobs. Sad.
-
still available. Open to offers.
-
Would heatgun work better? Or does it need to be universally heated.
-
Looks good, likewise to the cautious wrecking. I've got my MOT booked for next week. Hopefully it passes!
-
bump, still available.
-
Hydrate80 rather than Kurust. Does great on classic car tests and recommended lots on detailing-world and other forums, and my own experience. Are there any drains around there that could have broken or come loose? Not got a 'vert but had similar on various cars incl. X5 with a busted sunroof drain.
-
Good to see and hear it's still going - it's nice that lineage like this can continue to be found and exist!
-
Nice! How did you do the 'rebuild' clean - compressed air and qtips?
-

wheel bearings expected life and replacement recommendations.
Zalas replied to letsgotopless's topic in 350Z General
Replaced two years ago using ones from zmanalex - had to get a shop to press the bearings on and pull the old off but they're working really well. Replacing the fronts at the moment. -
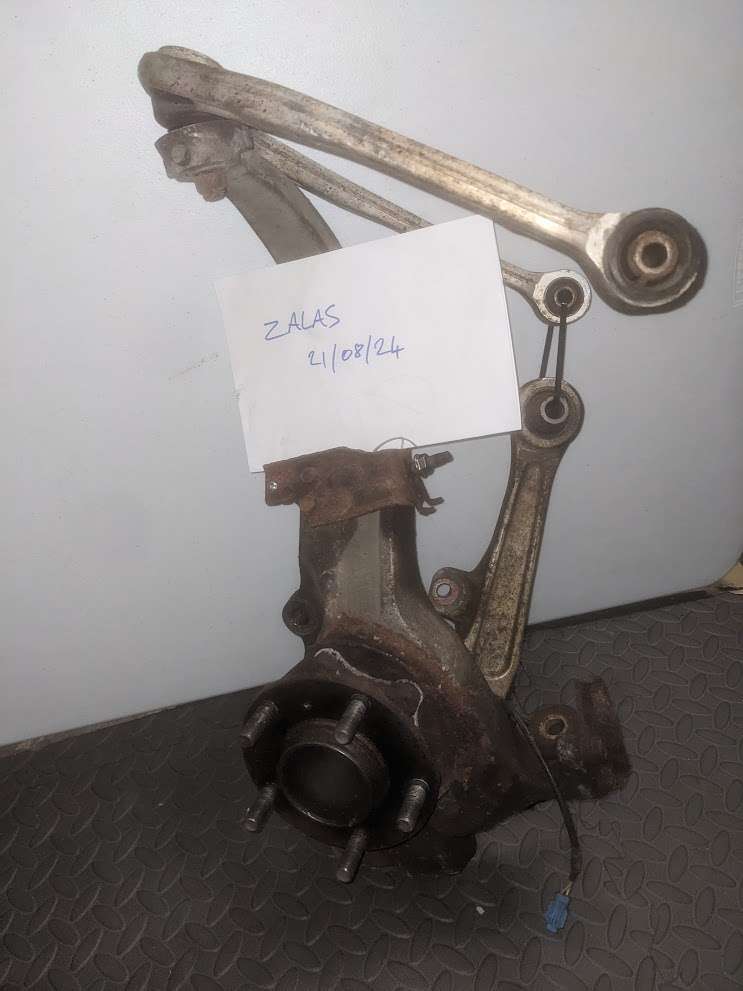
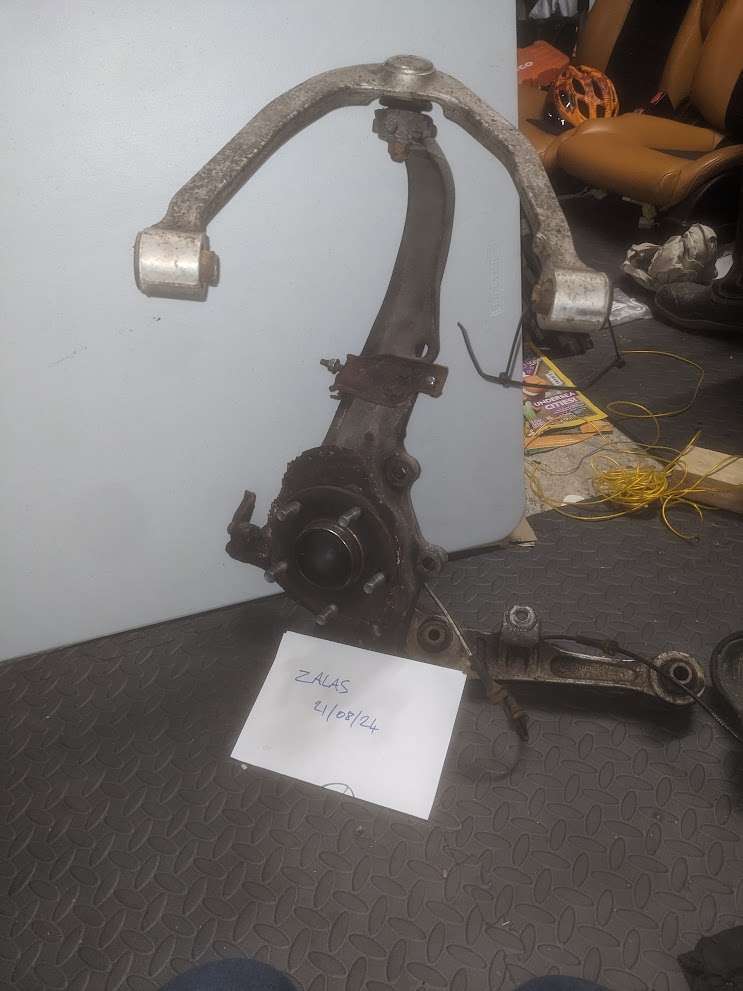
Front Left and Right set of suspension corners - upper arms, lower arms, knuckle and hub/bearings. Also contains speed sensor and plastic cap. Bushes will need replacing on some of the arms. £200 per side, £350 for the pair. Postage £25 I ordered these from zmanalex but they proved unneccessary as I was able to get out my lower ball joint from the knuckle.
-
Awesome news! Hoping to put mine in a couple weeks once bits from Alex and Coz have arrived.
-
Fingers crossed!! Highly.recomment the Bilt Hamber Dynax UB/UC for underneath and the S50 for cavities. I'll send some pics tonight of how my arches and underneath look as I have my knuckles and tie rods off at the moment.
-
Looking good, reminisent of the work I'm doing on mine. Taps for the threads are a godsend - so often they're fine threads though so watch out. Unfortunately all the work I got done in this thread ( ) has mostly started to get rust inside again and rust stains leak out. Dynax S50 to the rescue
-
Ohi I thought I'd nabbed the seats? 🤔🤘
-
Would a hairdryer be better than a heat gun? Very interested in doing this myself. Used the 3M to good effect with GTechniq G4 a few years back but they've gone again, as has the e70. This film looks great!
-
And the strut bar too! Stop me now.
-
Thanks Coz, PM sent!
-
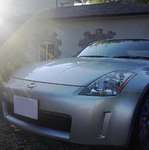
From the album: Parts
-
-

