-
Posts
9,702 -
Joined
-
Last visited
Content Type
Profiles
Forums
Events
Gallery
Store
Everything posted by Stutopia
-
Free - Invidia Gemini Passenger Y section 350Z
Stutopia replied to nrenz123's topic in 350z Parts For Sale
Approved as it’s free. -
Tablet installation build thread...(Brainiac)
Stutopia replied to SmoggyPauly's topic in I.C.E & Electronics
Looks mint, nice install. Keep us posted. -
I didn’t think there was a Nismo RS except the 380?
-
You’ve changed Andy, you won’t be happy when it’s all in one piece, nothing to work on
-
Seat versus Tesla, not a good result for either.. UPDATED page 6
Stutopia replied to gangzoom's topic in Other Cars
Glad it’s finally sorted for you mate. Shame you missed the big chance to get one in black! -
When the paint shop did mine, he strongly suggested I go matt lacquer, he was dead right, even then it still reflected a bit off the windscreen in high sun.
-
What’s Glaco and do you have any pictures doing whatever it does? PS - don’t forget to get right into the wheel arches inner ‘lip’ if you’re going deep on this, they hold mud for fun.
-
Do we have any members near to Gary who can do an intervention on this?!?
-
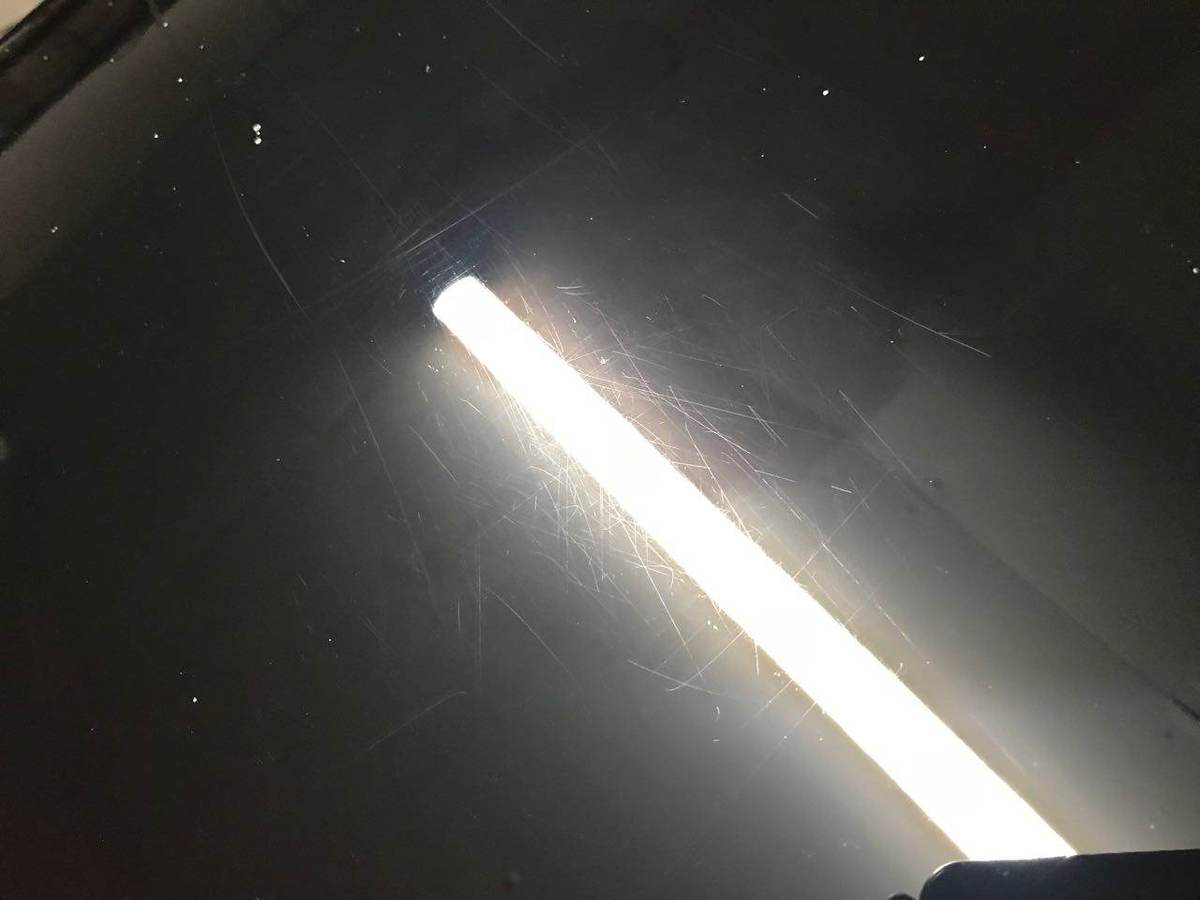
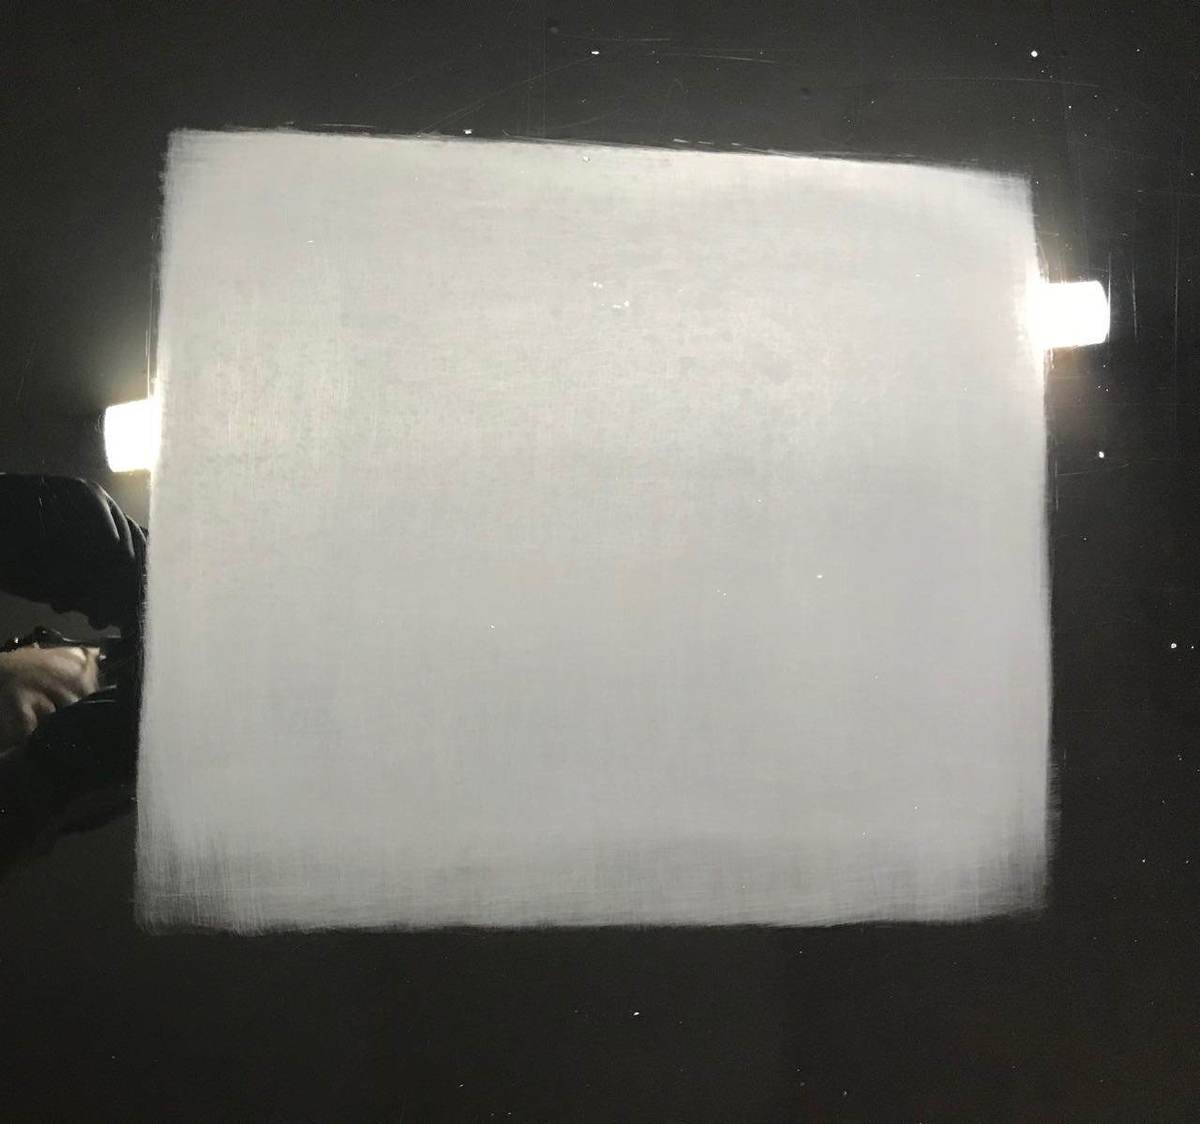
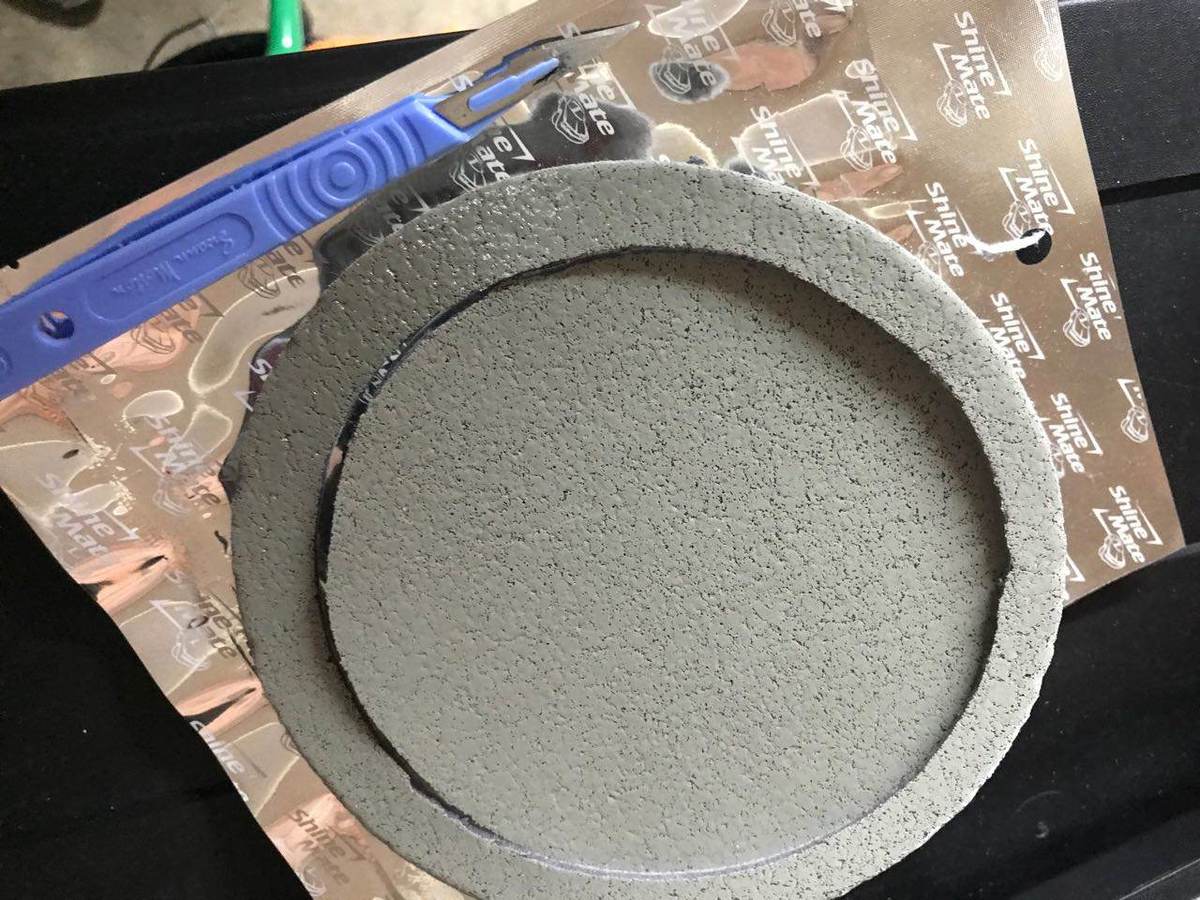
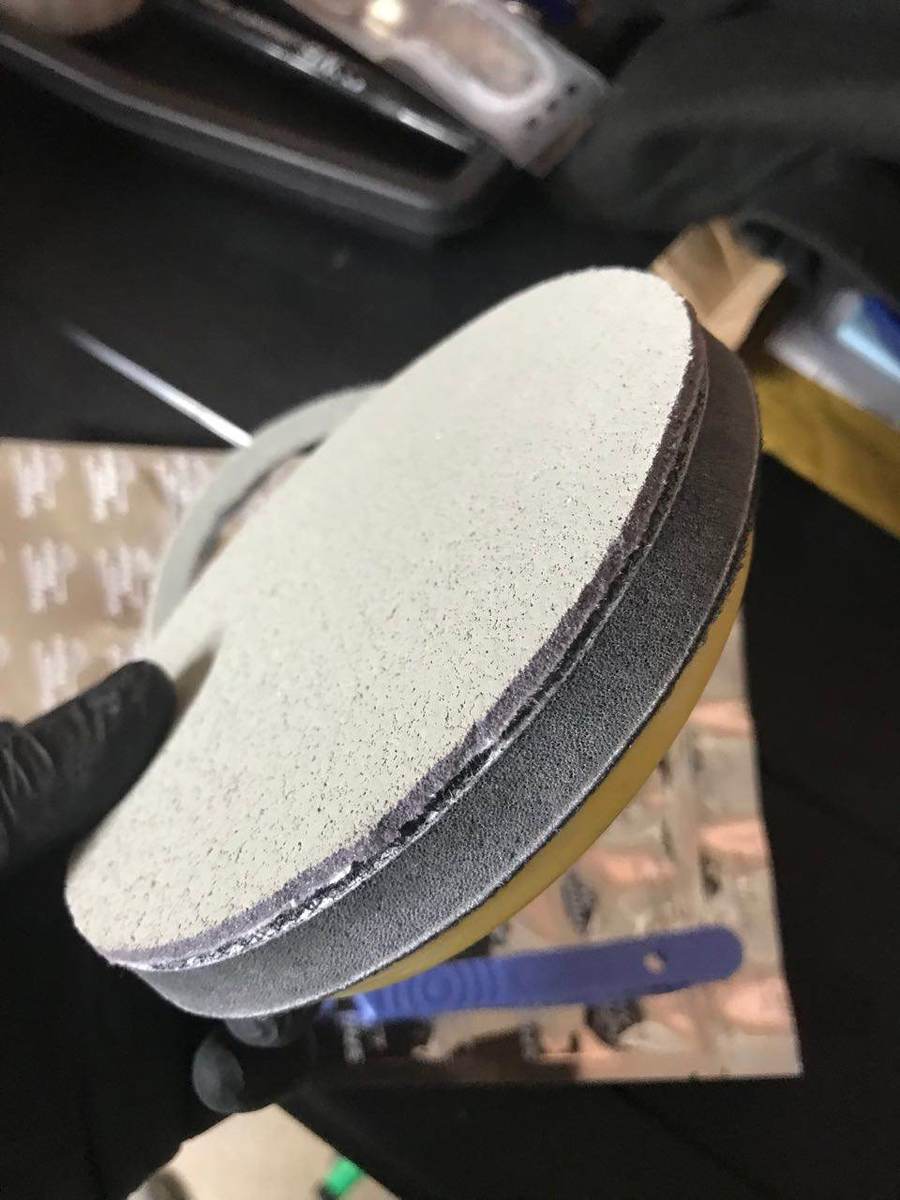
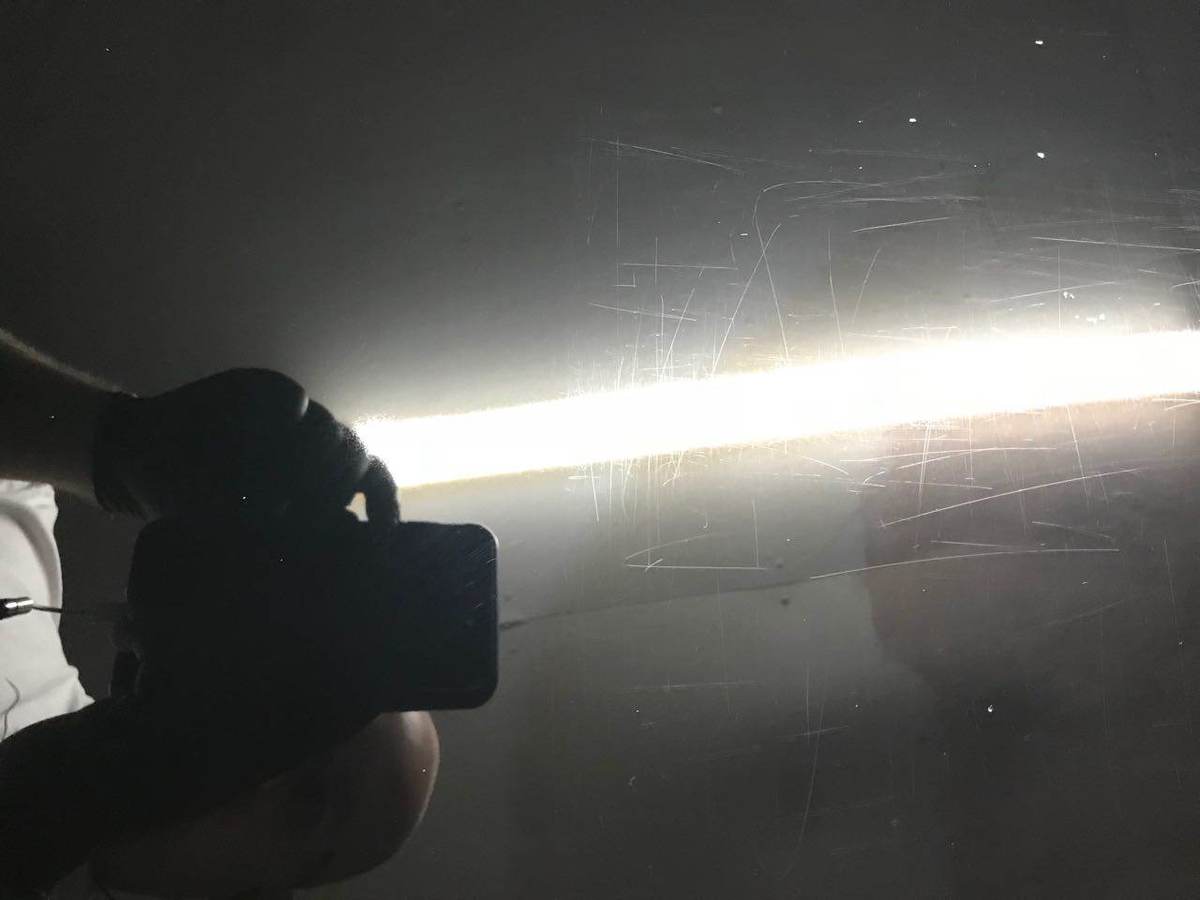
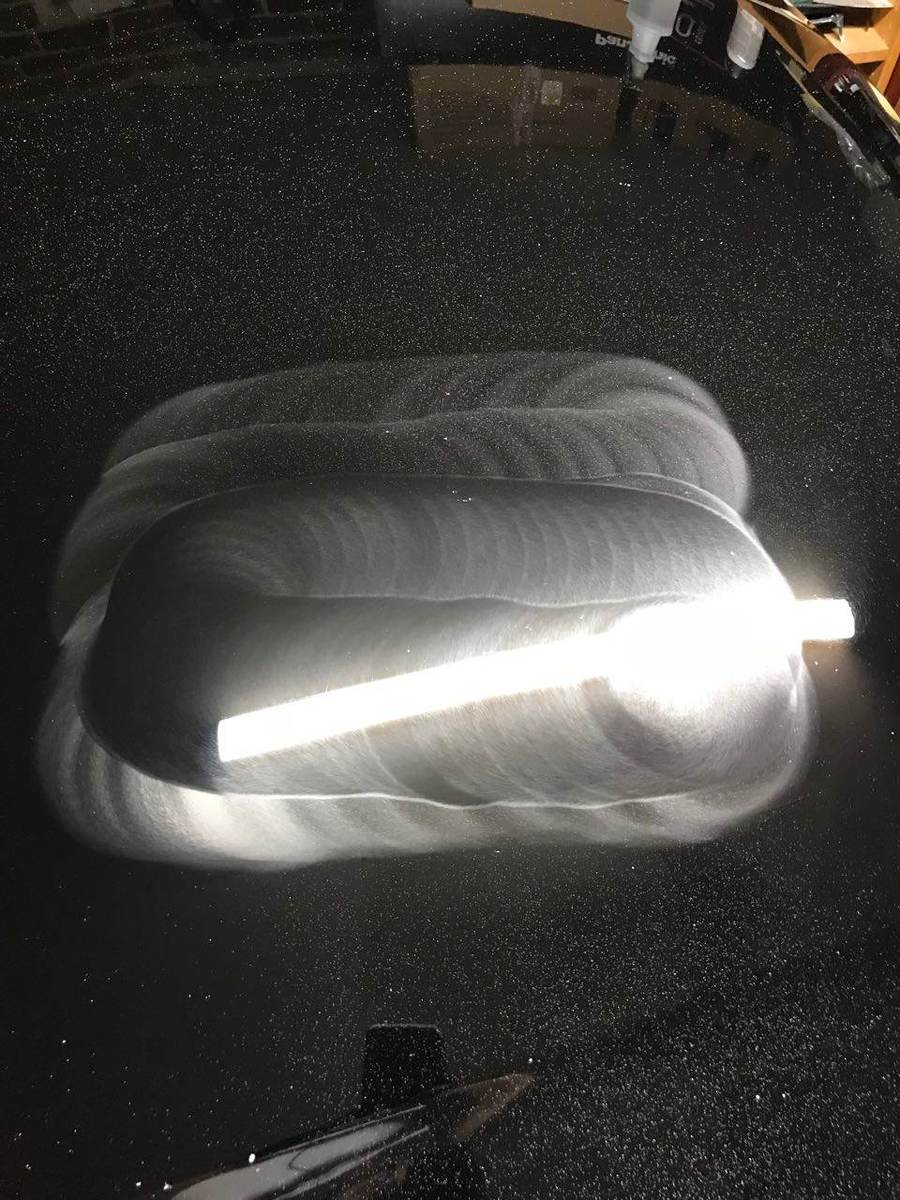
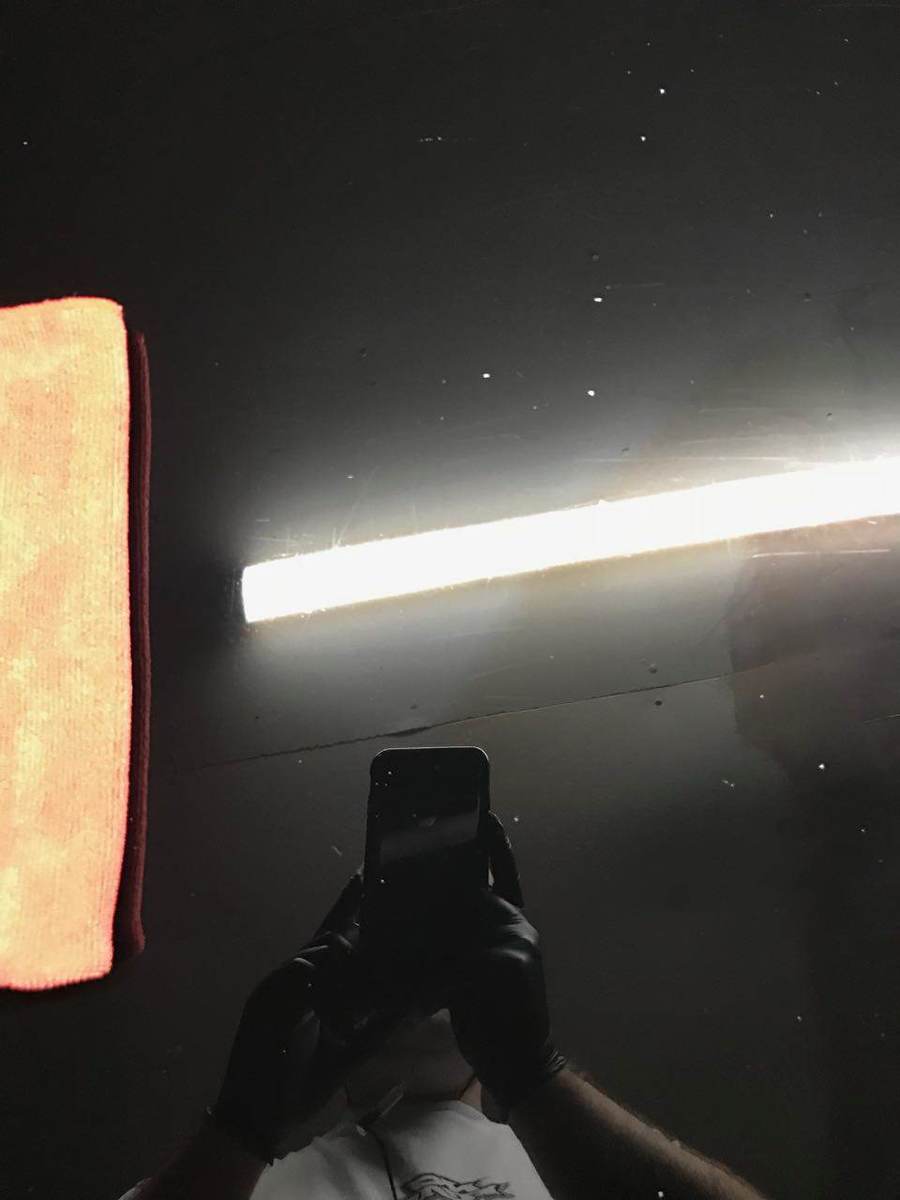
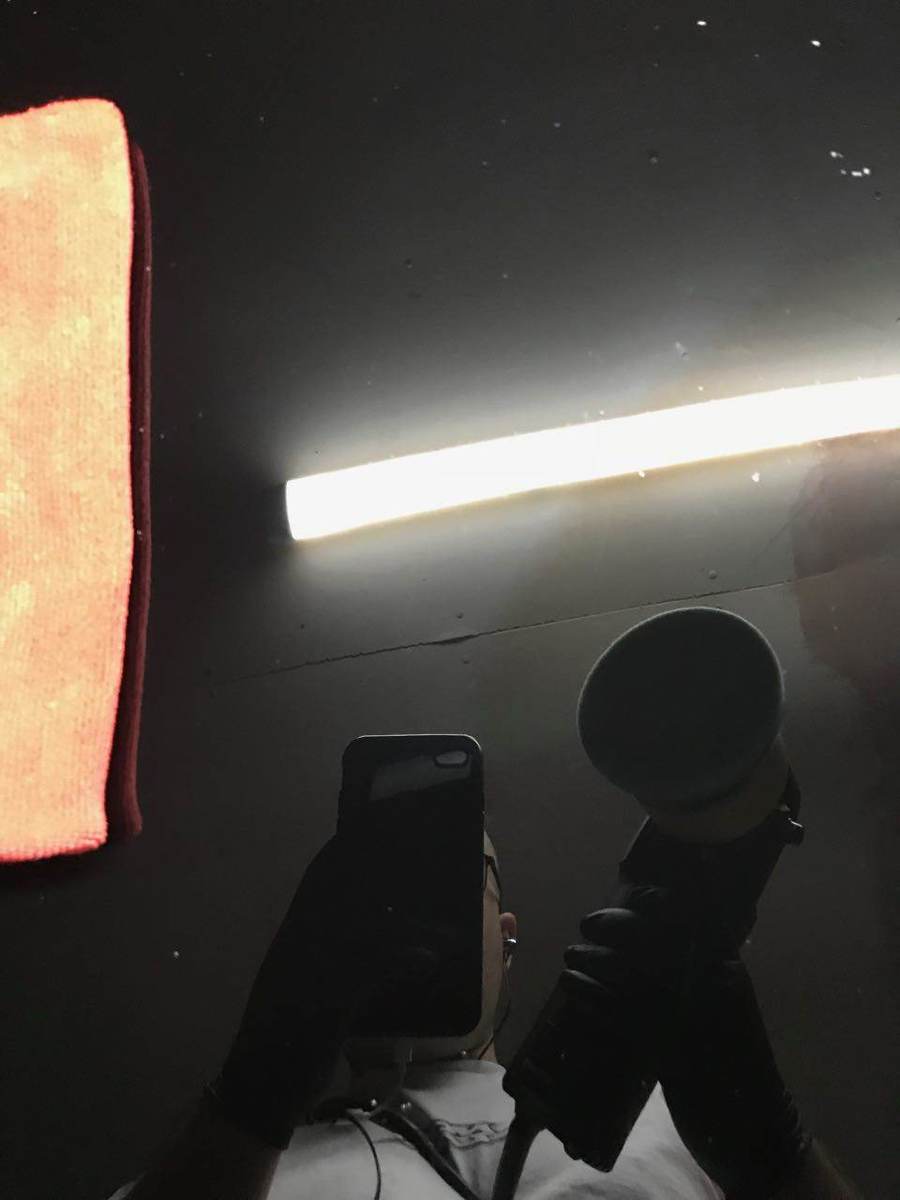
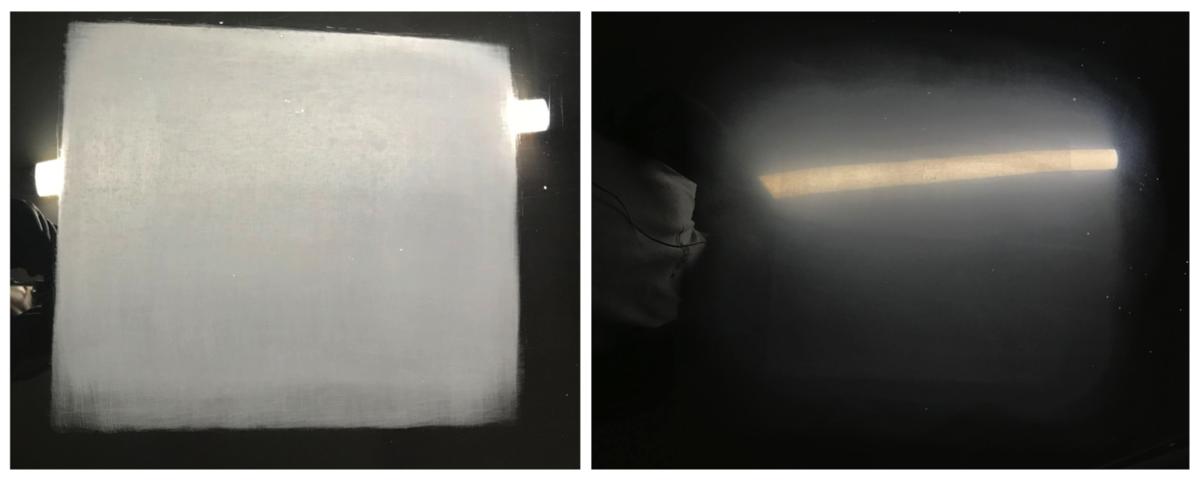
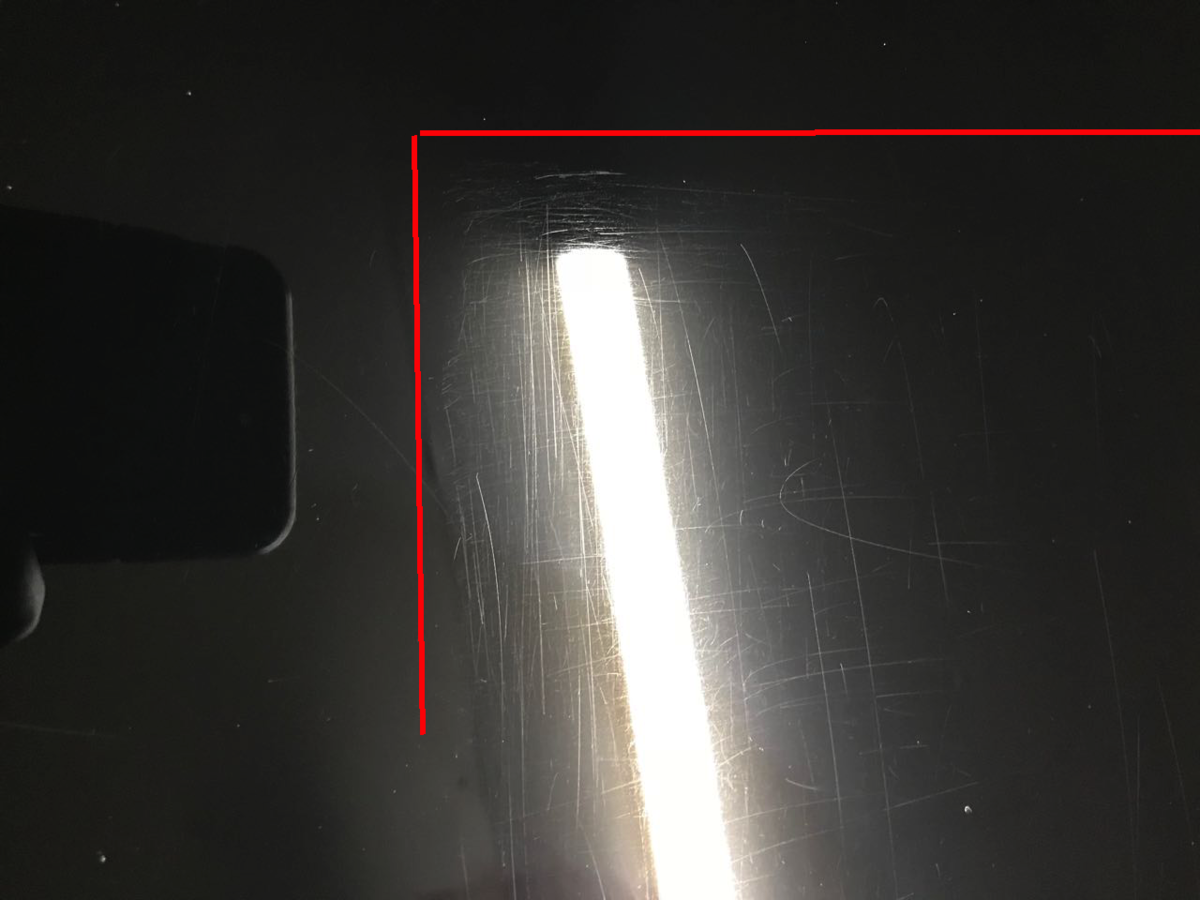
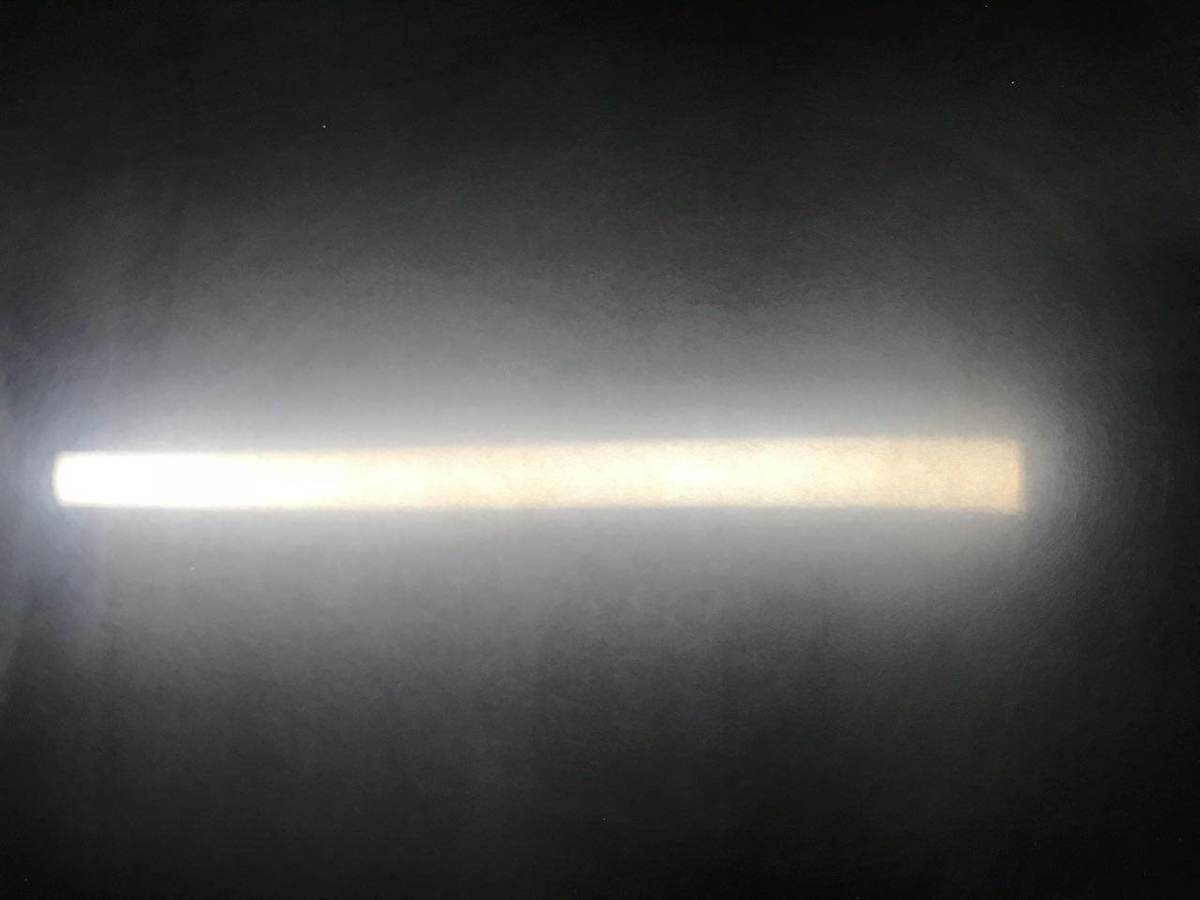
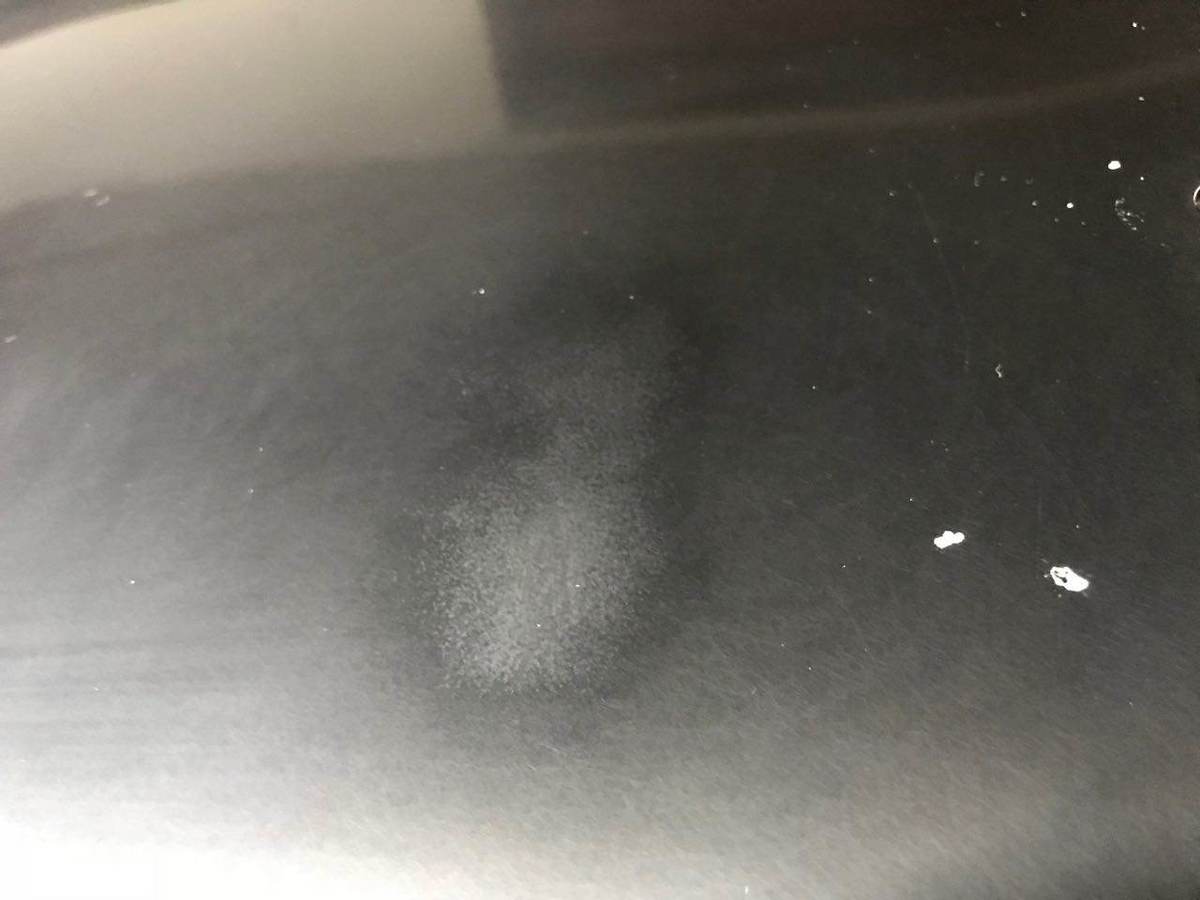
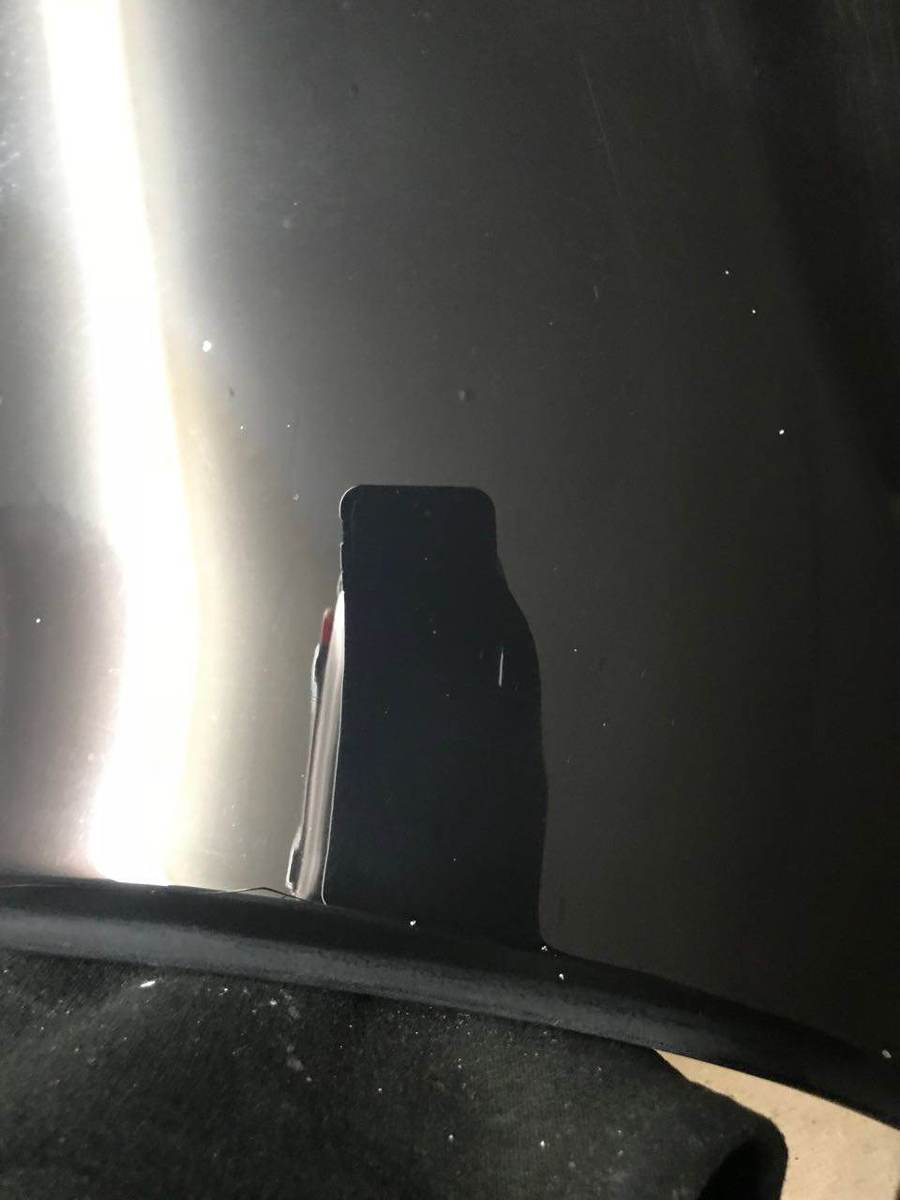
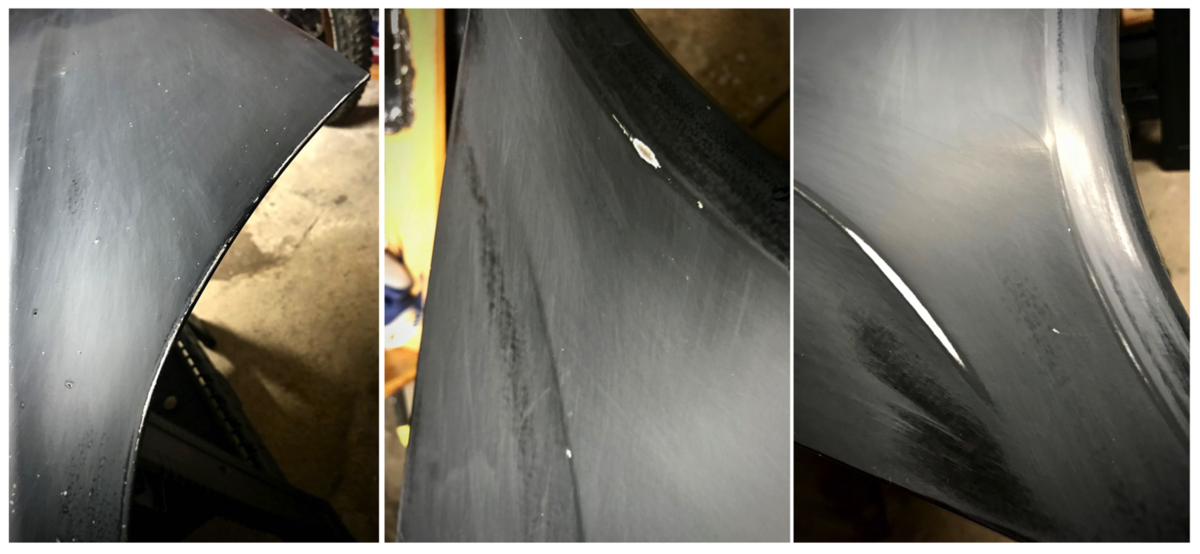
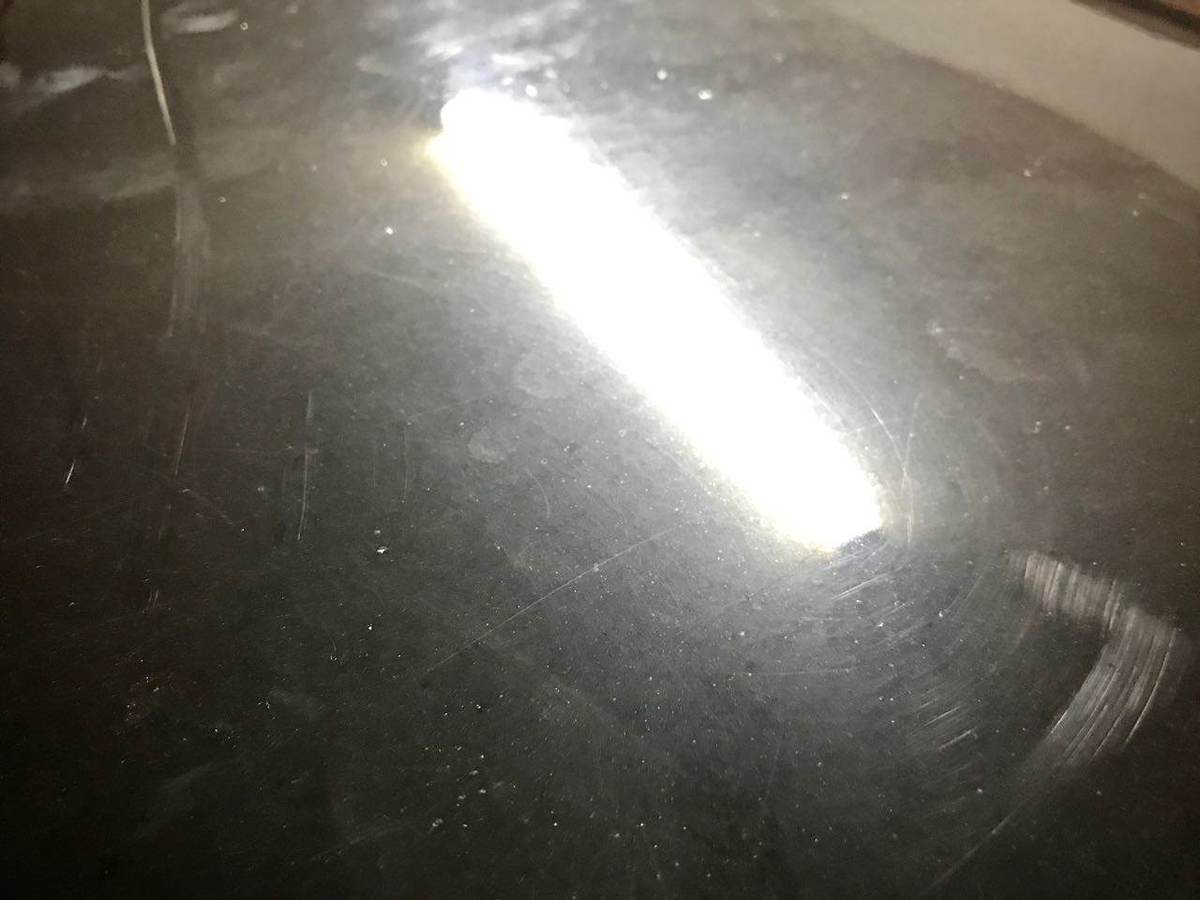
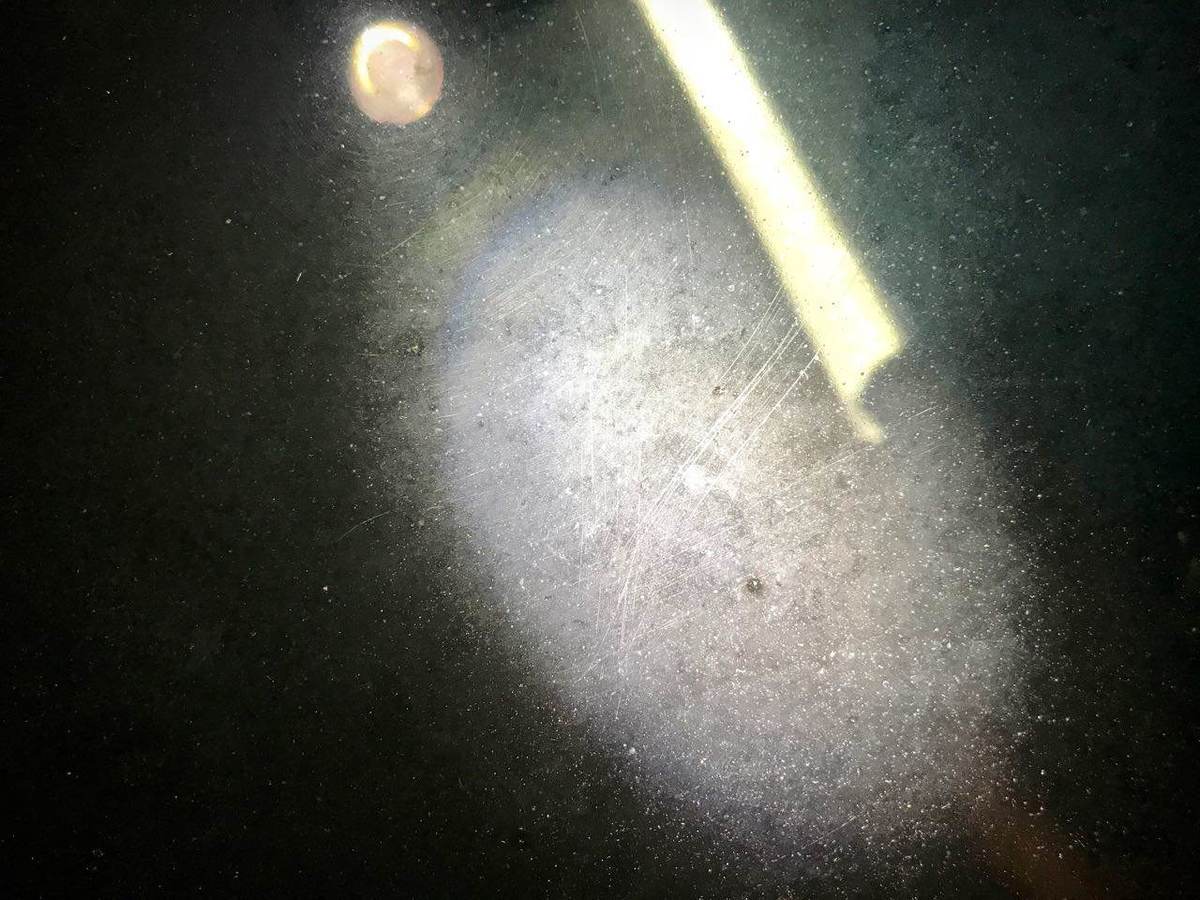
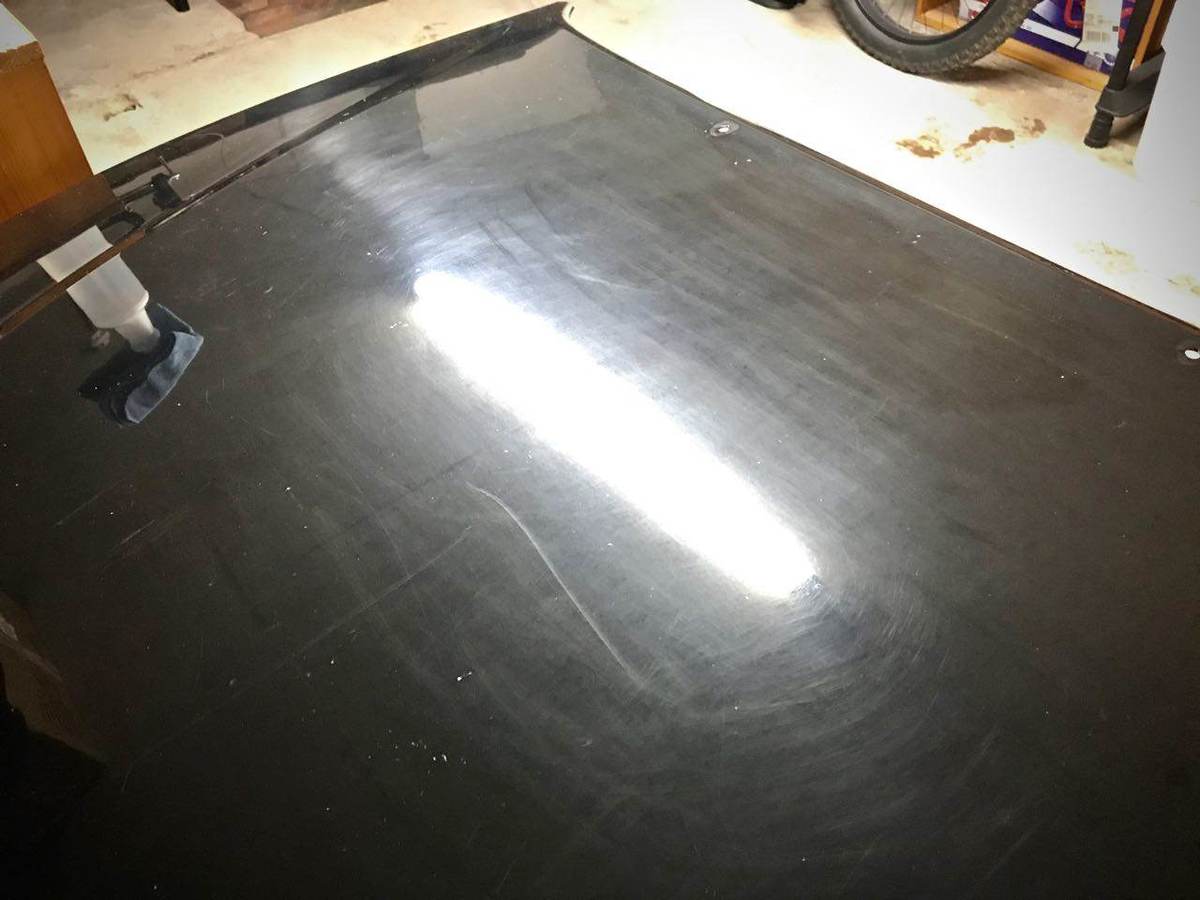
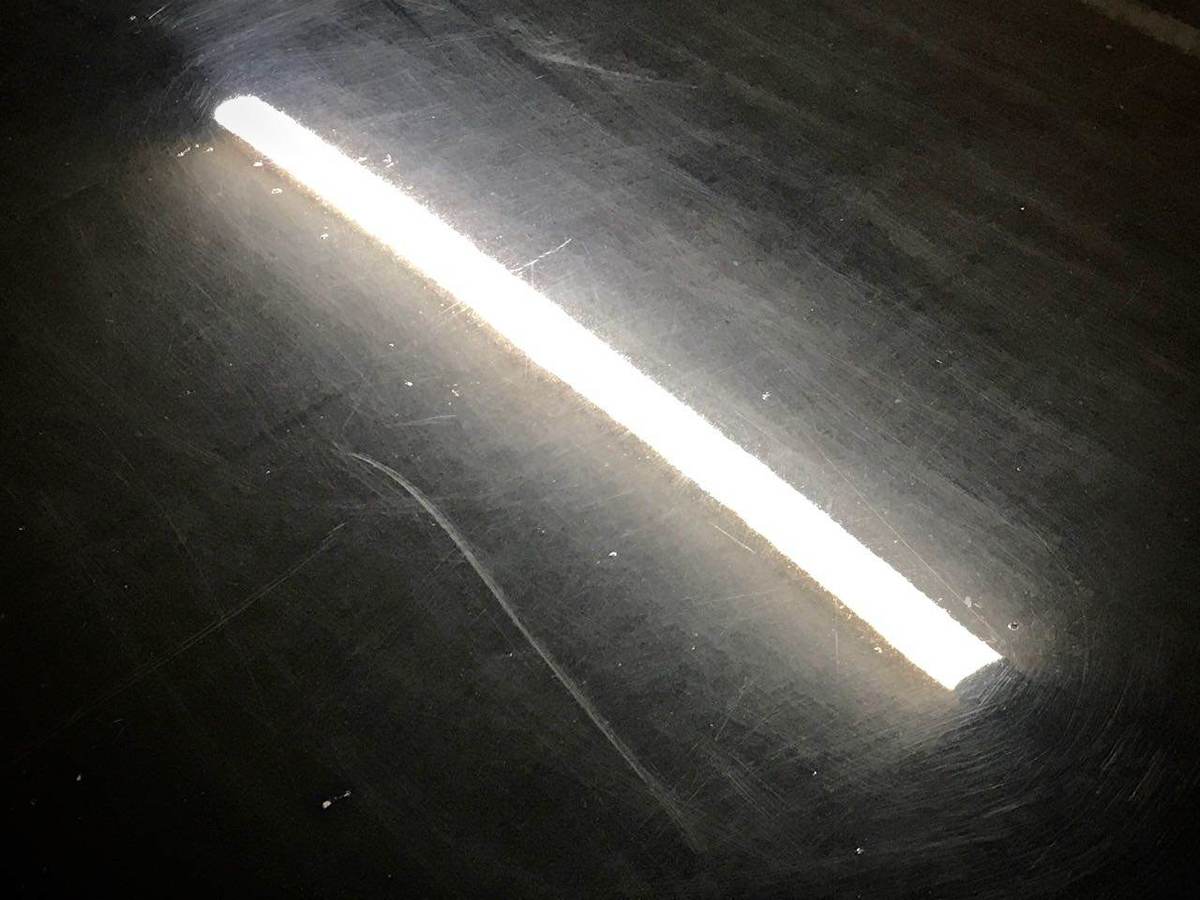
After giving the bonnet a full third stage (105 on a polishing pad) of a projected 4 stages, I was hoping the dull 3000 grit sanding marks would transform into a gloss surface, ready for a final 4th stage of Menz SF on a finessing pad to make a mirror surface. Well, you know what they say about best laid plans... Stage 3 left me with some nice gloss (as hoped for) and some rather unsavoury deep scratches (not hoped for). Many of these deep scratches I know weren't there before I started, they came during the 1200 grit hand sanding stage. Somewhat disappointed, but not disheartened (who gets it right first time?) I decided to isolate these and have another go at them. So I taped up and went in again with the 1200 grit by hand, leaving me a nice dull square. I'd chucked out the first 3000 grit sanding pad, having ripped it on a edge, so I had to do some surgery on my remaining one. Making it more or less fit the interface pad. Before (1200) on the left and after (3000) on the right. Since playing with the 3000 grit pads last time I'd read that when using them on a sander a typical speed might be 1200rpm, which I'e been way over, so this time I slowed it down and reduced the pressure. This worked better. It goes without saying that it's night and day between the two, the strip light can be clearly seen on the right but is lost on the left. It's amazing how the paint can be brought back from this kind of damage, not once, but twice. I'd love to have had a Paint Depth Gauge to know how much was coming off at each stage. Sadly, after moving on to one pass at stage 3, the deep scratches will still present. You can clearly see below the well defined corner where the masking was for the hand sanding. I could have gone back to the 3000 grit for more goes, but I wanted to see what the 105 could do if pushed. After another few passes with 105 Here you can see what happens if you get a bit impatient and lean on the DA with everything you've got, a truckload of dusting Another round, getting better. Now we're getting somewhere, Round 4 - at this rate I'l be looking for a decision on points, not the knockout I'd hoped for. The MF towel shows where the edge of the masked area was before, it's no longer visible to the camera. Initially I'd planned to do a full 4th stage on the whole bonnet with Mens SF and a finessing pad, but looking at the chunks of missing paint and dents and deep scratches, there seemed little point (I now wish I'd got a bonnet in better shape). Instead I tried to find a small section which was all paint and no chips, to see what could be done with a focused effort. I ended up with this tiny section. I could have taken this approach right from the start, working a small section to death, but I wanted to try many products side my side for comparison and I wanted the most amount of time with the DA to get used to it's weight, movement and handling over ridges and panel curves. This meant that by the end of my experimenting, (15 hours or so in total) I was concentrating on the paint and not so much on the DA itself. After stage 4, I finally got to what I was hoping for, that nice mirror finish that black paint has lurking under the surface. This represents the last of the work I can (be bothered) to do to this panel, there's no point taking it any further, it's a waste of product and time. My next go will be on a relative/friends shed, or another scrap panel, but I'll be careful to get one with fully intact paint - not blemish free, but not with gouges either. This bonnet cost me a cool tenner, which is less than the bottle of 105 What have I learnt? If you want to learn, when someone experienced tells you to get a scrap panel to play with - this is excellent advice, do it. When you get told that only a total banana can do damage with a DA, it's true, but it's also nice to know first hand just how over the top aggressive you can be, see above. Hand sanding didn't really work for me, it's impossible for me to be consistent with it - I'd want 1500 grit discs and a dedicated sander to do it again. Megs 105 is very impressive, it can really shift defects. Dust means too fast or too much pressure. Hand speed is apparently more important than the amount of downward force I can apply. Slow passes can really mow down peaks. So far, I like oily polishes (Menz), they can be worked forever. Less product is more product (excluding pad priming). Buy more microfibre towels. Anyone who can get black paint close to 100% defect free deserves respect!
-
That sounds puuuurrrrrrrrrfect for a big cat.
-
Excuse my ignorance, but I thought the E Type had a fan shaped exhaust?
-
I do like a 70 in proper black, gorgeous.
-
Not sure about the colour...
-
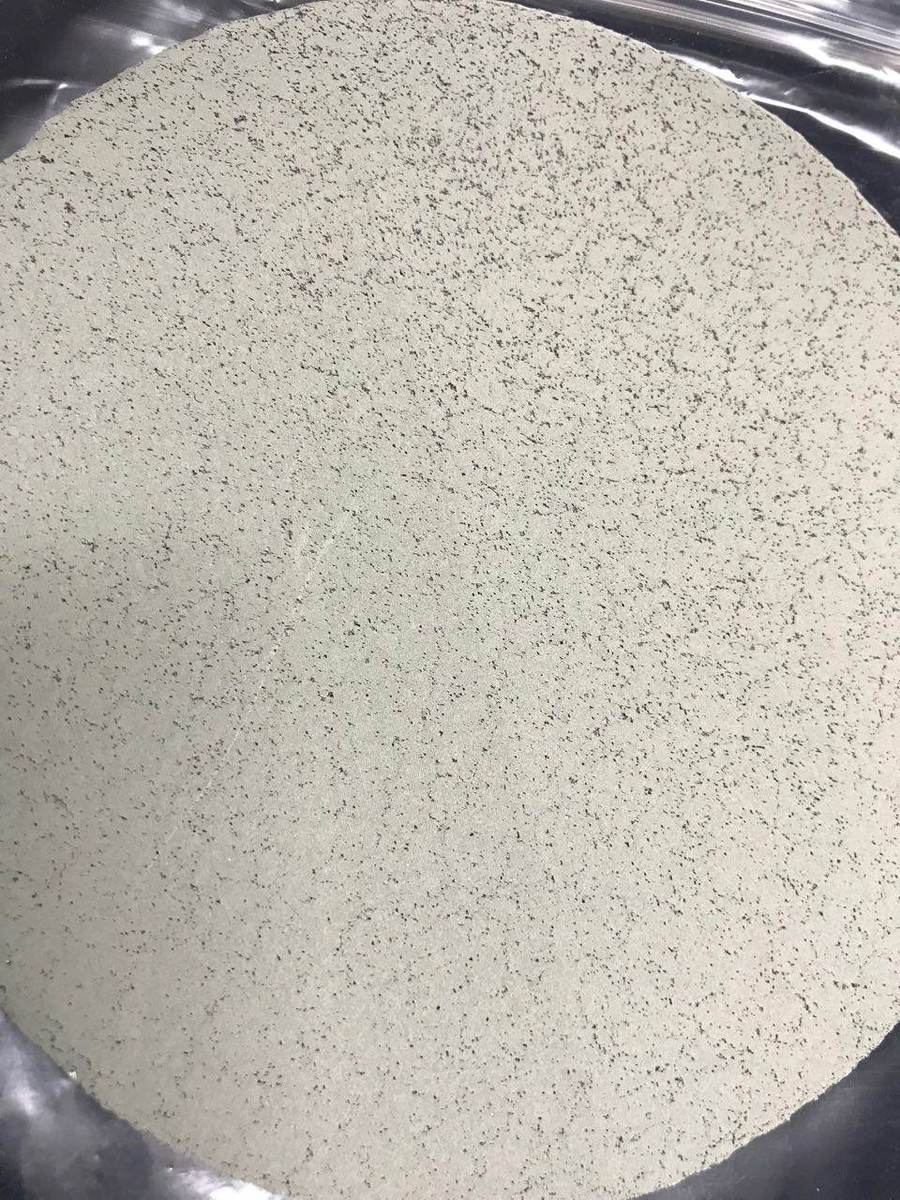
The 3000 grit 3M pads arrived and look like this and felt like a sort of nice leather. After giving the bonnet a going over with it, I found I had a slightly less dull finish and much more even sanding pattern. There's not much in the way of instruction on the packet, so I tried number 6 and a lot of pressure (see below damage) and then number 3 and next to no pressure, nothing really felt perfect - as you can see from the image below. Nice uniform dullness. I started to think that hand sanding the 1200 grit wasn't such a swell idea, the machine does a much better job. Well except where I crank it up to 6 and lean on it. Whoops. After wiping the clear coat/water slurry spray off my hoodie, I eased down and gave the MF cutting pad another spin with 105. Yeah, I still don't like the 5" MF pads, so I switched to the god old 3" foam pad. Which left me with this. Plus a number of deeper scratches that I thought had been sanded away, but it turns out, hadn't, or, perhaps may have even been introduced by me and the shambolic hand sanding phase. Tomorrow should bring more 105 and polishing pad fun.
-
I've got a 75mm as well as the 125mm, I must admit I find the 3" pads to be much more friendly and they seem to suit the DA and it's lack of grunt a bit better too.
-
That red is gorgeous, in fact it’ll show up any of the prancing horse eurotrash
-
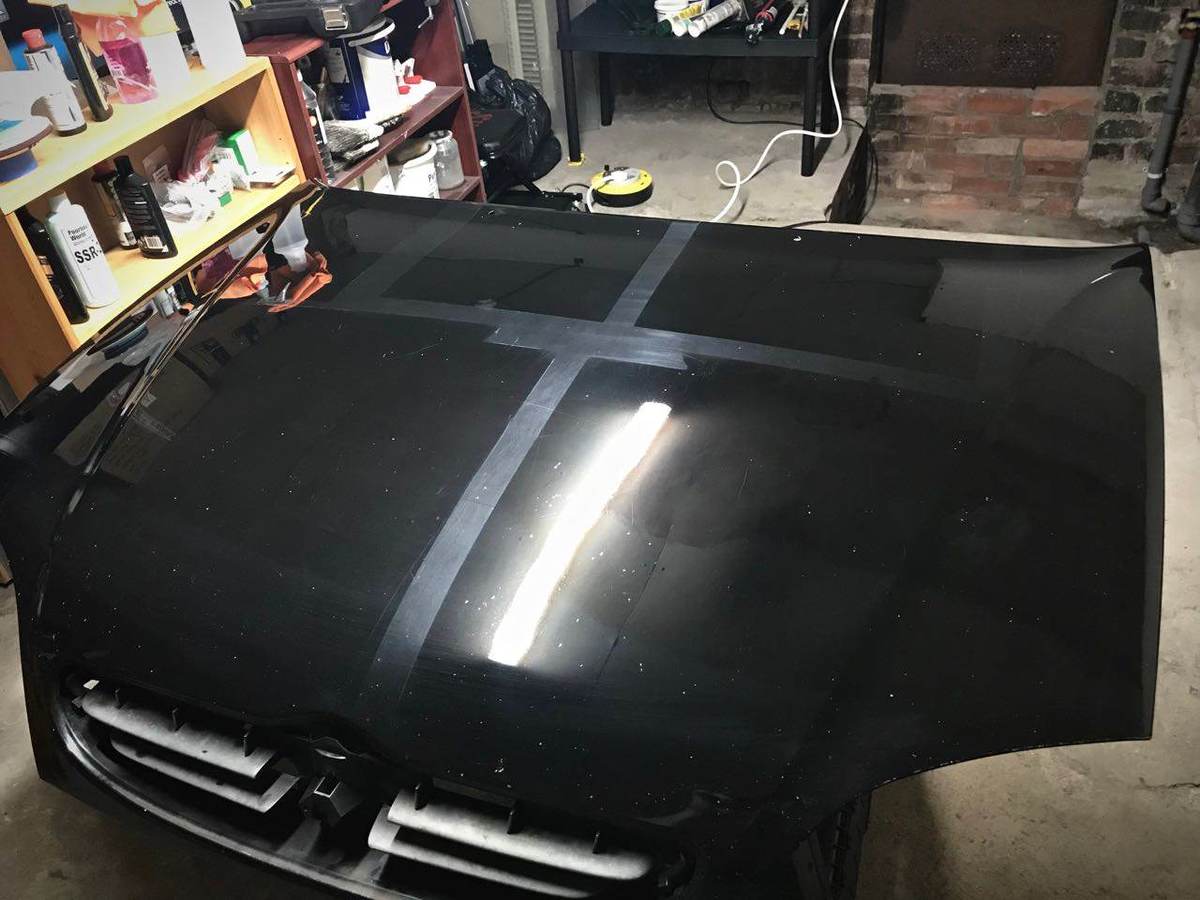
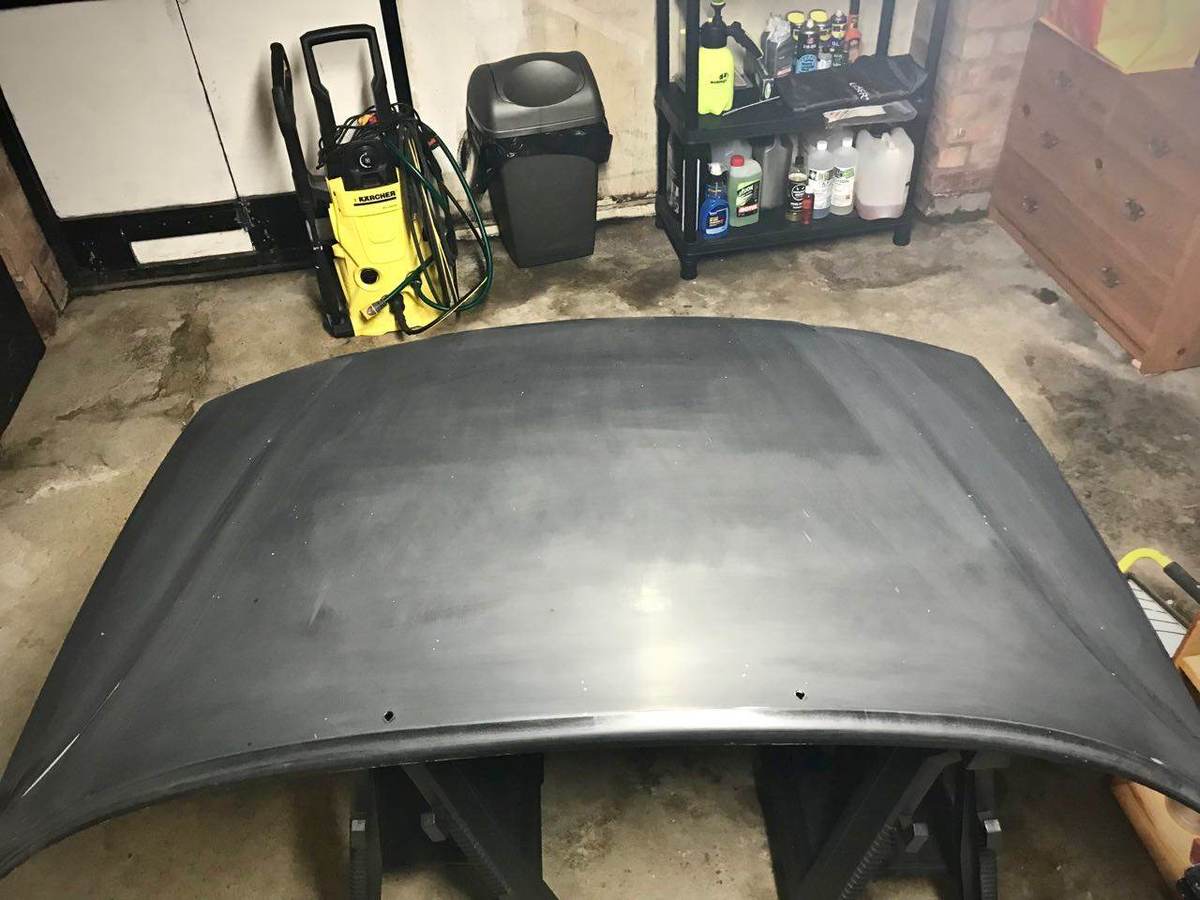
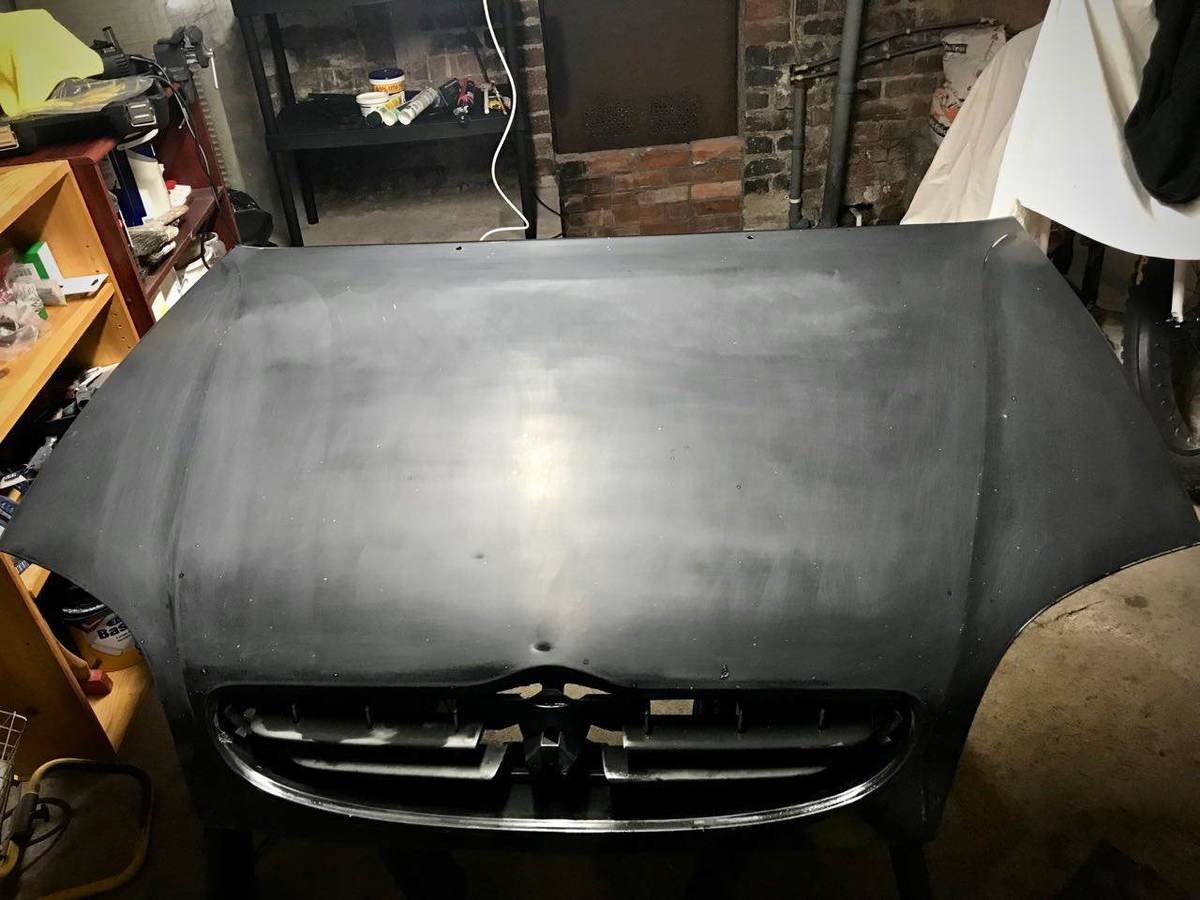
Continuing my policy of polishing away at sections of the scrap bonnet to try and find something that works, I picked up some Megs 105 and microfibre cutting pads (which I've always wanted to try out) and see what damage I could do with this level of abrasion. It turns out that it's not much more than I was getting with the Menz PF on a foam pad, just more quickly and with more heat and a harder to control DA. The MF pads were a bit disappointing TBH, they are a lot harder to work with than foam and they really show the lack of torque in my Megs G220 DA at anything lower than 5 (I know it's the budget offering but I'm not splashing out on a Flex or Rupes until I've got a good few hours trigger time under my belt), worst of all, they didn't mow down the deeper marks liked I'd hoped. By the time I was finished experimenting I had a rather fetching Mondrian bonnet design Having exhausted the pad and polish compounds at my disposal and learnt an awful lot, I decided it's time to go bananas. I spent this morning hand sanding the whole lot with 1200 grit wet and dry. Which has left me with this. I am hopeful this is going to be an good opportunity to understand what can be done to bring sanding marks back to shine, but that must wait until my 3000 grit discs arrive in tomorrow's post. I also learnt that you really can't take the **** on edges and ridges when you've got sand paper in your hands. It really only takes a few strokes of the block to cut right through the clearcoat and paint! Can't believe I didn't get a scrap panel to play with sooner, you can really go mad trying things out.
-
I’d defo be going back to the coating manufacturer first.
-
But how can you be sure today is actually today??? https://www.damninteresting.com/the-phantom-time-hypothesis/
-
I had them on the Z and can only echo everything you've said, plus there's the issue of using rears faster than fronts! I scrubbed one corner on a kerb and they were never the same again, but they're just so goddam RACE CAR
-
Recently I've just been washing my tyres, I'm thinking about adding some Treadwear letters, so I'll have to scrub them to death if I start adding tyre shine before sticking them on.
-
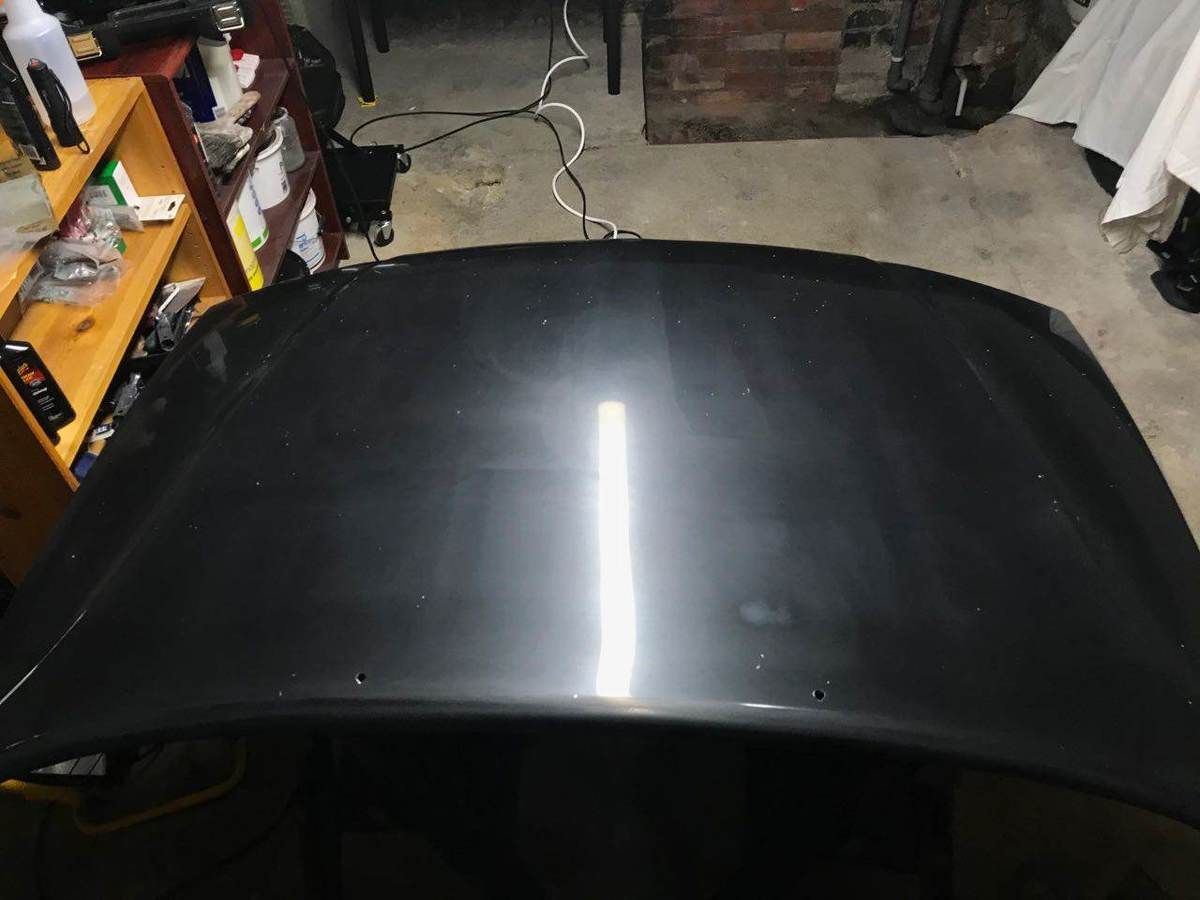
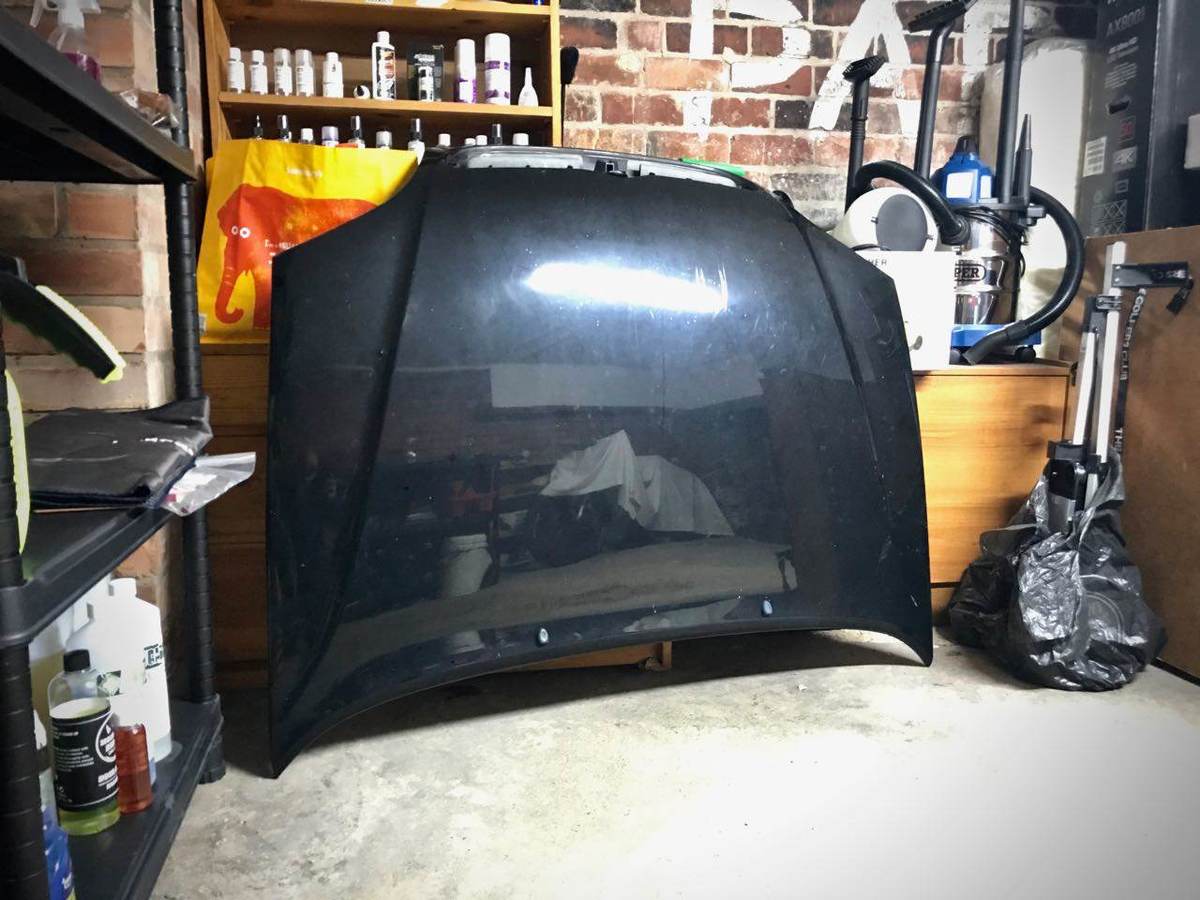
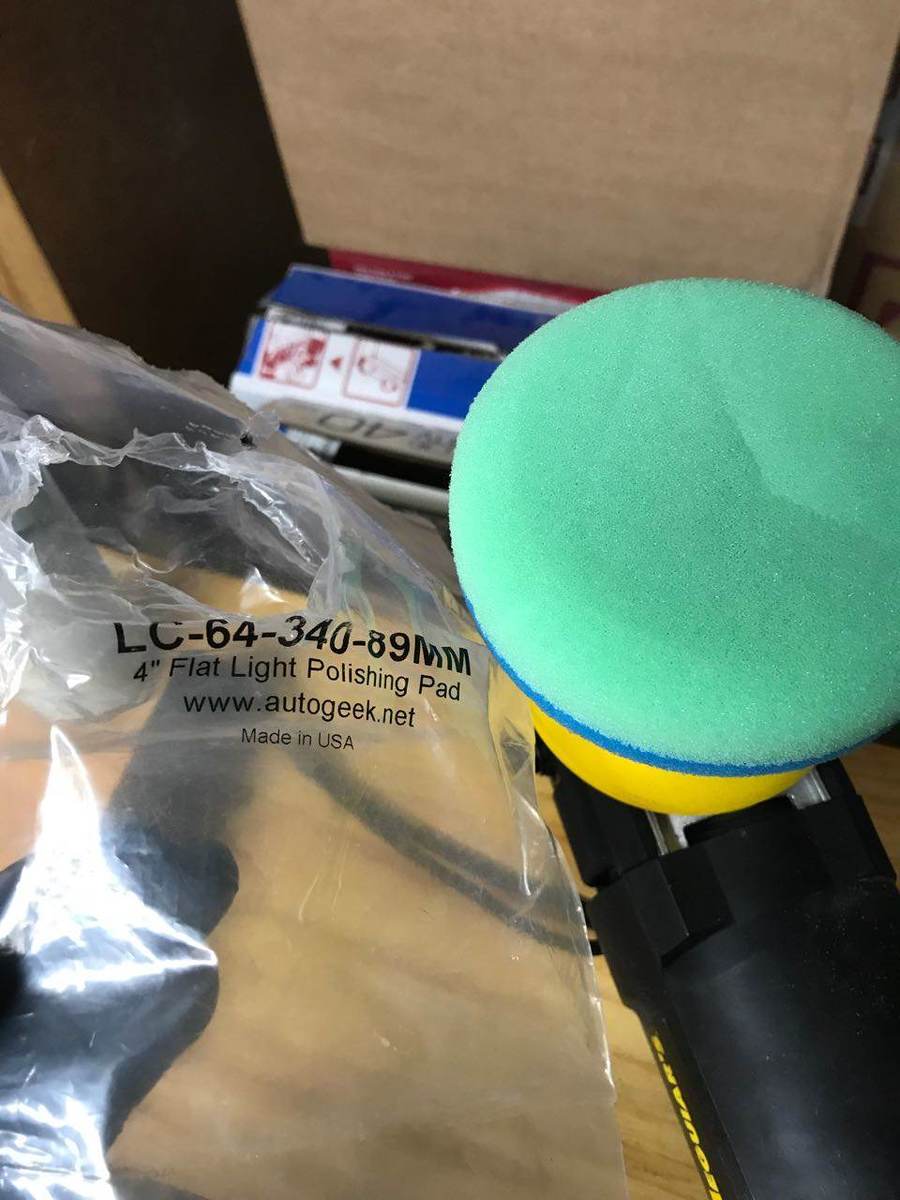
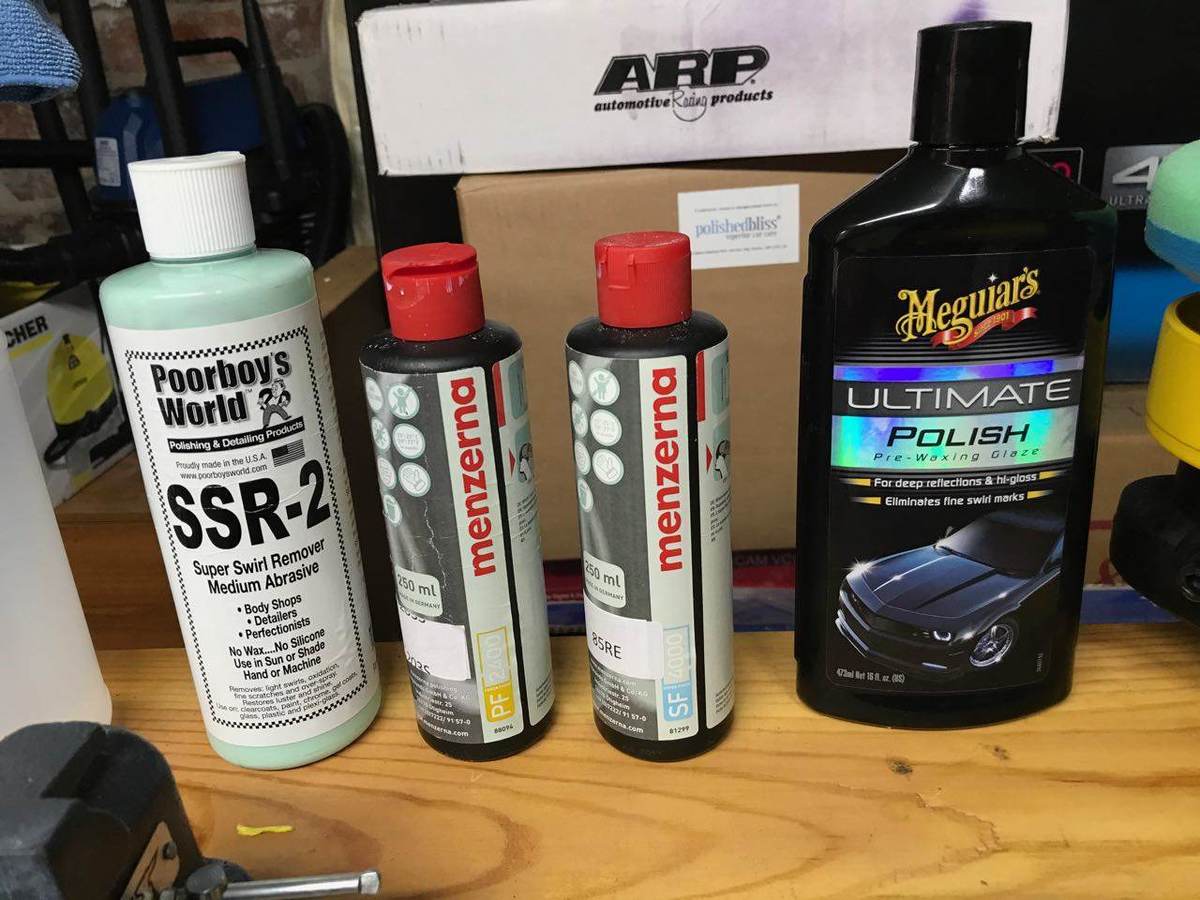
HEALTH WARNING: this is likely to contain some fairly dull pics and ill-informed comments from me, as I get to grips with correcting paint. It's more of a record for me to review in future than anything else! With my new found strange urge to polish things, but with a car covered by a hard ceramic layer, I've had to find other things to polish. This necessitated a trip to a local srappy who provided a Saxo bonnet in scratched to buggery black, for a bargain tenner. The idea behind this is that I can go as mental as I want with, pads, compound, even sandpaper and it won't matter one jot how many schoolboys I make. As you can see, it was in fine order on arrival. With just one or two age related marks. Kicked off with a spritz of Revolt (thanks to @G1en@waxandshine ) and a clay. As a reference point, that is dirtier from one bonnet than the total combined filth I lifted off the Zed and the BRZ in 4 years! Naturally it didn't look much different after just a wash and decor, I suspect there wasn't much protection on there covering up the imperfections I'm hoping these will be a decent reference shot for when I've finished with her. Sadly I'd be working out of my shed, which means no access to myriad quality pads and compounds, or expensive machinery I'd enjoyed in the professional setting. I'd be stuck with my Meg's G220, just two LC pads (one polish, one finnesse) and what could be found in the shed that passed for compound (some Meg's Ultimate Polish, PB's SSR2 and Menz PF2400). None of this really matters in terms of products, as this is for me to learn and test, not for me to review what these products are like. The Menz SF4000 isn't even getting an outing in this early test, it's too feeble. Having said that I won't be reviewing these, the Meg's Ultimate looks way better than the SSR2 after a set of three passes - whether this is down to the fillers in the Megs or it having better correction, is not something I can answer. Megs UP, obviously the big stuff remains, but it's the finer swirls I'm more interested in for now. Still very much present and correct. PB's SSR2, as above, but worse. I don't yet know if this isms technique or not, something I'm hoping to understand over time. Side by side Obviously as a learner, it was pleasing just to remove the tape and see how the grey had turned to black and there was now some gloss to be seen. You can see there's not much in it either side of the tape line and clearly the deep scratches and bubbles are not something I'd be tackling at this first stage. I've no idea if this paint is factory or re-spray. After these two, I moved on to the Menu PF2400, this was probably the best of the three, but I forget to take pics, so this vid will have to serve as evidence. I even messed about with some 2000 grit wet and dry, which taught me two lessons: 1) how quickly you can go through clear coat and paint on a bonnet ridge 2) it takes something more heavy duty than I have to remove sanding marks I then had another go with the SSR, as it's the only one of the three that really claims to be a swirl remover and something strange happened. I set the DA to maximum warp, 6, and applied as much pressure as I could without stalling the pad, then worked the section very, very slowly. Three things happened: 1) the pad surface got hot 2) the bonnet got warm 3) some weird white clouds appeared in the paint Right hand side hows the clouds. More clouds. At this point I figured I'd done something terminal to the paint, but after I'd finished packing up and was about to knock it on the head, I had a quick look and the clouds were gone! I have no idea what this was or what it means, any ideas any one??? Coming Up In Part 2 - I've purchased some 105 and 205 and MF cutting pads.
-
Although I had this Cusco gas pedal extender sitting in the shed for a while now, last weekend I did the CAT Cornering Masterclass and Colin suggested an extended pedal to assist my heel and toe, thus, what was very nearly a frivolous mod became a very necessary driving aid Not only does it look sexy and obviously is properly race car, it actually adds a bit to the pedal height, as well as width, which means that not only is it easier for my right foot to reach, the dab of heel elicits a few more RPM than before, which is good because I was struggling with the throttle response compared to the Zed. It's totally reversible and, like a correctly executed beating from an American cop, it leaves absolutely no marks.




.thumb.jpg.261d31a2e01598a4d8b23985a9fb1c24.jpg)
.thumb.jpg.63f66f261e0c69a695333baaa068b9e6.jpg)
.thumb.jpg.4670e1ec0128b9c693f1fa6577bd819a.jpg)
.thumb.jpg.5f1763e989b273f492a74be1dc2b6e4d.jpg)
.thumb.jpg.58d976faf97b620d009cd7a14f2ad7a1.jpg)
.thumb.jpg.e8b0cd8c3cb789e9d28e64cb929c9494.jpg)

