

cs2000
-
Posts
2,628 -
Joined
-
Last visited
Content Type
Profiles
Forums
Events
Gallery
Store
Everything posted by cs2000
-
Haha wow I should have prices it higher. Sold to HP. Can be locked now mods. Thanks
-
Holy crap that was quick! haha, I thought this would stick around for a bit TBH. Glen, I do have your PM, but HP was in there first, you're of course second if it falls through!
-
Ahh yep I see it, well spotted As I said its temporary anyway, but thanks for noticing. I havnt even re-tightened (tensioned) the bar up to be honest. The Z is no longer my DD so it wont be moving again until at least the weekend. Will be sure to do an update when the new wheels arrive and ive used the system for a bit. I just love the fact it fits into an OEM button location.
-
Hey guys, for sale I have the reverser camera taken off of my 350Z, this fits all models both facelift and Non. It replaces one of your number plate light housings entirely and allows you to have a reserve camera. This one has the reverse guidelines imprinted ontop the image digitally by the camera. You obviously need a screen to view this on, but many modern head units support reverse camera features. The camera has been used, but is perfectly functional, but it comes with a new power lead which you simply splice into the reverse bulbs power feed so the camera turns on when you hit reverse and a new video cable which is long enough to run to the front of the Z. Asking for £13.00 inc postage (UK only obviously)
-
Hmm do I? May explain why it didn't fit too well, but its only temporary as my new Cusco one should be here tomorrow. So the little spacer rings actually go on top of the feet of the strut bar, then the bolts on top of that? Rather than underneath.
-
Just thought id say guys, I bought one of these second hand (but never fitted) from BountyBarKid and fitted it tonight, it took about 20 mins and works brilliantly. The only issue I have is now the mirror switch does the opposite, of what it used too, but I guess that means I have connected two wires the wrong way round, grey and purple maybe?? Il sort this when I next do some work on the car. Secondly, if anyone wants one of these fitted in Essex/Suffolk/Norfolk area and wants to travel to me then il help out.
-
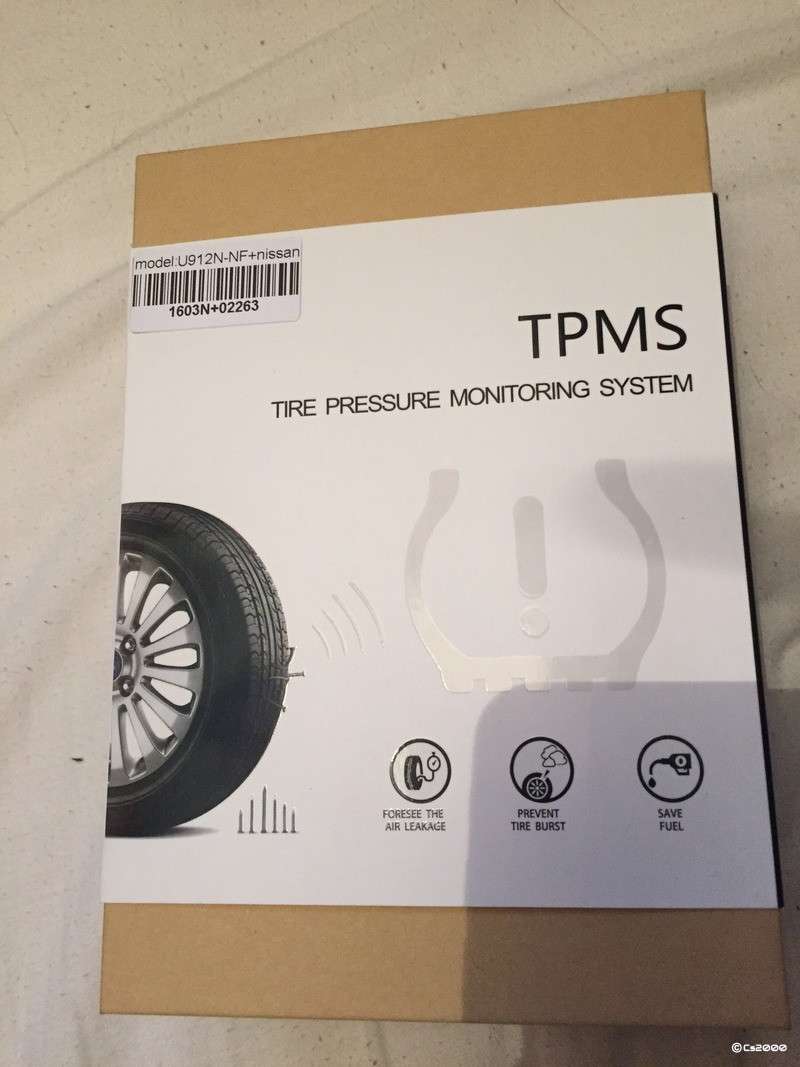
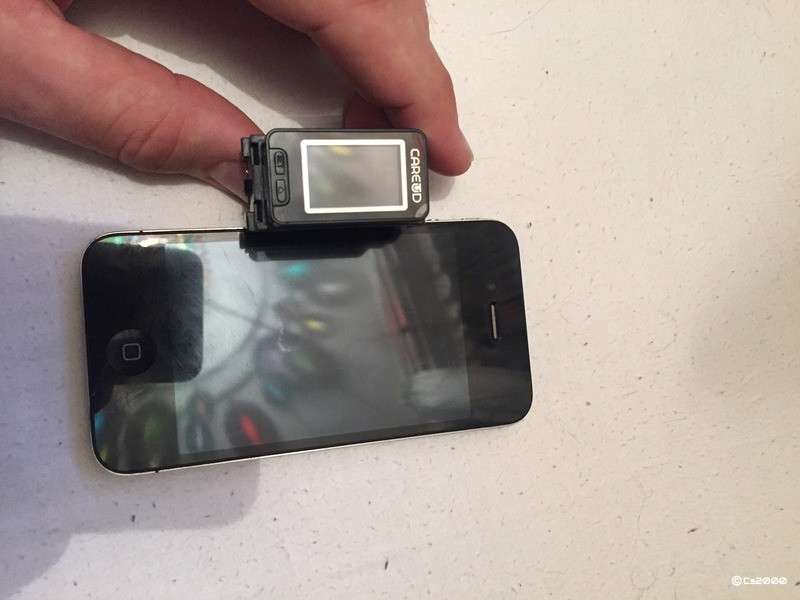
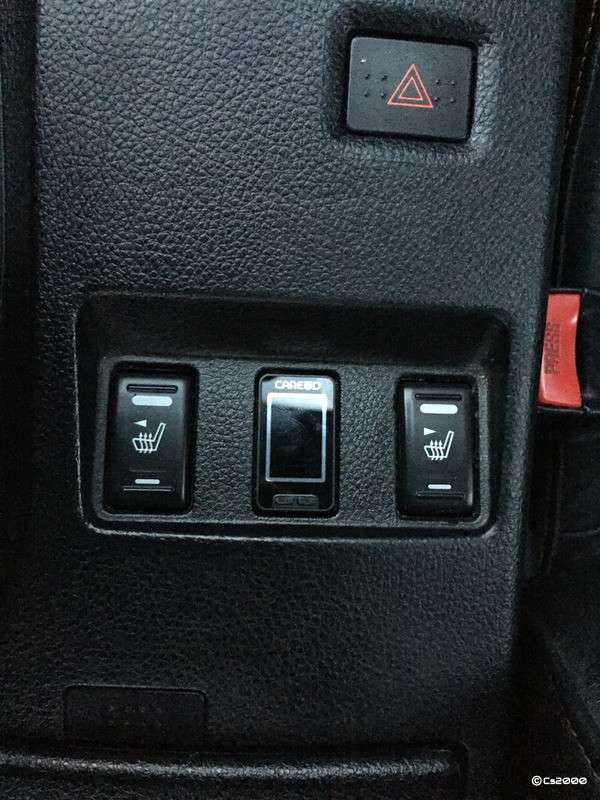
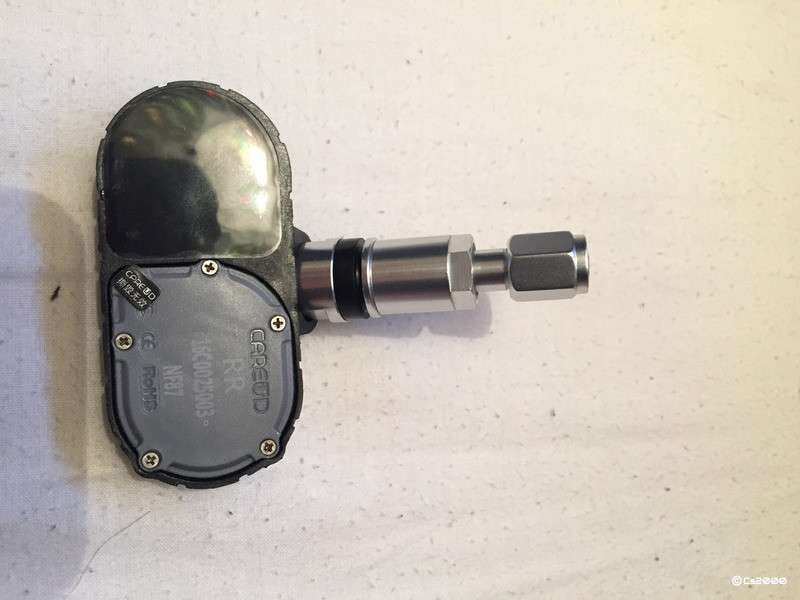
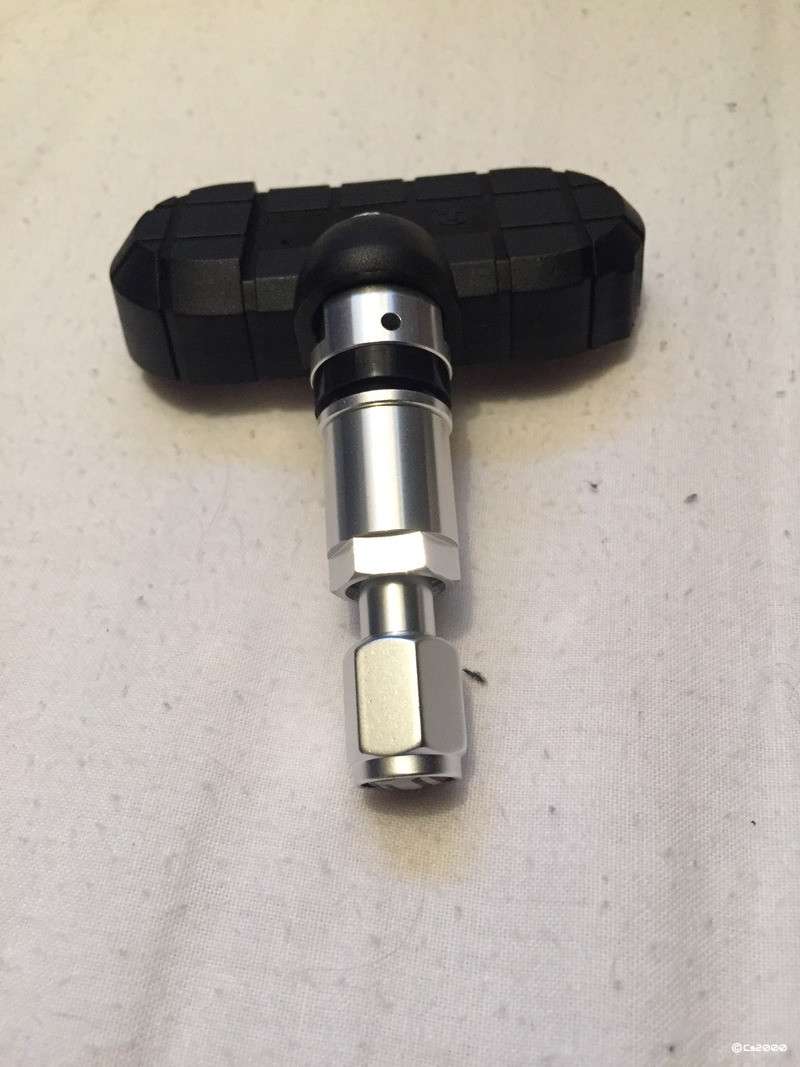
So, not really a mod, yet, but in preparation for the new wheels i wanted a TPMS system. I'm sure there's someone out there that will blast me for this, but I can't resist a gadget! Not wanting a cheapy-cheapy system i went for a middle of the road setup, namely the "CAREUD U912" system from eBay at a cost at the time of £77.99. It tells you tyre pressures aswell as temperatures which may be usefull for people tracking their car?? You get alerted to a pressure or temperature change below or above a certain level (which you set), any rapid change in pressure and a low battery in a sensor. http://www.ebay.co.uk/itm/1x-U912-Car-Tyre-Tire-Pressure-Monitor-System-TPMS-with-Internal-Battery-Sensors-/262911913 —-2020 Edit—- These appear to be available again from their “official” Aliexpress store. https://aliexpress.com/item/32772765384.html The seller says the system is specific for either Toyota, Mazda, Honda or Nissan, so when I paid I added a note asking for the Nissan one. Indeed it came in a nice box, with a product sticker detailing it was for a Nissan (top left barcode) Now, a TPMS system is just a system of sensors and receivers, they aren't car specific, but from the instructions, I was able to figure out that the manufacturer specific kits are because of the little (what looks to be OLED) screen. it's designed to fit in an OEM blank button location. It's really tiny, for example, here it is next to an iPhone 4 And, surprise surprise, if you remove the centre console area, it fits PERFECTLY using the standard mounting clips of the blank button next to the heated seat switches, literally pop the old blank out, this clicks right in its place, talk about factory fit mods! This also gave me the perfect opportunity to move the drivers switch TO THE DAMN DRIVERS SIDE!!! (Seriously, what the hell were you smoking Mr Nissan... You gave the passenger both heated seat switches, and the handbrake...) Anyway, My OCD can now rest! The screen needs 12V power. It comes with a 15amp fuse and an earth eyelet. I cut this off and wired a 12v cig lighter socket onto it that I had laying around just purely for ease of installation. The sensors are internal so they can only be accessed during a tyre change, or like me when you fit new wheels and they come with metal valve stems. All of the sensors are already paired to the control unit/screen, however if one ever develops a fault, of you swap rims around on axles, you can add new sensors, or reassign sensors to different rims, however from the factory each sensor is marked on the battery cover (as shown in the first photo above with either RL, RR, FL or FR. Just be sure to tell whoever does your tyre changes to respect this order when they reinstall the wheels. To install them, you; - Build the sensors as specified in the not-too-bad instructions. - Unscrew the valve cap, metal collar and washer. - Install the sensor on the inside of the rim and adjust its angle so the black part lays flat on the inside of the rim. - Tighten up the valve stem with the included spanner so its angle in relation to the sensor is locked. - Re-add the metal collar, this time from the outside of the wheel and tighten by hand, then the manual says to do one full rotation more with the spanner. - Then add the tyre back to the rim, pump up to pressure and it should show on your screen. Will add some photos of the screen actually on and working when i have the new wheels installed on the car.
-
lol Business seller information TARMAC SPORTZ
-
Just sent you a 10.00 donation mate. I don't normally do charity, but for want of a better word, cancer is a bitch, and if a small donation can go to helping someone in the future live through something like this, or just to be made comfortable when no more can be done for them, then its worth it. My ex works as a radiotherapist and we have personally had people in the family get caught by this disease, thankfully one survived, but the other didn't so I know where you're coming from. Plus, a man prepared to run in a pink tutu, wig and makeup is worth a tenner!
-
Everything's simple once you've worked it out haha. I just want the volume / phone buttons really, I've never really felt the need for cruise control. I think the hardest part will be sourcing the part of the loom between the head unit and the steering wheel? Maybe, maybe not. Give Zmanalex a shout, he's usually got a car in for breaking and will be able to get you the parts id think )
-
In theory it should be simple. Kinda... The steering wheels button set all goes back into the wiring loom of the car via a single connector through the steering wheel boss (that's probably the wrong word in this case, but still). One side (cruise control) disappears into the engine bay to god knows where, but the audio control/Bluetooth side terminates in a white plug that's usually plugged into the back of the stereo, this technically is the easy bit. Not sure about the Z, but with modern cars that don't come with Cruise control as standard, but its available as an option, even if you add the controls at a later date, you usually need to have your ECU edited/flashed to actually enable the cruise control system, that is assuming that the buttons are all that's missing for the system to function (which to be fair is usually the case). HTH
-
Thanks for that, just bought a couple of sets, mine are all ruined from my repeated removal of them, or missing!
-
fake ben taylor is correct, For a 9.5j wheel, you'd want something like a 265, for a 10.0j a 285 would fit well. Depending on the wheel, you should be able to get these sizes on the Z, 9.5 front 10 rear.
-

reduced sound out put after replacing o/e bose ?
cs2000 replied to buster's topic in I.C.E & Electronics
Ive done it to mine and is all good. Il get hold of another harness, do the mod, write a guide and then sell it pre-modded. All for the community I think its a valuable thing to have properly documented -
Il take it, PM incoming.
-
350z Headunit Replacement Guide (with links to parts)
cs2000 replied to cs2000's topic in 350Z Guides
The handbrake cable is an 'earthed' wire (if I'm not mistaken) that is meant to be connected to the handbrake so that the video play ack will only work when the hanbrake is engaged. I bypassed this by connecting the cable to one of the screws on the headunit cage, enabling videoplayback without the handbrake up. But the cable needs to be earthed to something for the video/dvd to play (I have a Pioneer Bt2500) Correct, that's why I spliced mine into the ISO harness earth wire, but both approaches will work. Id think leaving it disconnected though wouldn't work... -
Thanks for the comment. I have ordered a external mic and a dead cat mic so we shall see what happens. Id love to get some decent audio of the before and after as a reference for anyone thinking of the same setup, plus I intend to sell the powerflow system
-
350z Headunit Replacement Guide (with links to parts)
cs2000 replied to cs2000's topic in 350Z Guides
Strange. This is supposed to stop you playing with some of the menu settings, disable the playback of video files from the USB and stop you from typing address into the CarPlayu sat nav screen unless you're "parked up safely". Give these a test and see if you can do them. -
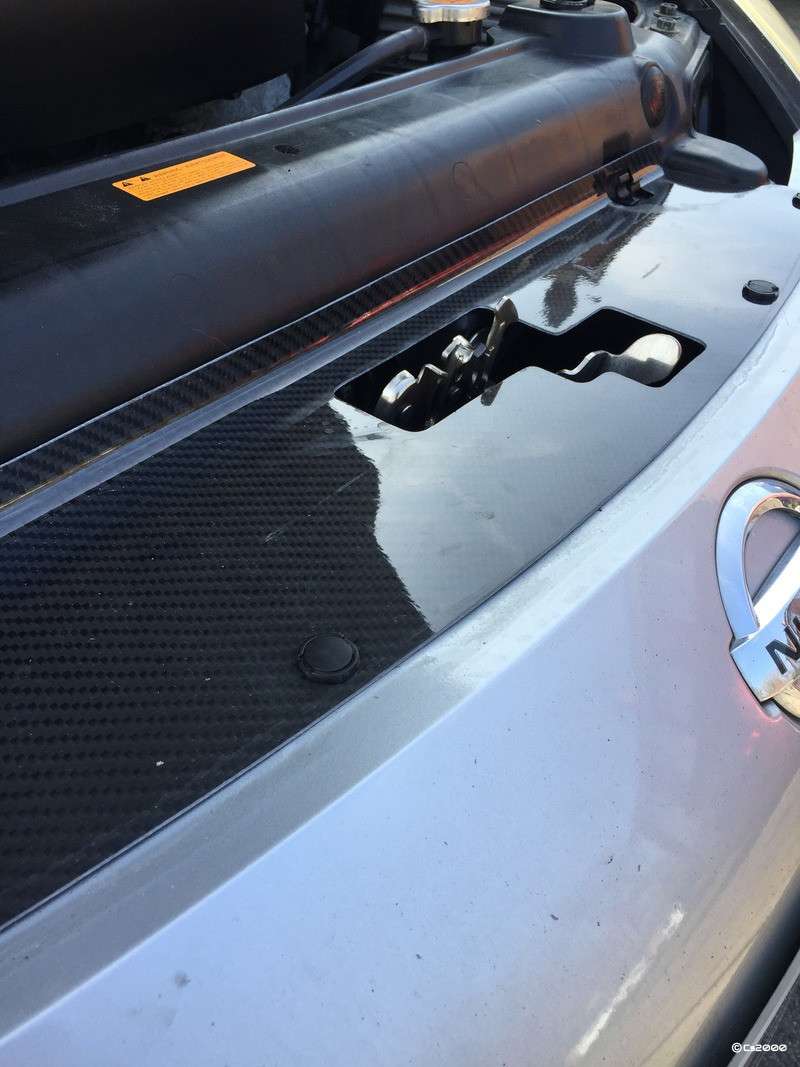
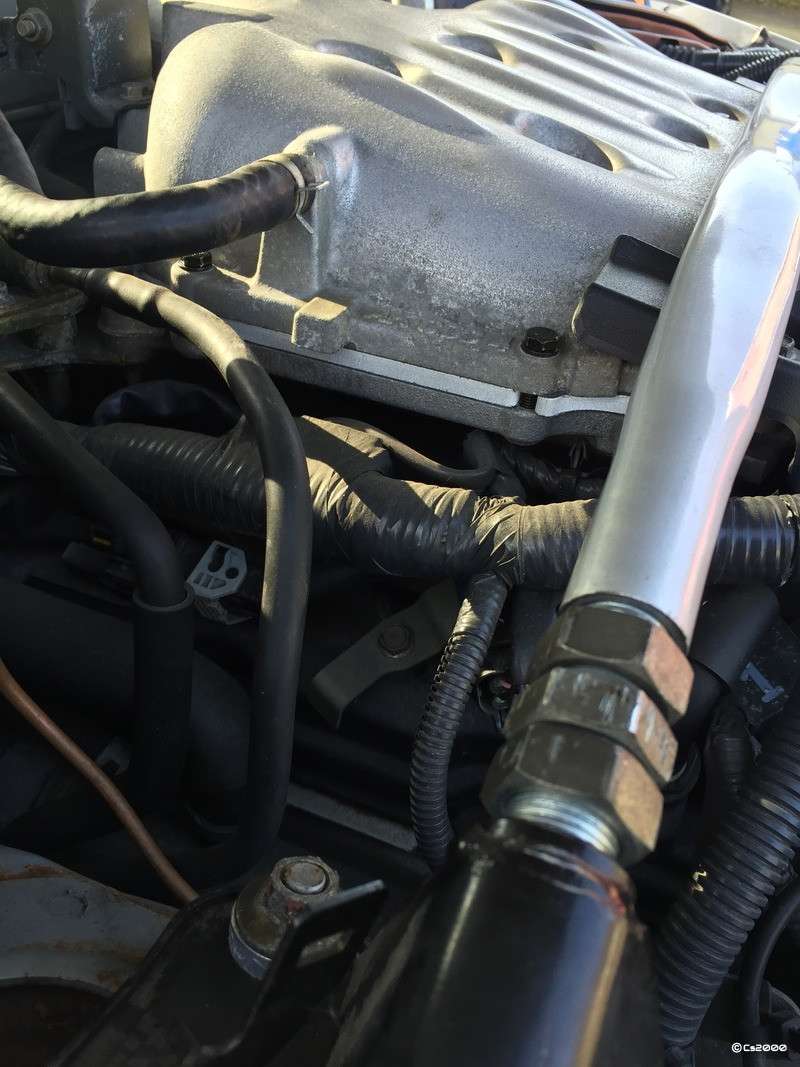
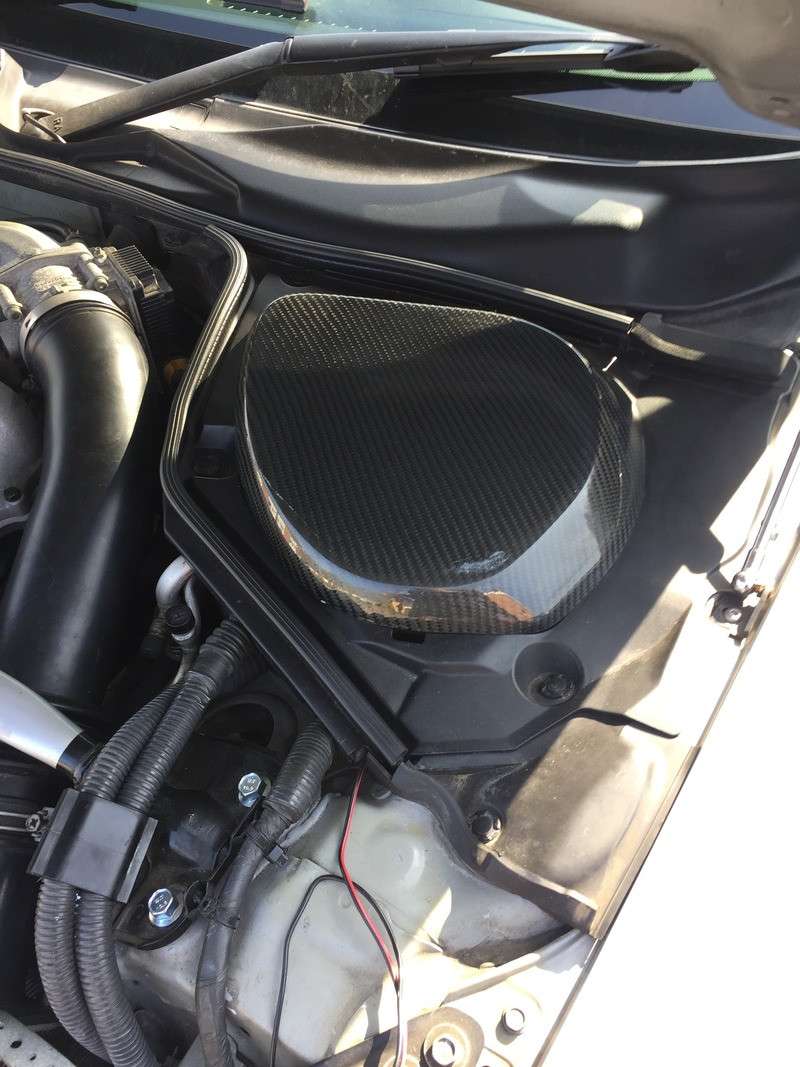
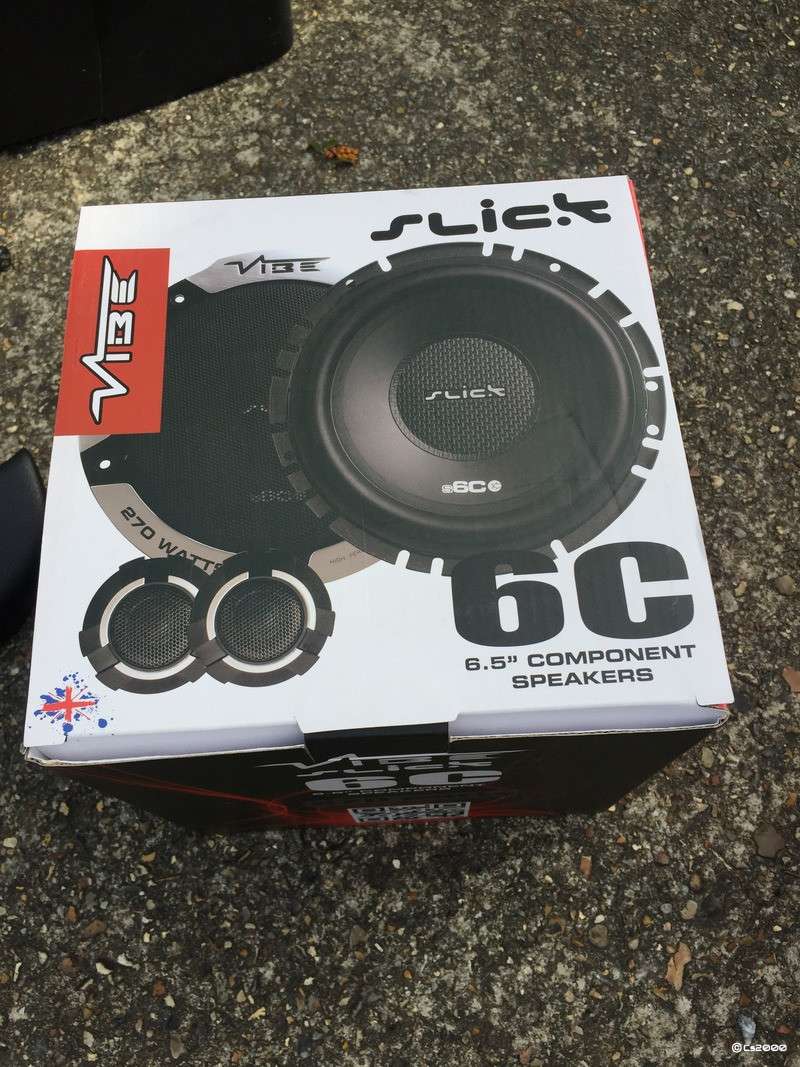
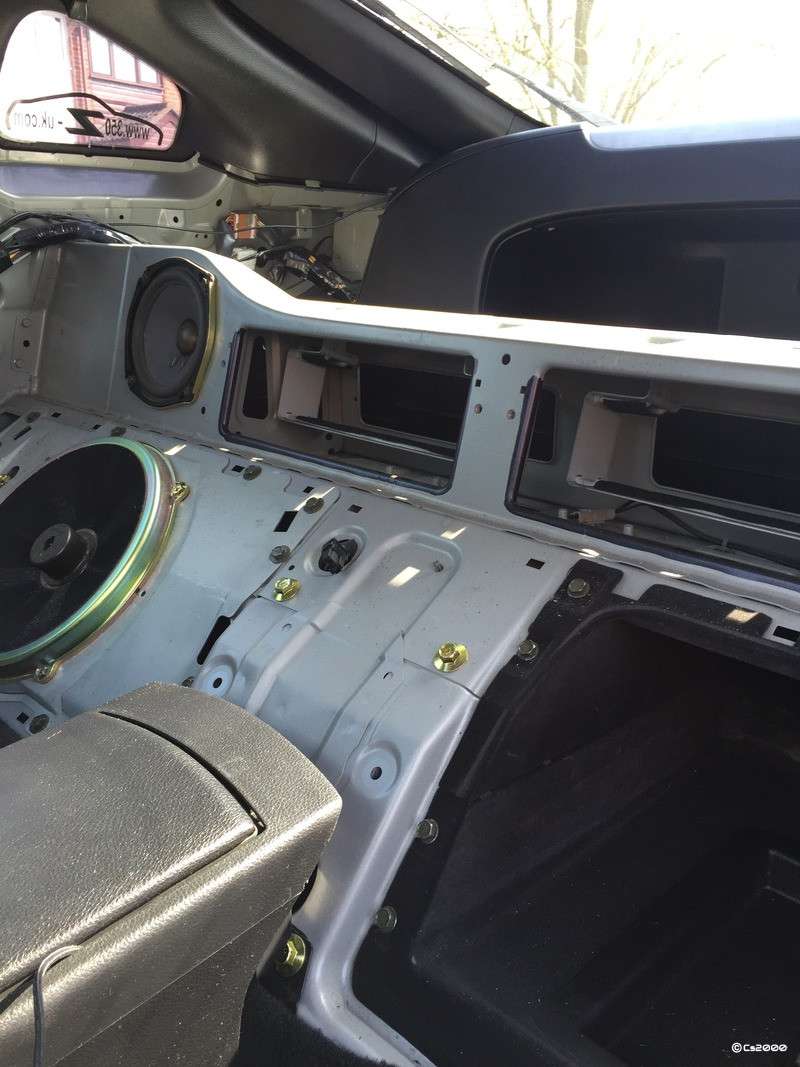
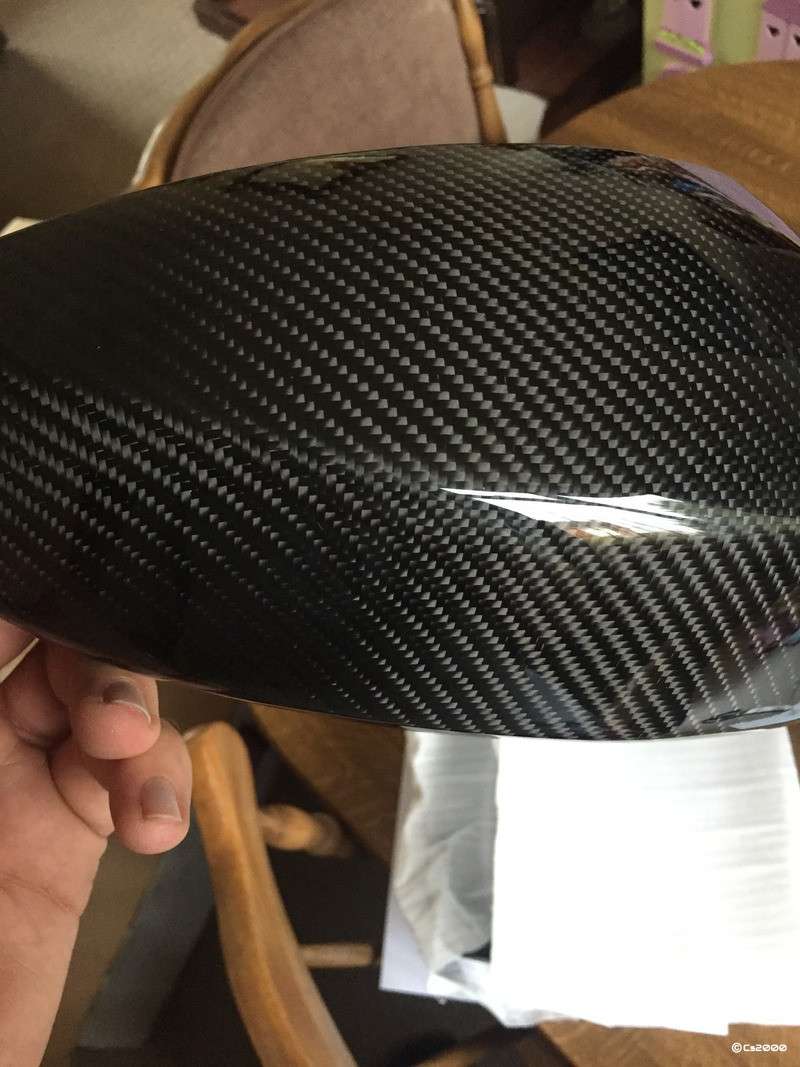
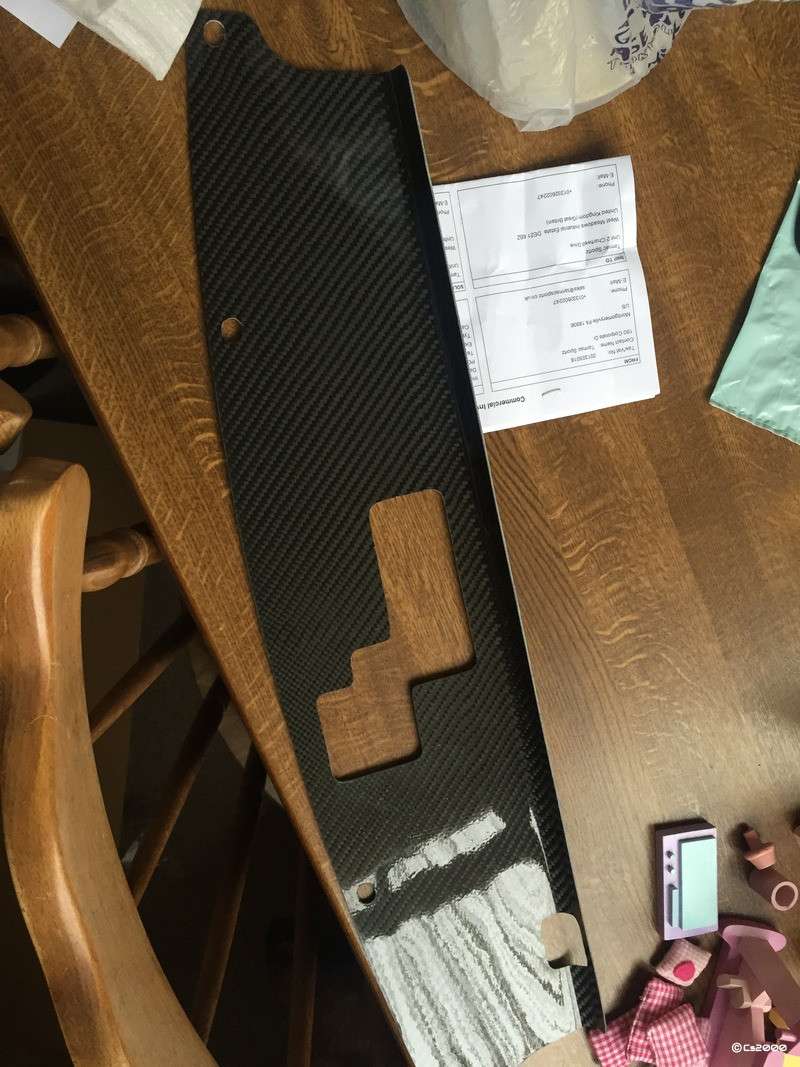
Hi again all. So ive been rather busy this weekend, and have the sore back to prove it! haha So, firstly, was fitting the Tarmac Sportz CF items, namely the slam panel and mirror covers. The slam panel clips in using the OEM popper things, and the mirror covers come supplied with 3M tape, so nice and simple! Only got a photo of the slam panel for now however. Next was fitting the Motordyne plenum spacer. This took about 45 mins in total and to be fair is pretty simple. You get all new bolts which are a touch longer than OEM to account for the extra thickness of the upper plenum with the spacer attached. The Motordyne instructions are very good telling you the torque values and the tightening order, so really cant fault it. As anyone who has taken off the plenum known, you end up taking off 4 vacuum hoses, and disconnecting the entire air intake, as well as the butterfly valves electrical plug. Yep, its a rubbish photo, but what do you expect to see! haha I also cleaned up the CF battery and brake fluid covers, kina getting a theme going here! And them the problems started I have had the Pioneer headunit in the car for a little over a week now, but noticed on Saturday that if I turned the volume up past a certain setting, which wasn't excessively loud, the front passenger speaker distorted and crackled a lot. Using the fader controlled I sent all the sound to this speaker only, and it was fine?!? I then did this to every speaker in the car and found that the rear drivers one was the culprit. Anytime this speaker was included on the fader, it would either crackle itself, or make another speaker crackle. How do we rectify this? Well, a set of Vibe 6.5 inch component speakers for the front should do the job so says my man maths... I installed these which to be honest is pretty easy. I ripped out the old bose speakers and used their frames as a spacer which stops the new speakers hitting on the window glass when it gets lowered. They sound pretty good but remember I'm not using an Amp on these, they're just wired in to the standard OEM setup using the high level stereo outputs so they're being driven at 50 watts. Theyre a touch quieter than the Bose speakers I suspect because of the lack of an amp, but you just nudge the volume up a tad more and its all fine again. However my crackling audio problem persisted. SO what to do.... Well... how about a set of Vibe 6.5 inch Coaxial speakers for the rear deck... Which leads us to this picture I'm pleasantly surprised by how easy this was to do. Yes you need to take off the door kickplate trim, the entire side plastics where the seatbelts are, the glove box panel and the top, but it was all out within 10 mins withy no broken clips. Simply unbolt the old speakers and plug in the new ones and I'm please to say, the problem was STILL there The last thing this could have been I thought was the wiring behind the stereo. I did busters mods to bypass the phono jacks so I wondered if my soldering was flaky or possibly in the wrong polarity, so I began taking the dash apart to get to the stereo. During this I tapped the volume buttons by accident and the volume rocketed up, but there was no crackle. what the hell!?! Anyway, I just put it back together and its now fine. Ive absolutely no idea what caused the crackle. Ive spent a day, and £100 on speakers I don't actually need, but still, ive learnt a lot and the sound quality is a lot better, even if they're not amped. I didn't take any pictures of the completed install as it all looks factory. Ive used all the OEM mounting positions and as much of the hardware as I could. Without taking off the door cards or rear deck plastics you wouldn't be able to tell visually that anything has changed. As usual, more to come as/when, but I think the next mod will involve a bucket and some shampoo, the old girls a tad dirty at the moment... You have me worried now! I have struggled to find anyone with one to be honest. Plenty of Gemini owners, but nobody with an N1 and Berks combo... Does anyone have any suggestions for GoPro mounting positions to get decent audio of the exhaust but something interesting on the picture too?
-
Correct mate, still in there, I love it! And yes. It's all your fault! Haha I did some more work today, but didn't have time do a write up, will see what I can do tomorrow
-
best attitude! done the same recently and all the money spent on other halfs can now be spent on more important stuff like toys. Haha, couldn't agree more. Got no time to waste on people who don't want me around. Haha, we shall see. I have the gopro ready for some audio capture The run back from Abbey Motorsport will take me back through the Dartford tunnel :D
-
Indeed I did mate, check out my updated guide here for all your answers http://www.350z-uk.com/topic/106961-350z-headunit-replacement-guide-with-links-to-parts/unread/
-
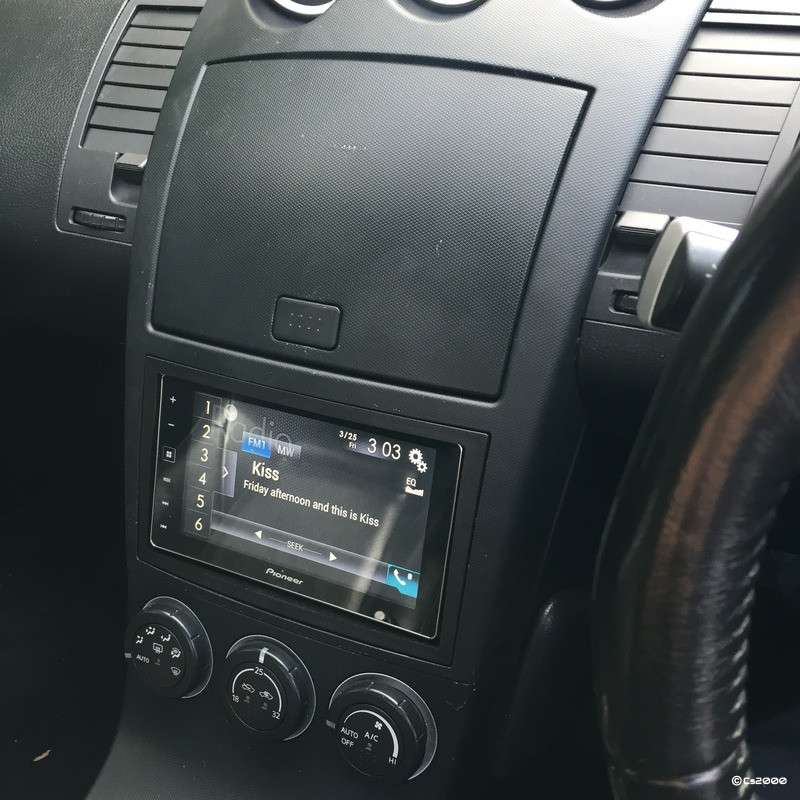
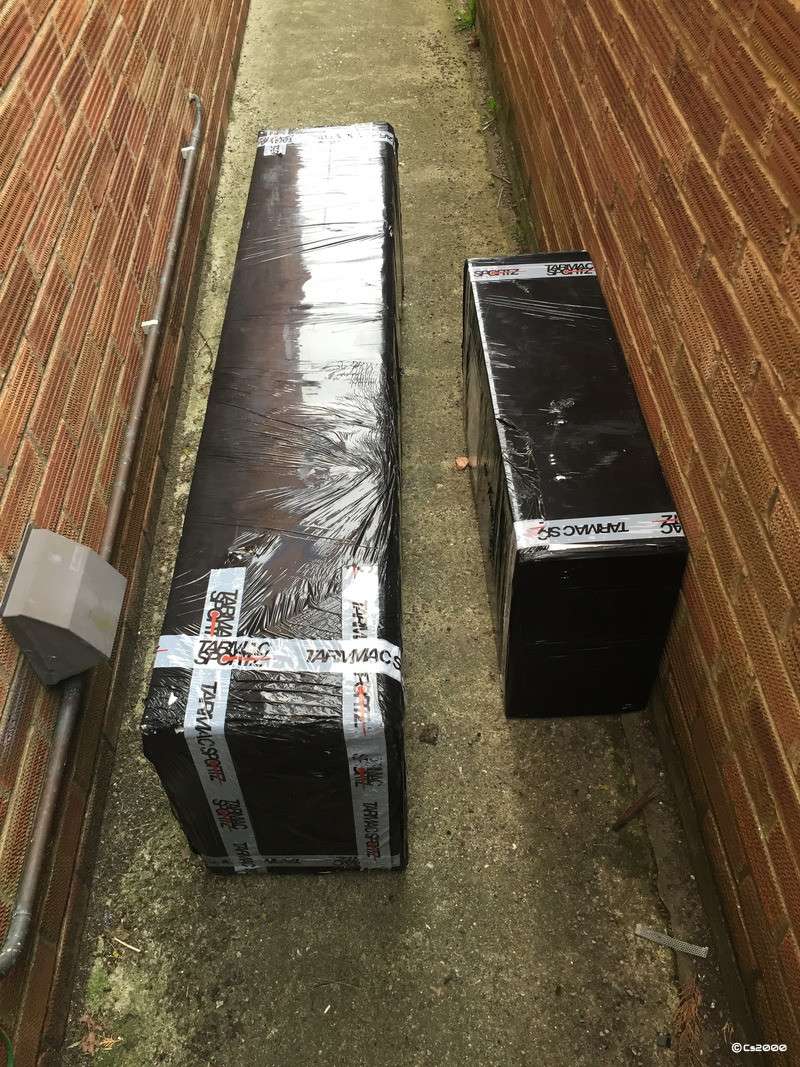
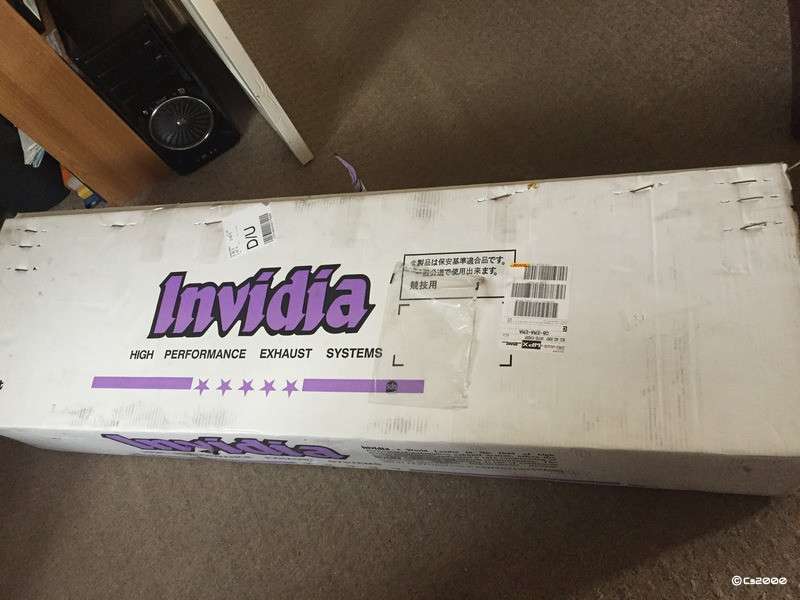
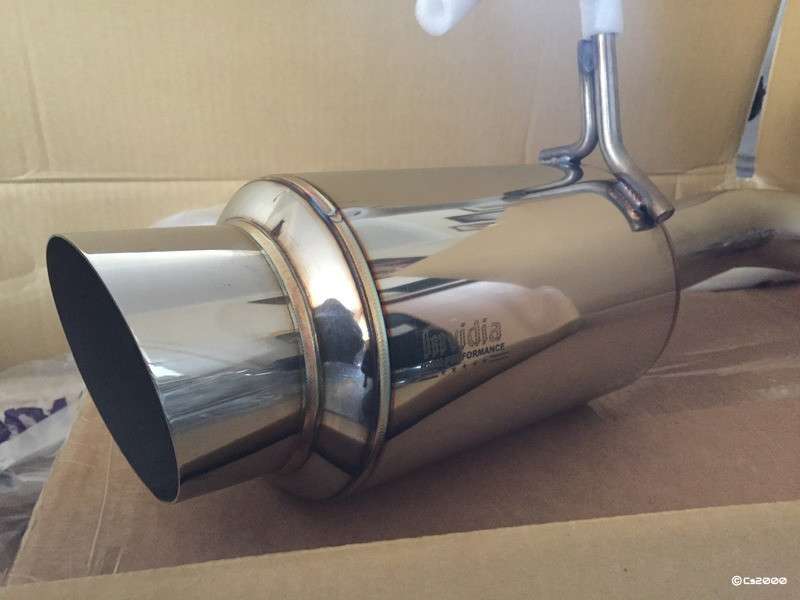
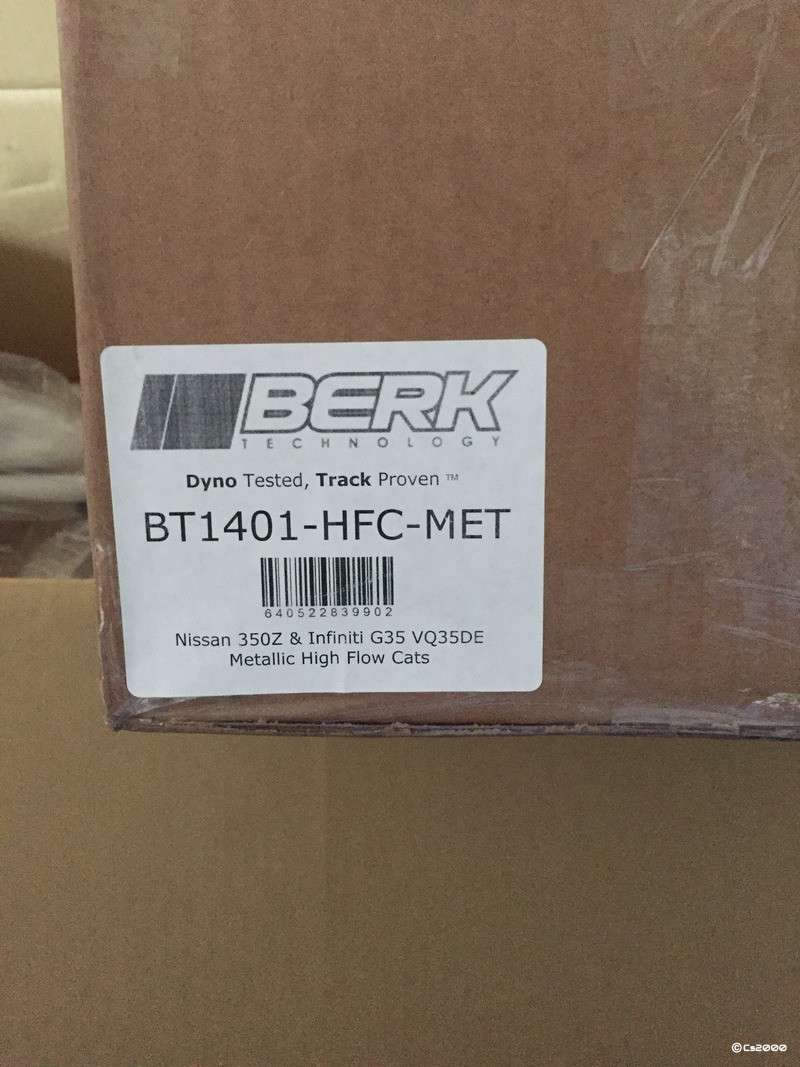
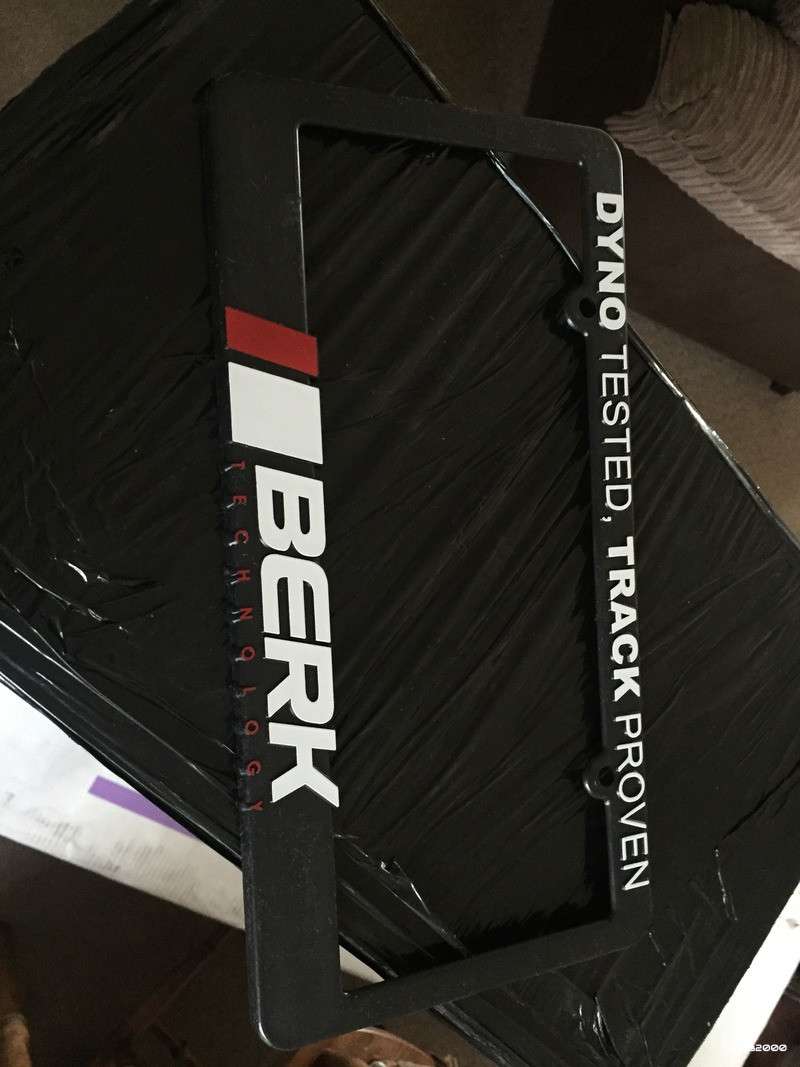
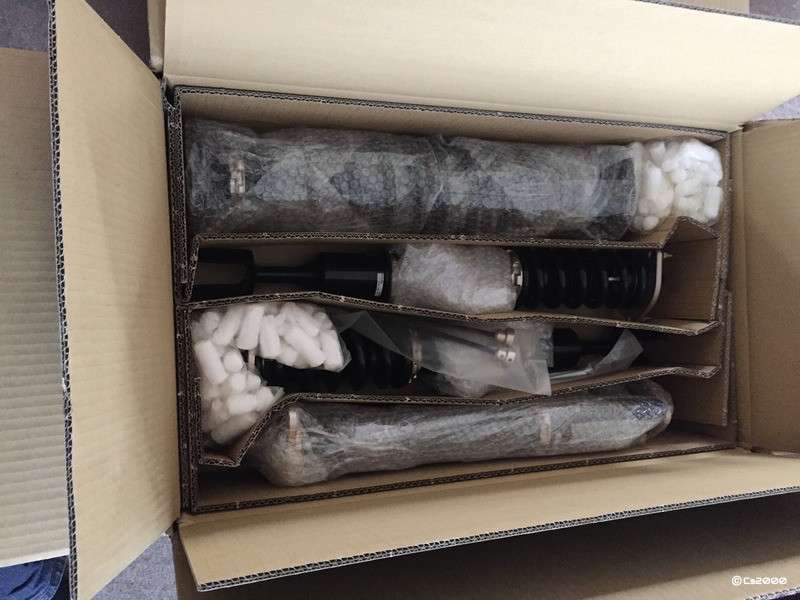
Back in November, me and the Mrs separated. Yeah boo hoo etc etc etc. On the plus side, I meant the house we had needed to be sold, which would release some cash. Some of this is going on a new house, some is going on the Z SO onto the splurge... First to fall victim was the OEM stereo. I have used this install to re-write the stereo install guide on the forum, but the model I chose was a Pioneer SPH DA-120 Appradio, mostly because it supports Apple's CarPlay system. Next, Chris @ Tarmac Sportz was contacted with a nice shopping list which was refined over time, and today, the first of the bits have showed up! This lovely lot greeted me when I got home! The large package (which was larger than I had expected!) contained a lovely shiny Invidia N1 Catback exhaust system! This box had been opened, I presume by Chris to check it wasn't dented when he received it, but he also tucked something else in there A set of the much loved Berks HFC's Upon opening the box, this US sized license plate holder was placed on the top which made me laugh! Totally useless for us, but a funny thing to have I thought. Next, in the smaller of the two boxes, were a set of the Tarmac Sportz CF Mirror covers A Tarmac Sports CF Slam Panel And lastly a Motordyne plenum spacer which I didn't take a picture of I was then told another package had arrived, this was covered in BC logos, so it was fairly obvious what this is So that it. Tomorrow I will be fitting the Carbon bits and the plenum spacer. More parts will be arriving next week and probably the week after, and there is a remap booked at Abbey too at the end of the month. More updates to come tomorrow when things have been fitted and as and when more goodies arrive!
-
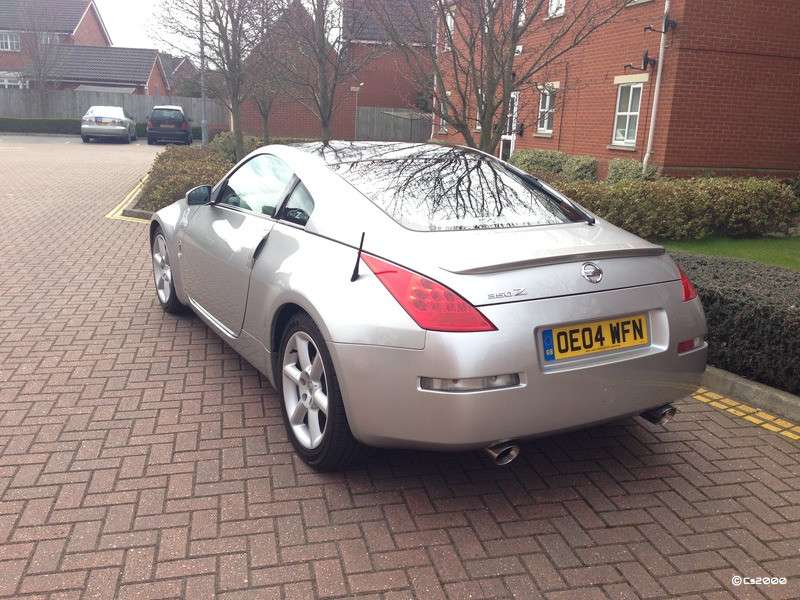
Hey all, Never really felt the need to do one of these, but due to some recent personal changes, there will be some cash spent on the Z, so thought id document it all both for others to use as inspiration, for me as a reminder of what I've done and maybe for any future buyers to have a record of the car! Before spending the day looking at the lovely rear end of Bulletmagnets Z, I was quite happy in my Toyota Celica. But staring at that all day, I fell in love with it! Around 2 weeks later I asked to meet for a look around his car, just for ideas, and he was gracious enough to let me take it for a spin. Damn you! that 5 minute drive cost me £6500 about 4 weeks later... After a search of only a week or so i purchased on Jan 11th 2013 was an almost standard 2004 silver GT model. I originally wanted kuro black or azure blue, but these colours seem to hold a large premium over anything other than silver, so Yep, nothing special. The previous owner had just three mods. Gloss black vinyl roof, Pop Charger style intake and a Powerflow exhaust. All were very subtle and are as of this post,. actually still on the car! As you can tell, by the time I took the photos, I had already fitted the new model rear LED lights and a stubby, and so it begins. I swear, the stubby aerial is the gateway drug to Zeditus... So a little while on, I had the roof re-wrapped by RT-Customs, the old one looked fine from a distance, but was scratched up close, and didn't quite go to the edges in places. I then did bits and bobs such as replacing the standard HID's with 6000K ones for a slightly whiter light, changing all the standard bulbs to LED's wherever practical, but that was about it, until about 10 days ago... Next post to see more...
-
Unfortunately different wheels and specs with the JR5 and JR11s YOu learn something new every day! I thought the figures you quoted me were a universal thing for every wheel. Seriously, offsets and the like boggle my noddle! jujun - You have now caused me to alter my order with Tarmac! haha. I was originally after the Varstoen ES3 wheels, and the JR5's are basically copies, the JR11's (my previous selection) are close, but not the same. Apparently we are both guinea pigs for fitment
