scobie140
-
Posts
1,000 -
Joined
-
Last visited
Content Type
Profiles
Forums
Events
Gallery
Store
Everything posted by scobie140
-
I think your SM-G900F spellchecker needs a little more patience too. Haha its brutal some times Sent from my SM-G900F using Tapatalk
-
That wiring must have took some patients. Good work with the build Sent from my SM-G900F using Tapatalk
-
350zUK.com - Insurance scheme with Adrian Flux...............
scobie140 replied to DAN@ADRIAN FLUX's topic in Adrian Flux
They beat everyone else for me insuring the zed boosted covering all mods like for like. 3 years In a row I've been with them Sent from my SM-G900F using Tapatalk -
Sorry can't help with the time frame. I dropped it off first thing in the morning and went off to the shops and came back just before closing time.
-
Hansburger: Solar Orange 350Z VQ37HR
scobie140 replied to Hansburger's topic in Member Build Projects
Looks a good clean well looked after car. The North coast 500 looks really nice, you must have got the few days of the year Scotland is sunny -
I used them a few years back to uprev the zed. Engine hasn't blew itself up yet so a good review from me
-
*** TORQEN *** 350z & 370z TORQEN DRL - FOG - BRAKE lights
scobie140 replied to Adrian@TORQEN's topic in TORQEN
How easy is the wiring for the DRL's? -
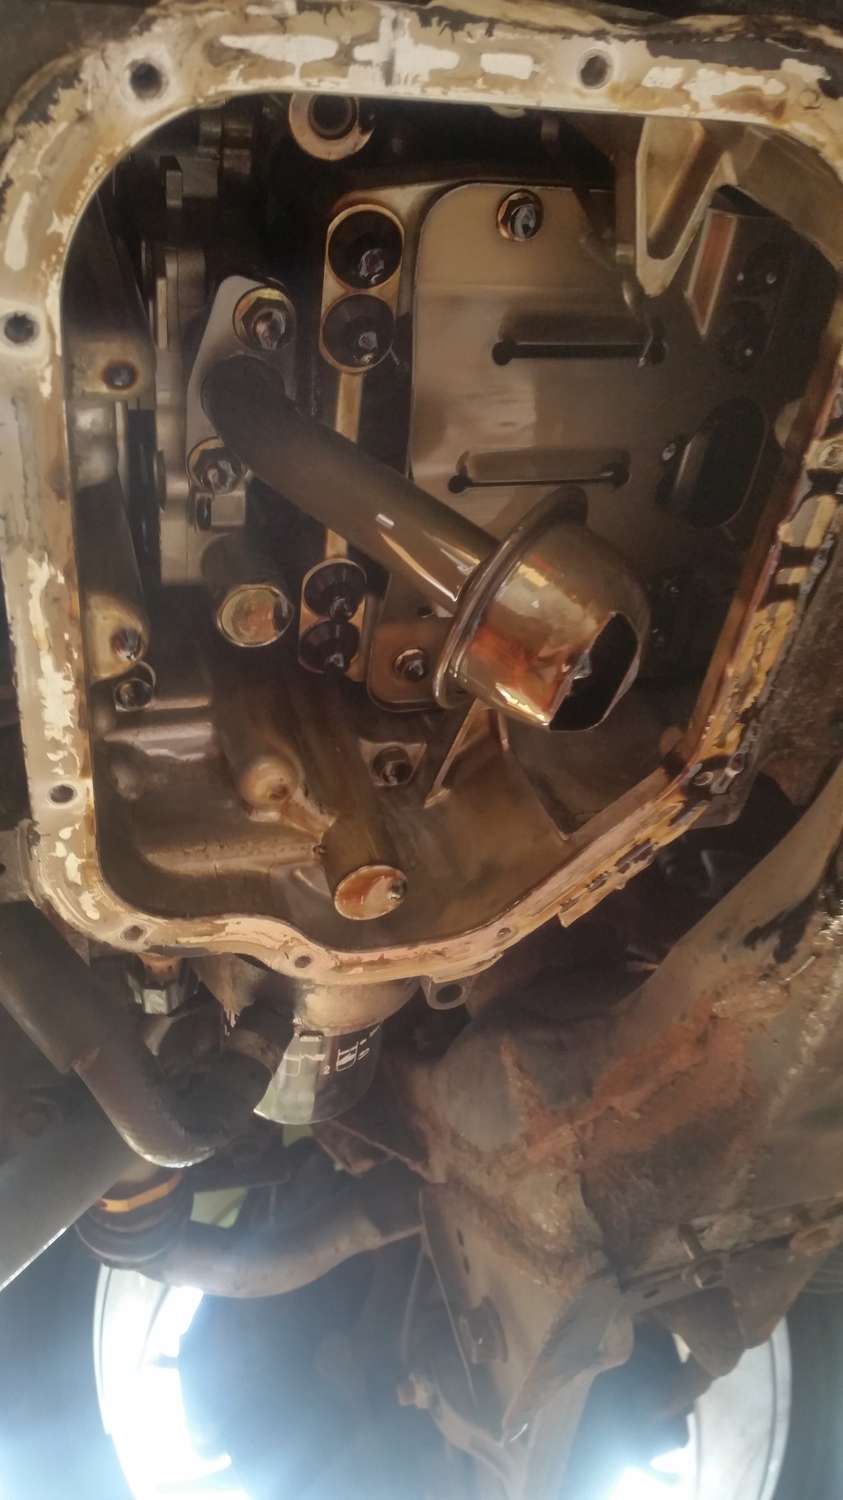
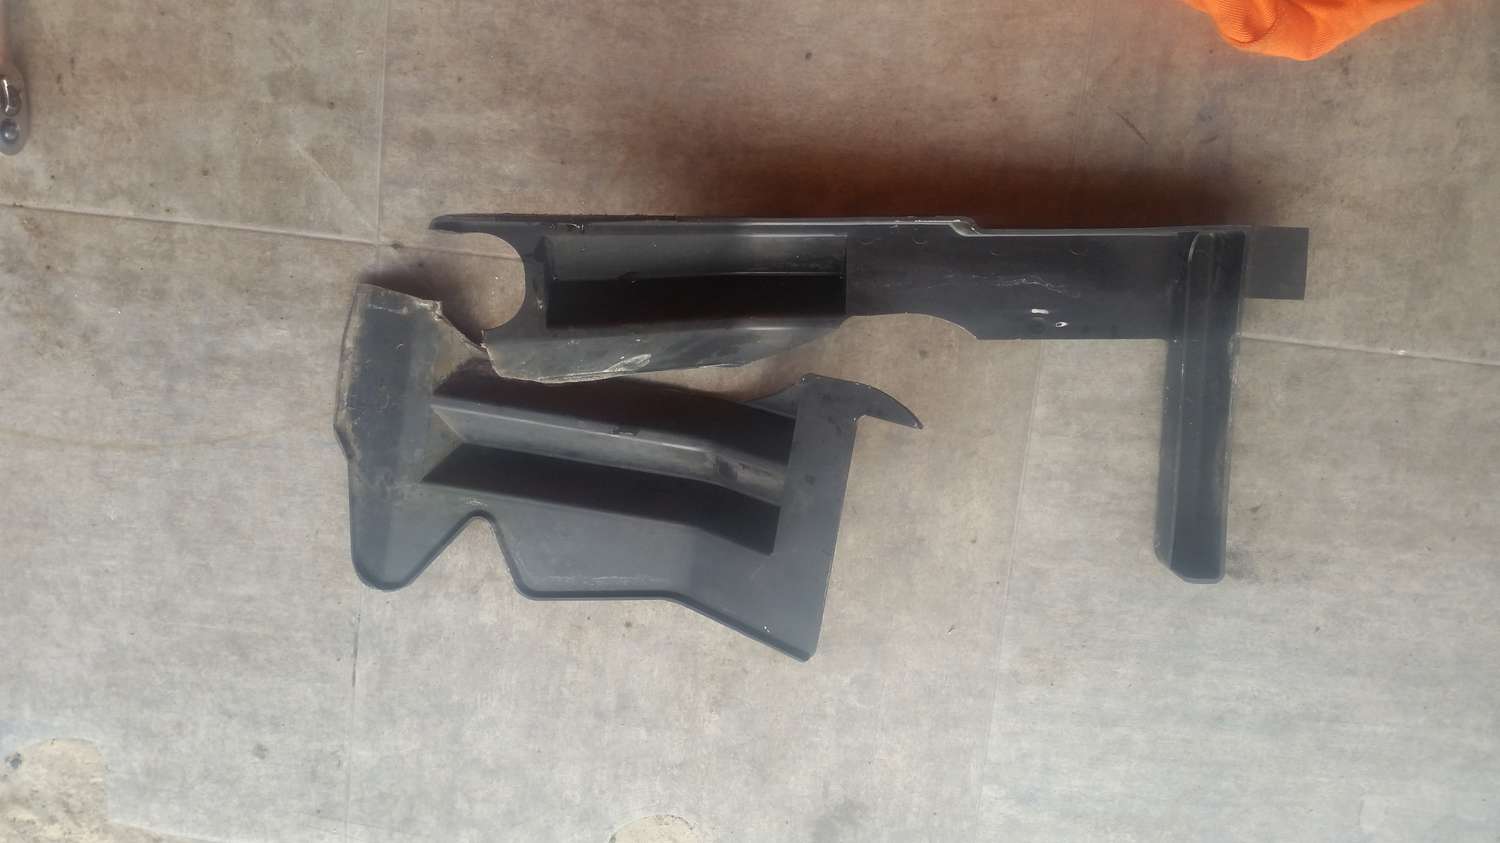
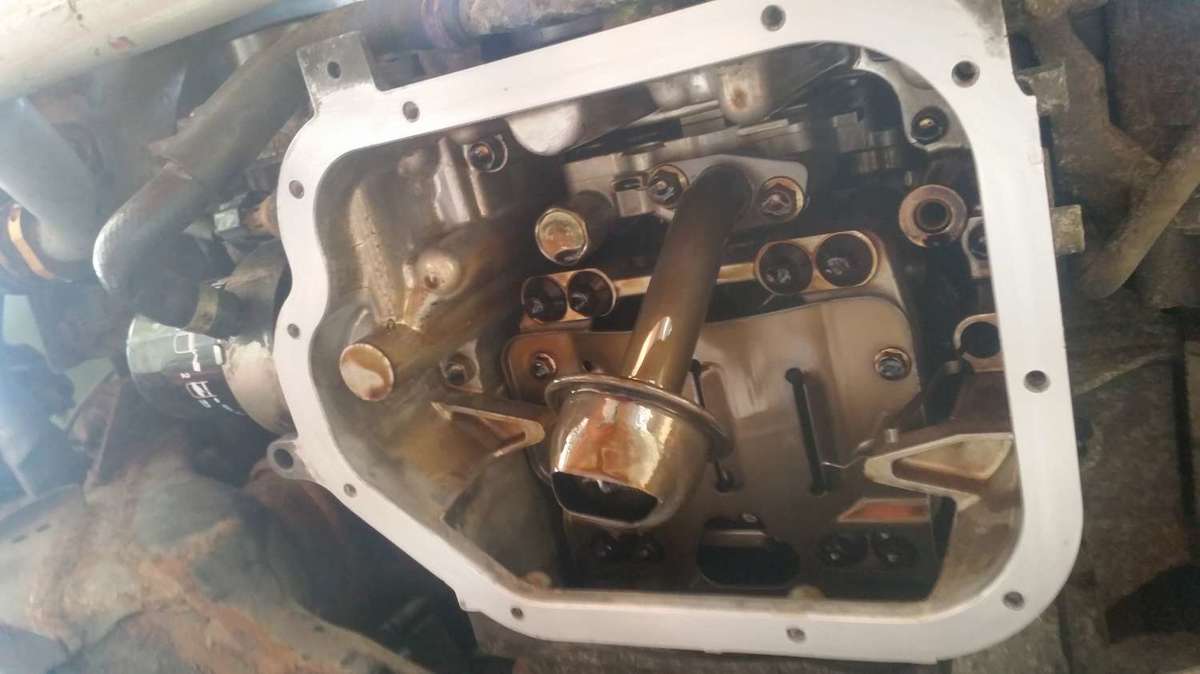
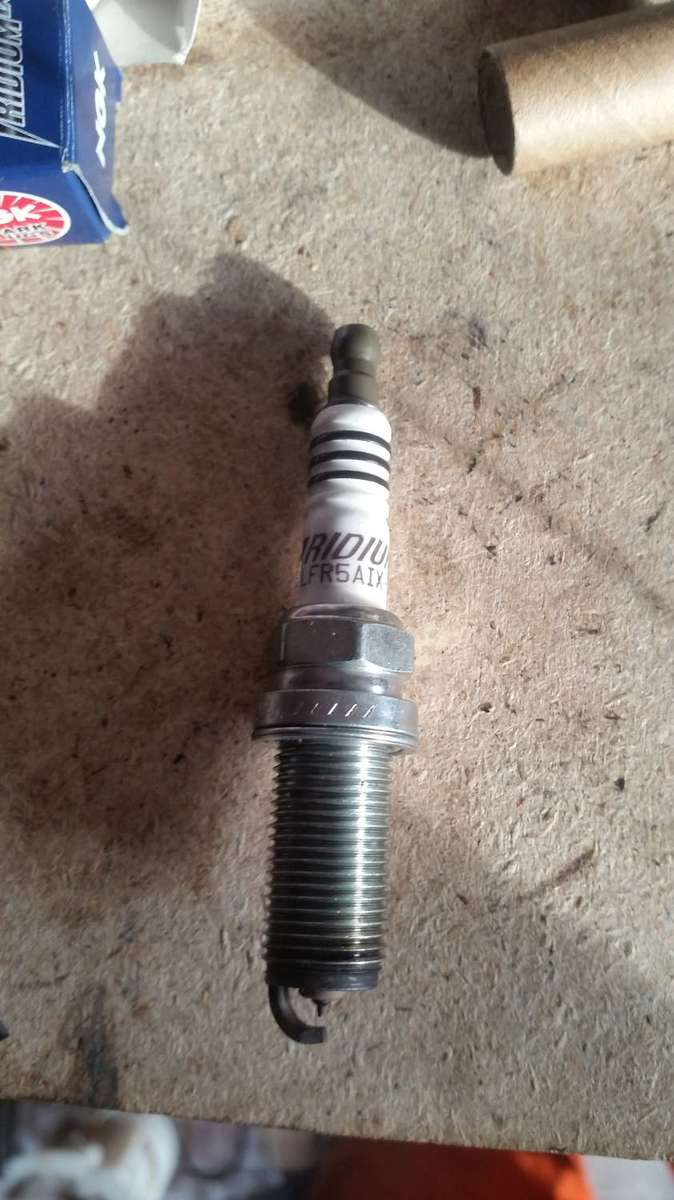
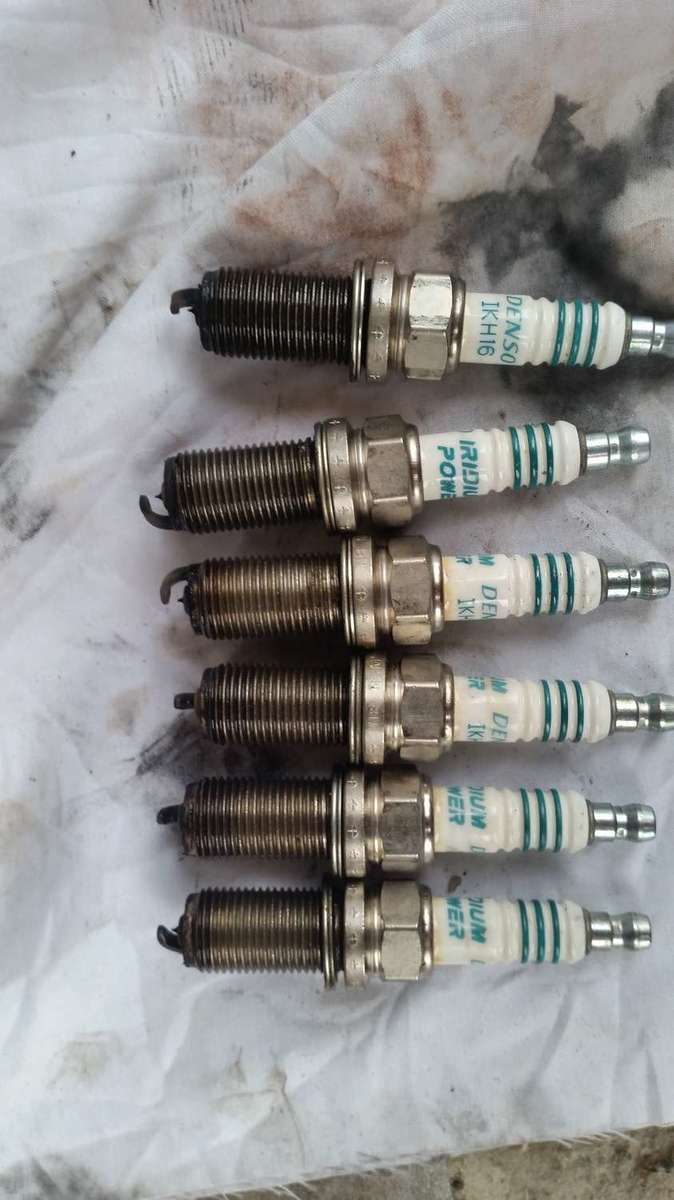
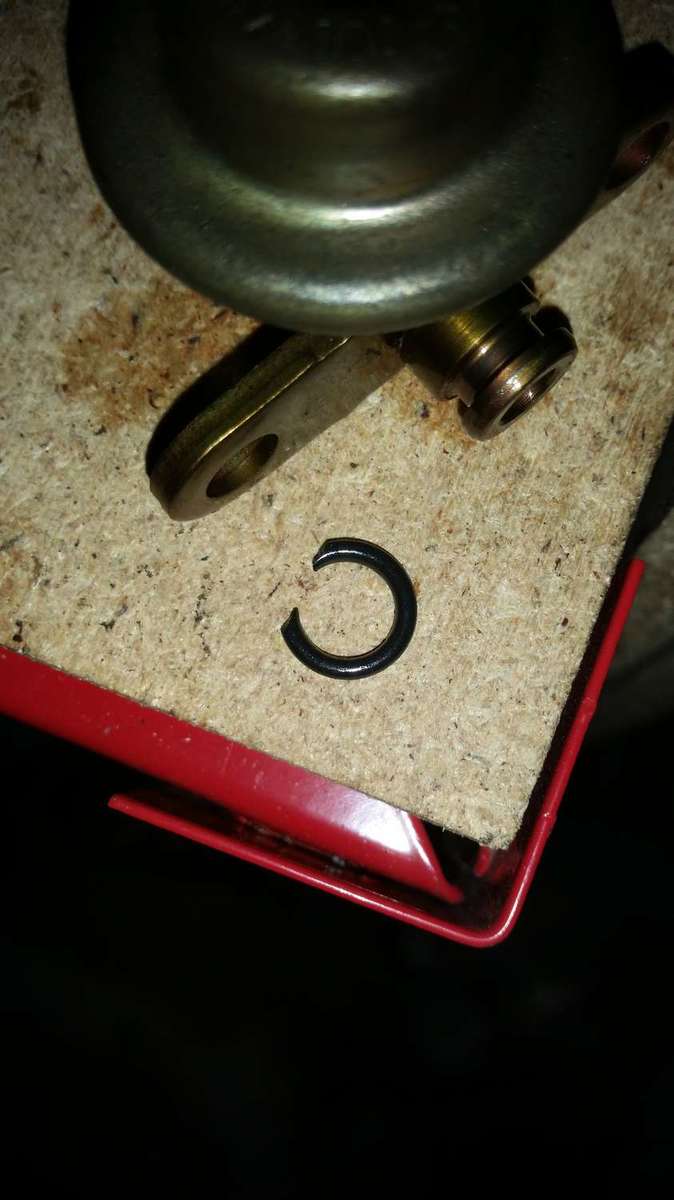
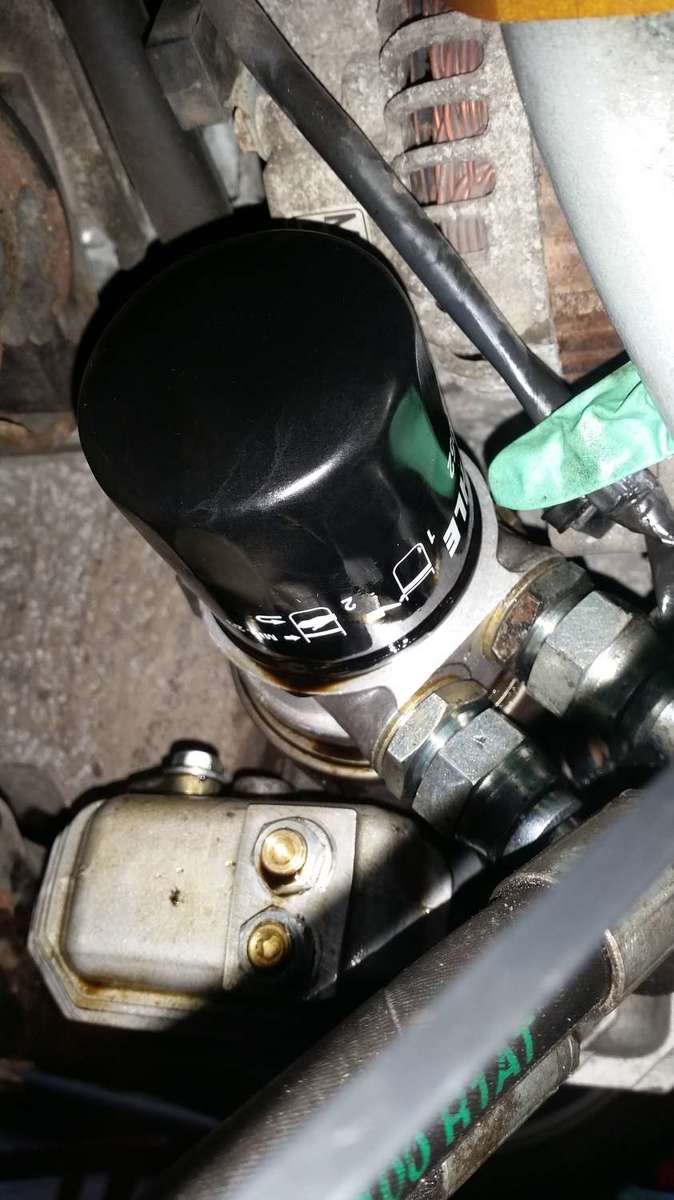
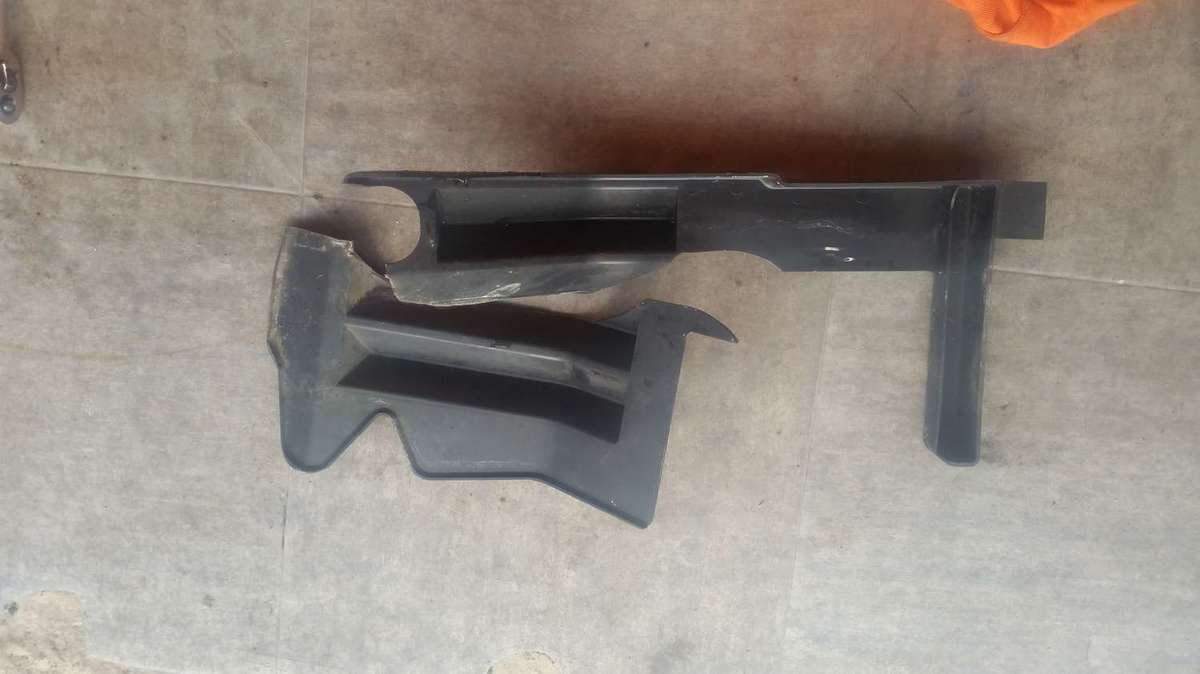
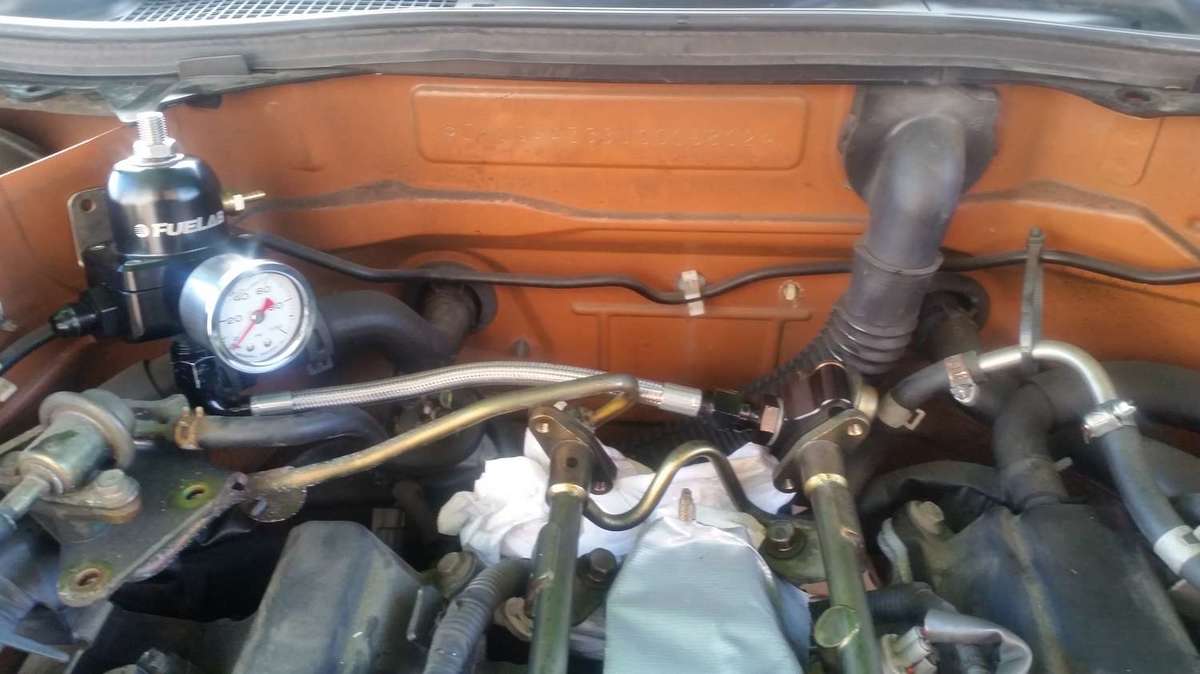
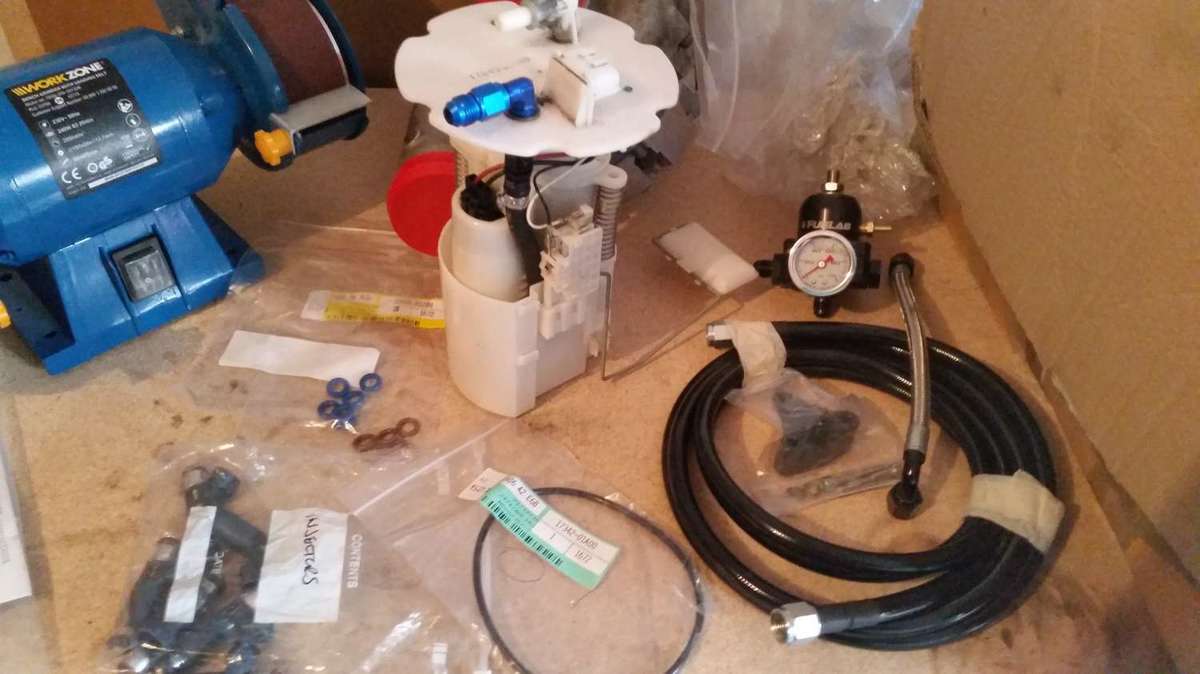
So yesterday started off with me getting myself all confused by over thinking the set up of the fuel regulator. This has been sorted now and just needs the last bit of plumbing. Massive thanks to all the help in this thread http://www.350z-uk.com/topic/114218-fuel-regulator-set-up/page__st__20 Nicked the o-ring for the fuel dampener It was well oiled but had been in and out god knows how many times while I was confusing myself, so a trip to halfords for a 175 peice o-ring kit was required Removed the sump All cleaned up New bigger sump fitted Sandwich plate for oil cooler and hoses fitted, I've still to fit new oil filter and oil but it's not arrived yet so just stuck the old one to keep the system free from contaminants and bagged the ends of the oil hoses with rubber gloves and tucked them out the way. Old plugs removed, thankfully no nasty suprises Newish plugs to be fitted, I also have a spare set of the same plugs but with a 6 in the modle number instead of a 5 but these looked newer so went with these. And lastly managed to snap this while getting out from under the car, so will be looking for a replacement soon. Still to do; Finish of the fuel system and get the regulator mounted and pipe work all tidied up. Put the ignition to on and check for leaks Refit lower plenum( can't fit the upper half until i make a new gasket for the kinetix plenum) Mount oil cooler to crash bar( hopefully the intercooler arrives before this so i can make sure I get the holes in the right place, don't wan the bar to look like Swiss cheese). Fill with oil and new oil filter Fit mounting bracket for charger Fit intercooler and plumb it up. Try to figure out what PCV set up I require Try to figure out a place for a oil temp sensor


-
I have the ds2500 pads with brembo discs and can't fault them for street driving Sent from my SM-G900F using Tapatalk
-
Cheers Chris i spent ages trying to find a guide like that! I think i started to over think it when I found the fuel lab diagram with the input at the bottom which put me in doubt, Glad its all cleared up now and now got a much better understanding of the set up I think the CJ S2 would be overkill for me as i'm only aiming for 400whp but I wouldn't rule it out for the future.
-
Cheers will do Why would you do this? I'll just pretend I didn't see that pic. On a serious note I've now convinced myself that the feed from the rail should be fed into the output line as that's what the gauge is measuring. Essentially regulating backwards compared to the diagram fuel lab have.
-
Cheers, I've set it up as per my 1st picture so hopefully that's right.
-
No i think your still not getting your head around it, The regulator is just an adjustable restriction, its always open, its just a restriction, and the result of a restriction is pressure, so the circuit goes......fuel tank-fuel pump-fuel filter-fuel rail/injectors- fuel regulator, and from there back to the tank. Question for the OP, so presumably your FI, so depending on the power output, have you fitted an uprated fuel pump? From what i remember there is a fuel filter and the pulsation damper in the std setup, IMO it would probably be better to dump the pulsation damper, as i am not sure how its going to affect the things with an uprated fuel flow. Yeh this is all part of going FI, The fuel pump has been replaced with a walbro 255lph. I'll need to keep the dampener for just now as i'd have to source a blanking plate to go on the end of my adapter. I'll keep it in mind and mention it to the guys when it comes to tuning it if they are having fueling issues. Massive help guys thanks, helping me push on with this build. Never supercharged a car before so its one big learning curve. I'm sure there will be more questions over the next few days regarding building to boost.
-
Cheers That would contradict what the fuel lab diagram says though, unless the regulator you have is reversed, I think
-
Glad someone knows what they doing So from my understanding of what Tricky Ricky said I've got it set up correct. Does it matter which fuel rail its on? as it stands I've had to turn the dampener upside down to accommodate the adapter on the passenger side but if i put it on the driver side rail there is no restrictions that i can see
-
I'd have thought that the fuel inlet would have to pass through the regulator before entering the fuel rails in this was the case?
-
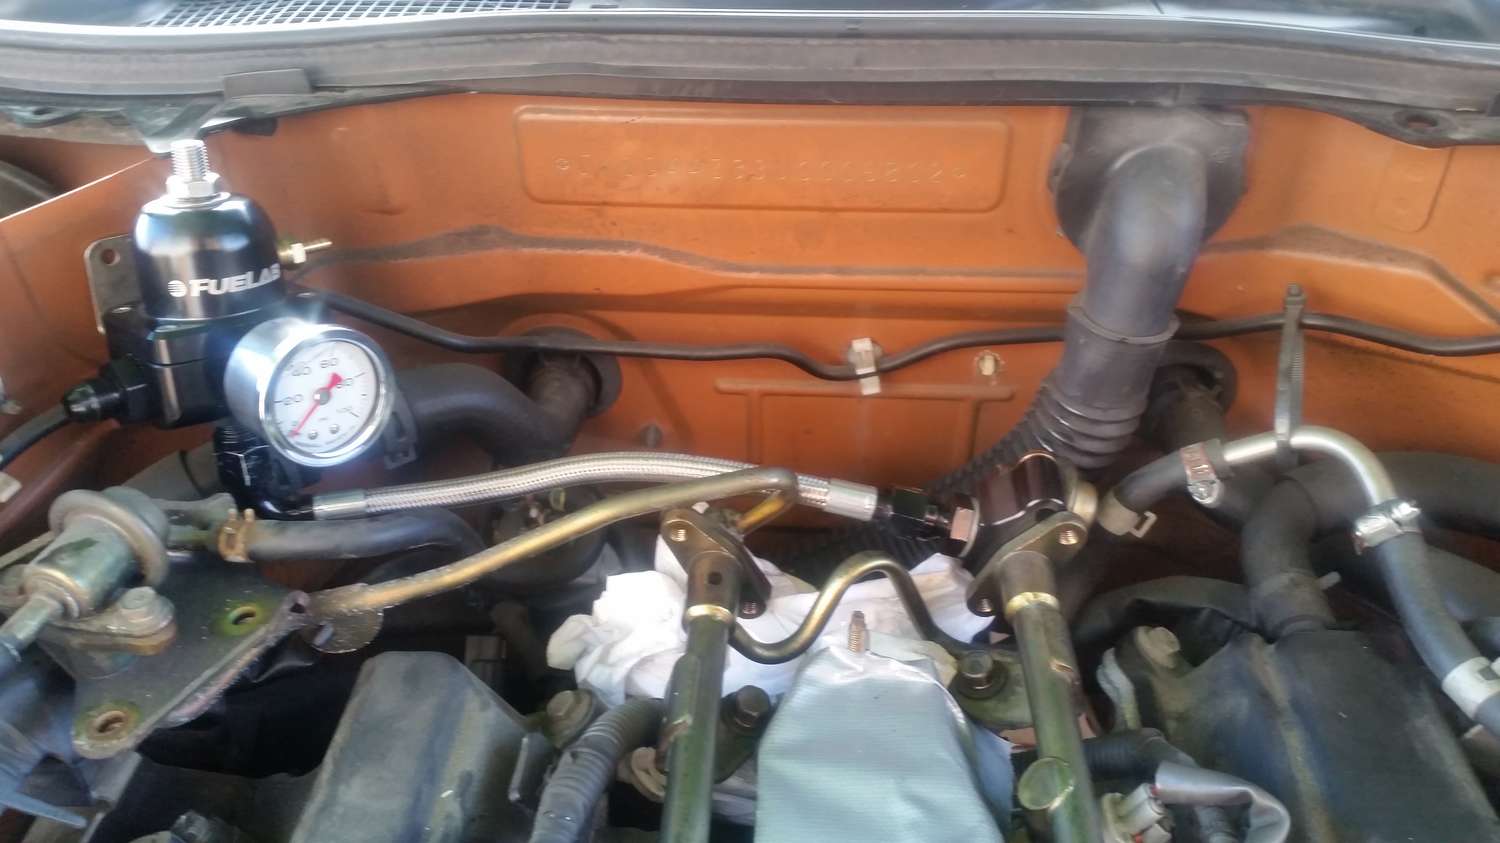
Thought i had this sussed then after i had a quick check to see how others had it set up I've totally confused myself This is how i have it mocked just now is this correct? I did originally have the adapter in the driver side rail but looking at ChrisB's build thread i swapped it over. I then noticed he has his connected into what i would have thought is the outlet of the regulator which should be returning to tank. I then tried to find something on the web to clear it up for me but the best i could get was this from fuel lab. My understanding is that it it would regulate the inlet pressure by letting away the excess to the return line meaning the inlet line would never be above 52psi or what ever you set it at. But their diagram would suggest that it regulates the output to 52psi Anyone clear this up for me and tell me what to put where since I've pickled my head?
-
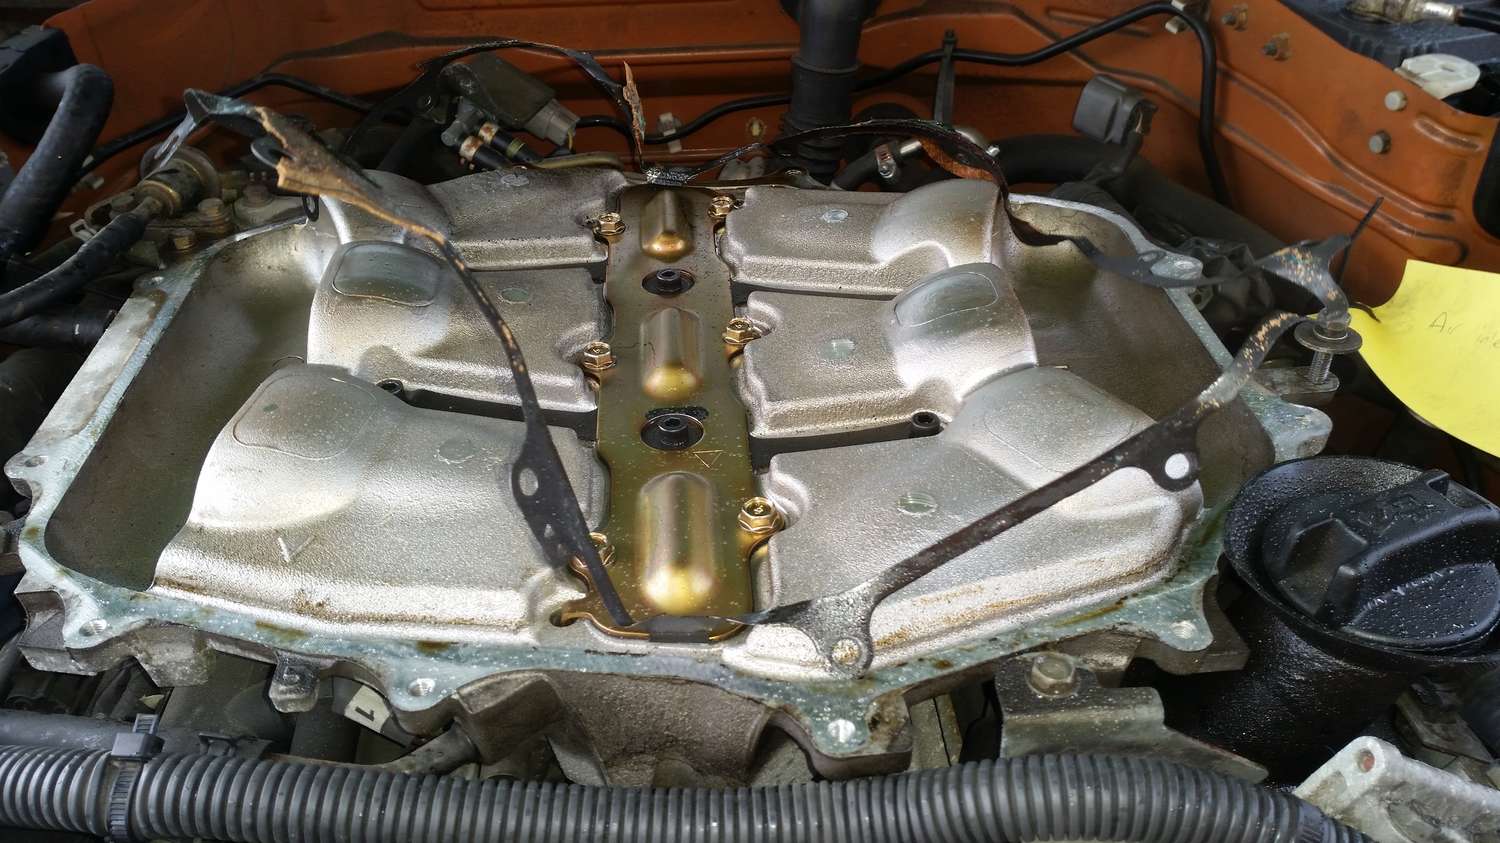
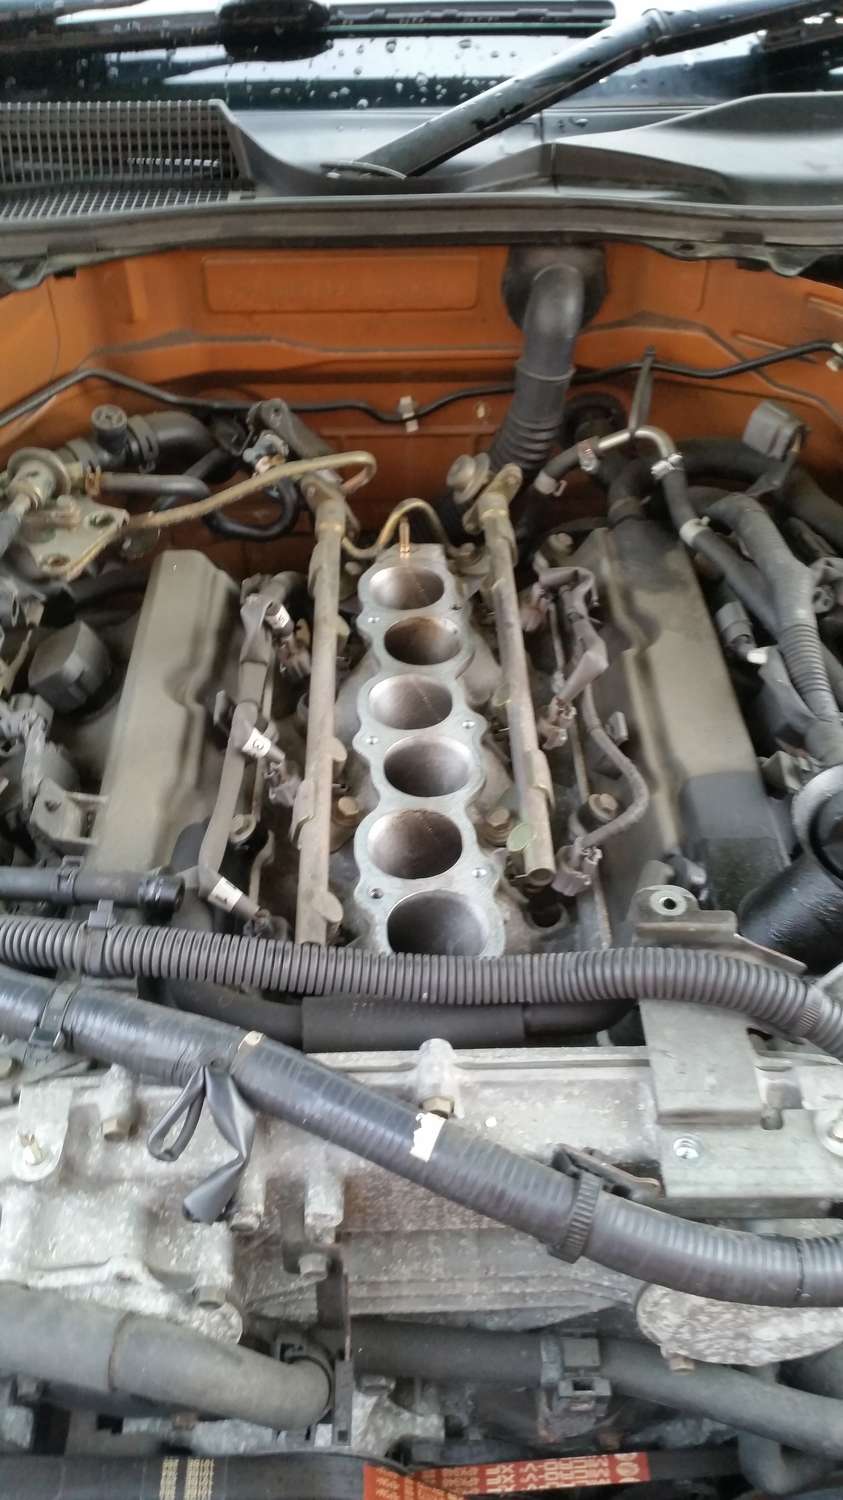
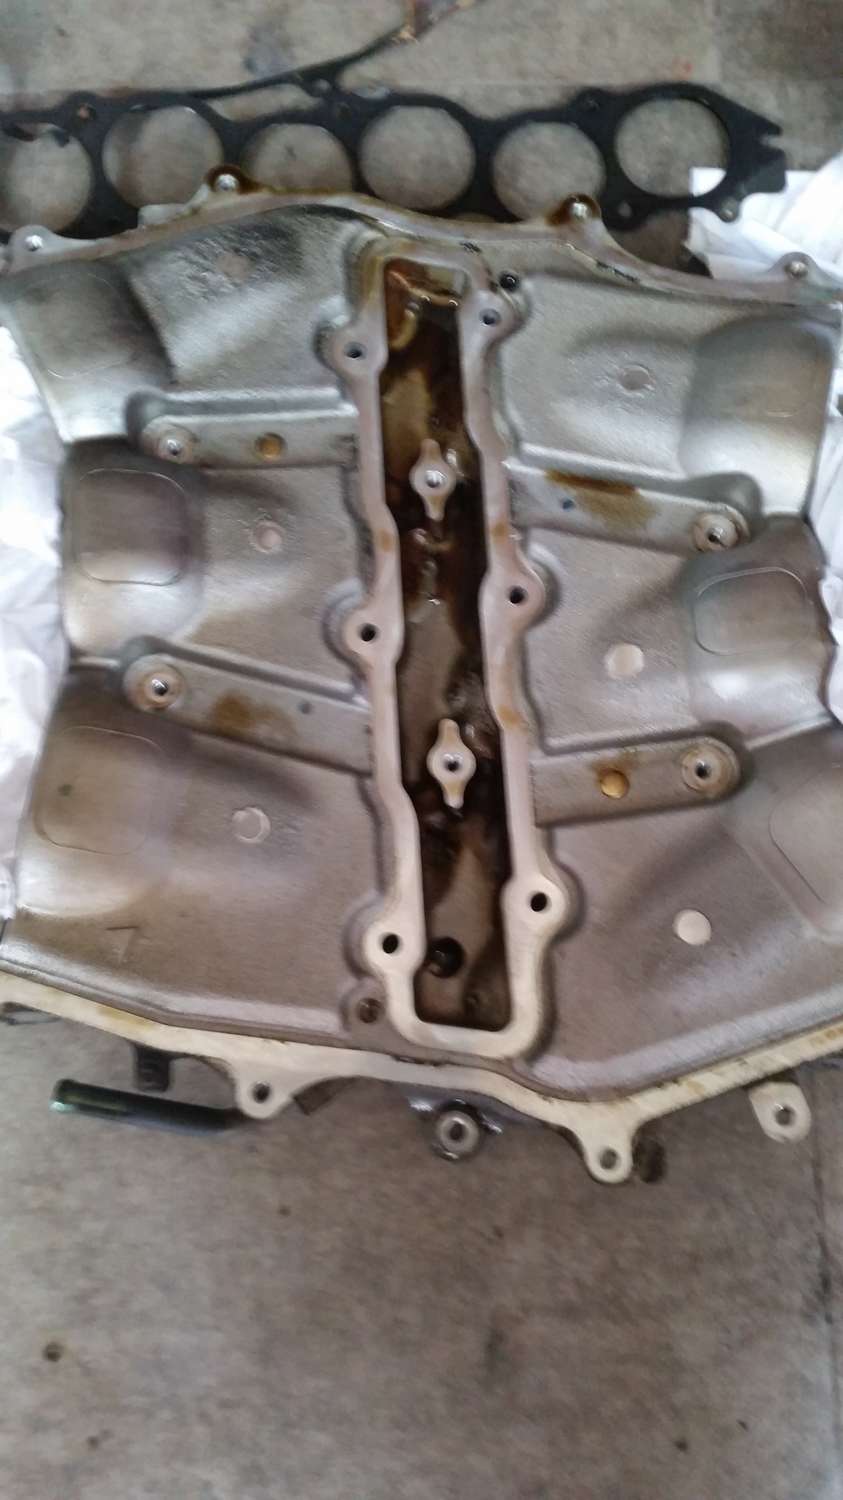
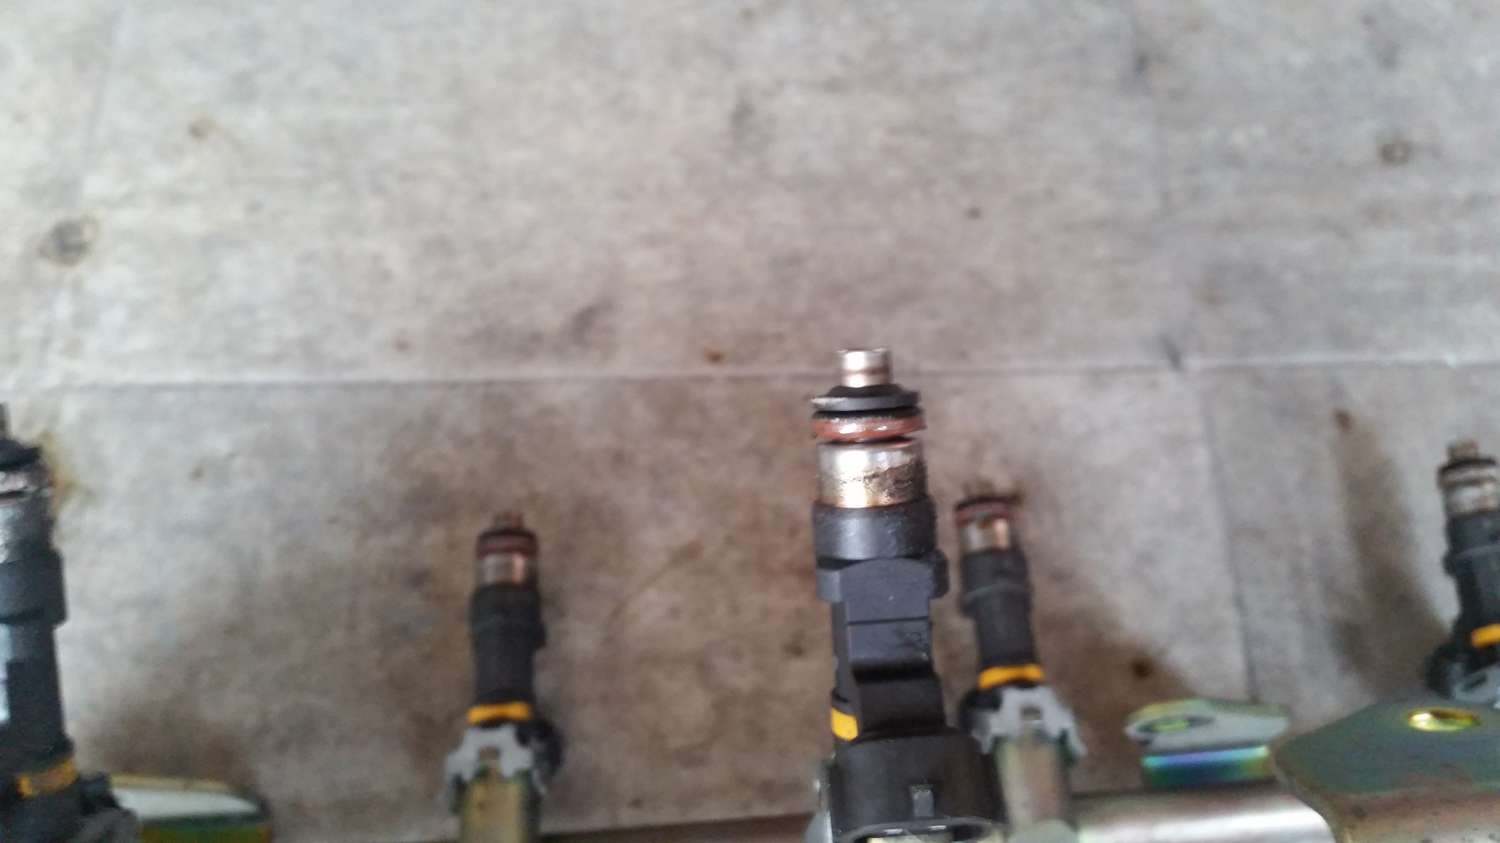
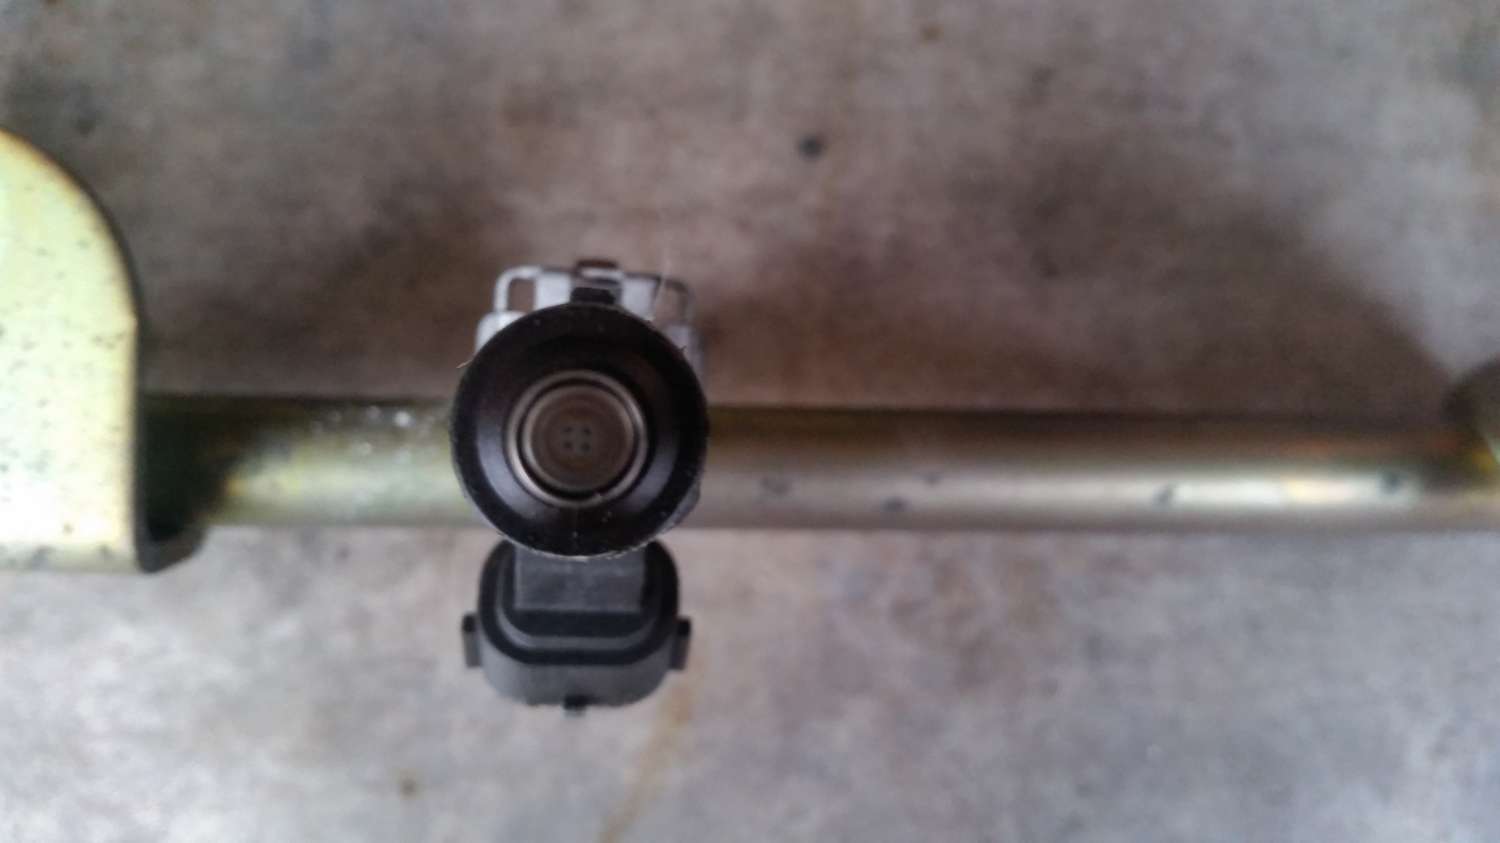
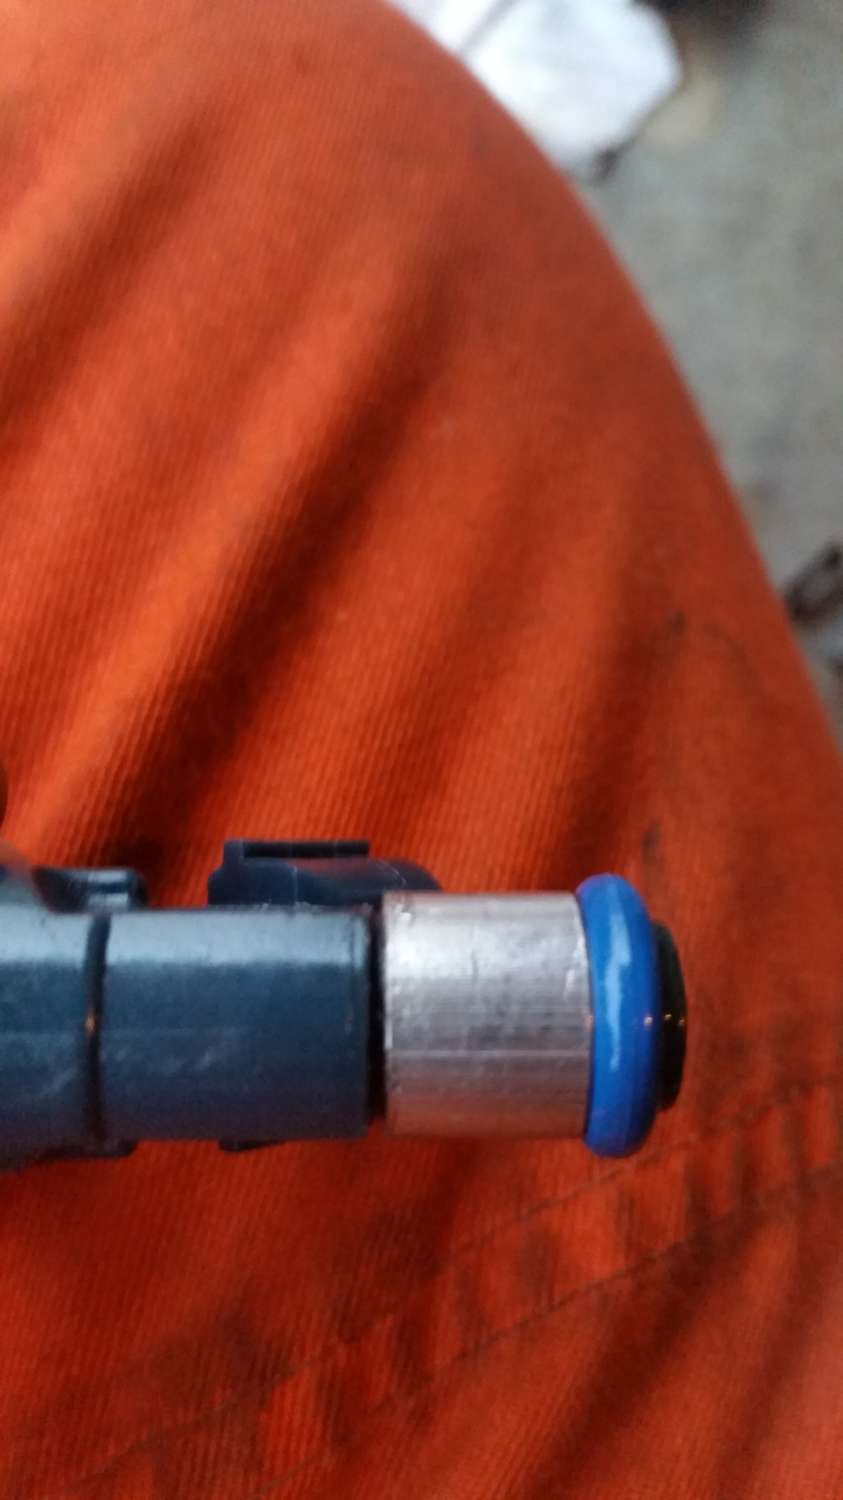
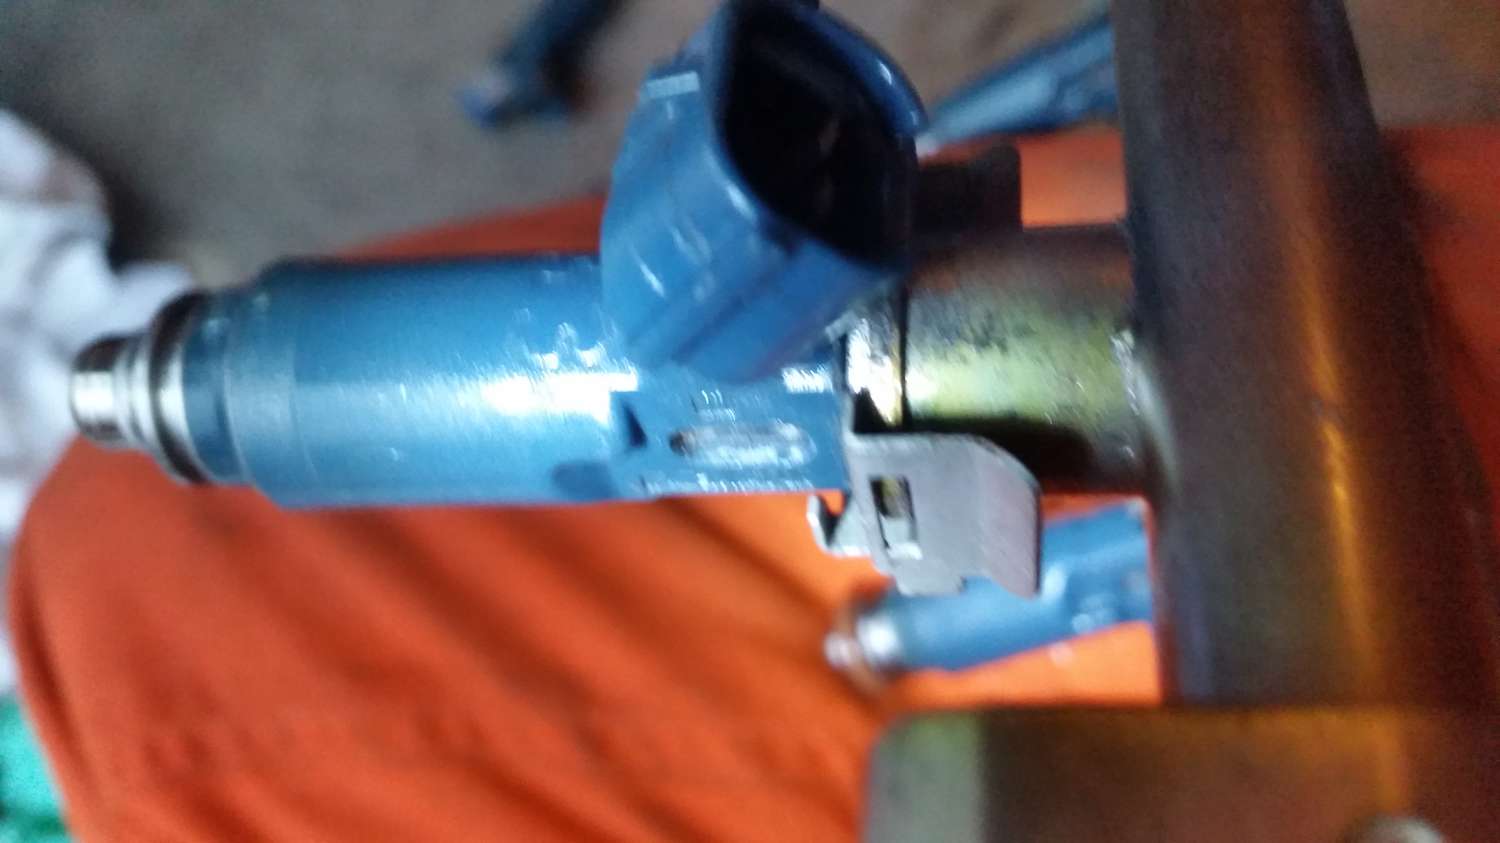
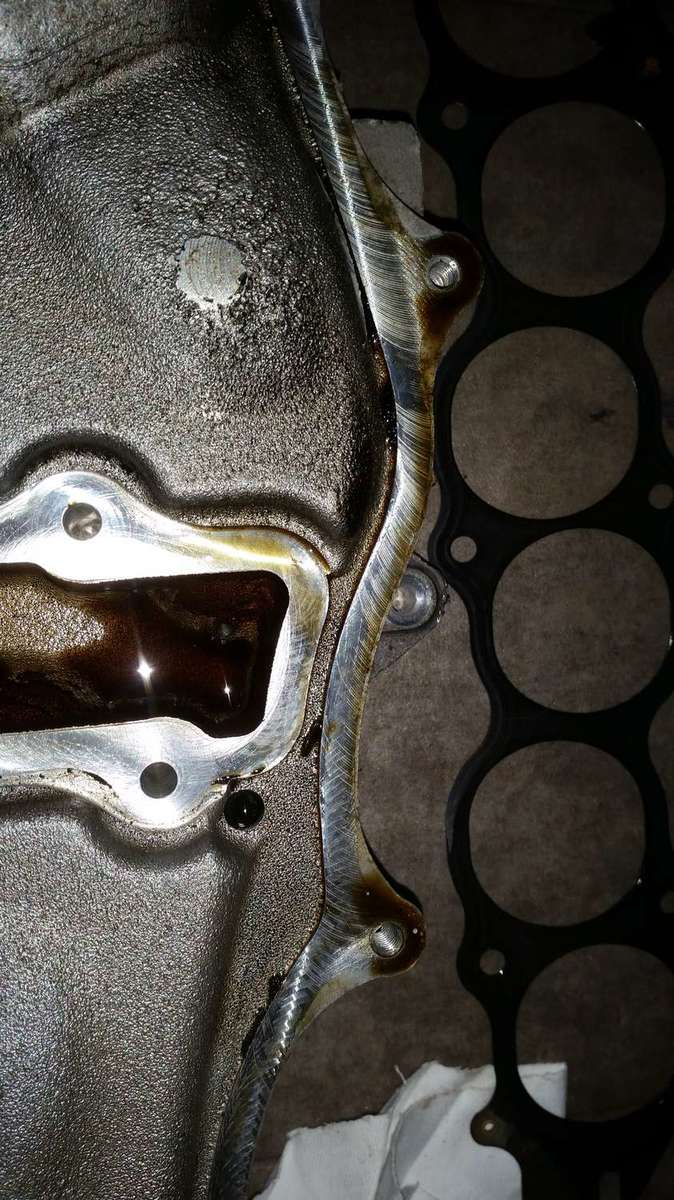
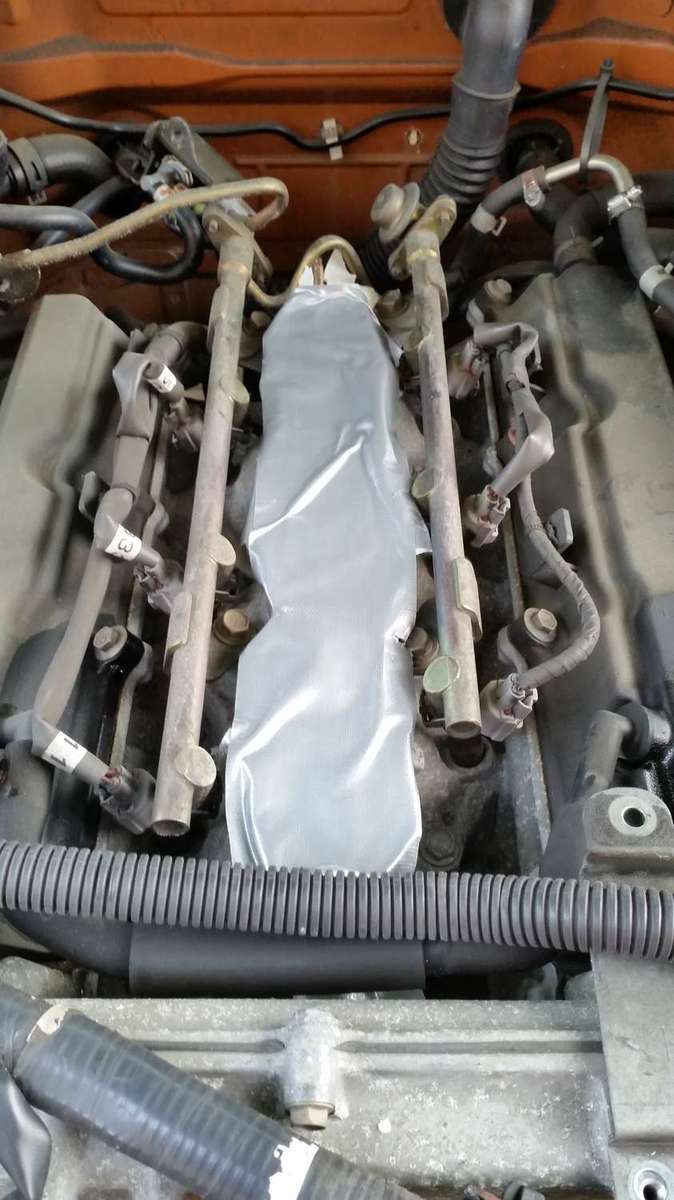
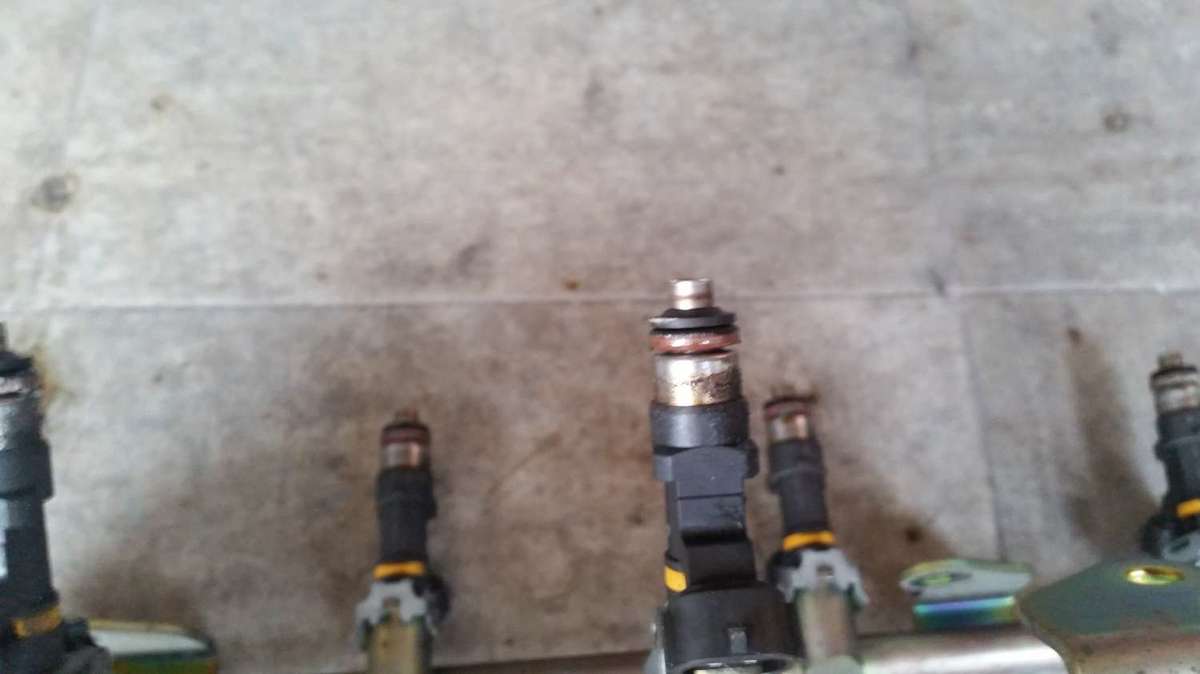
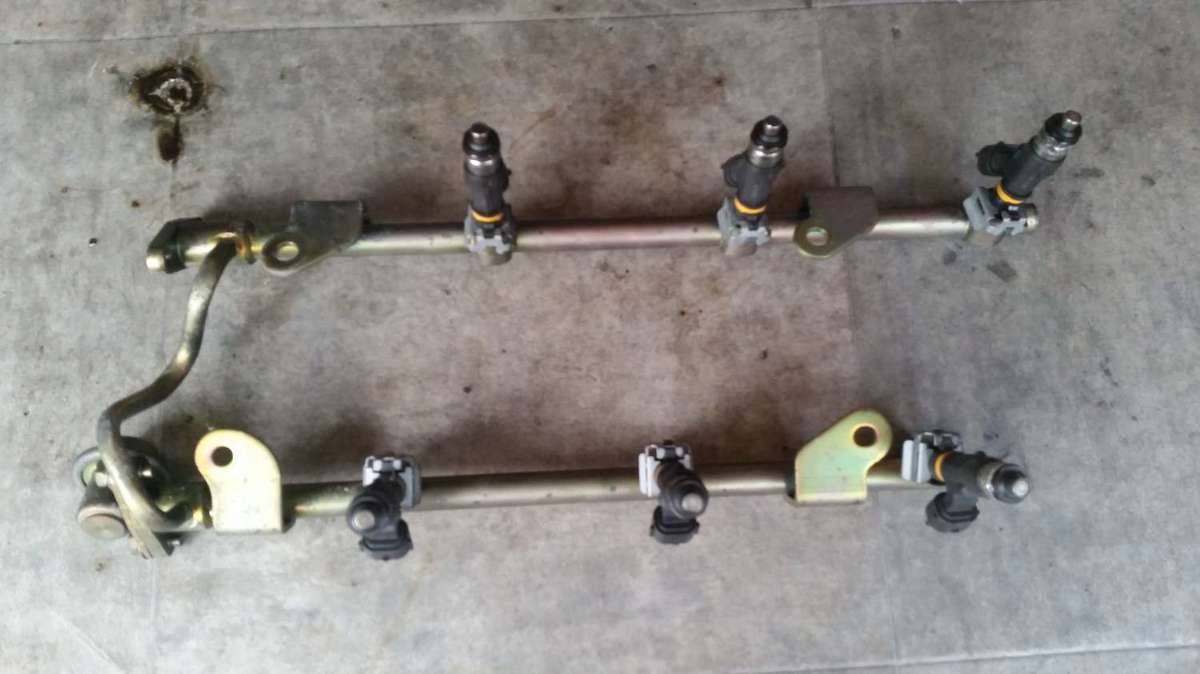
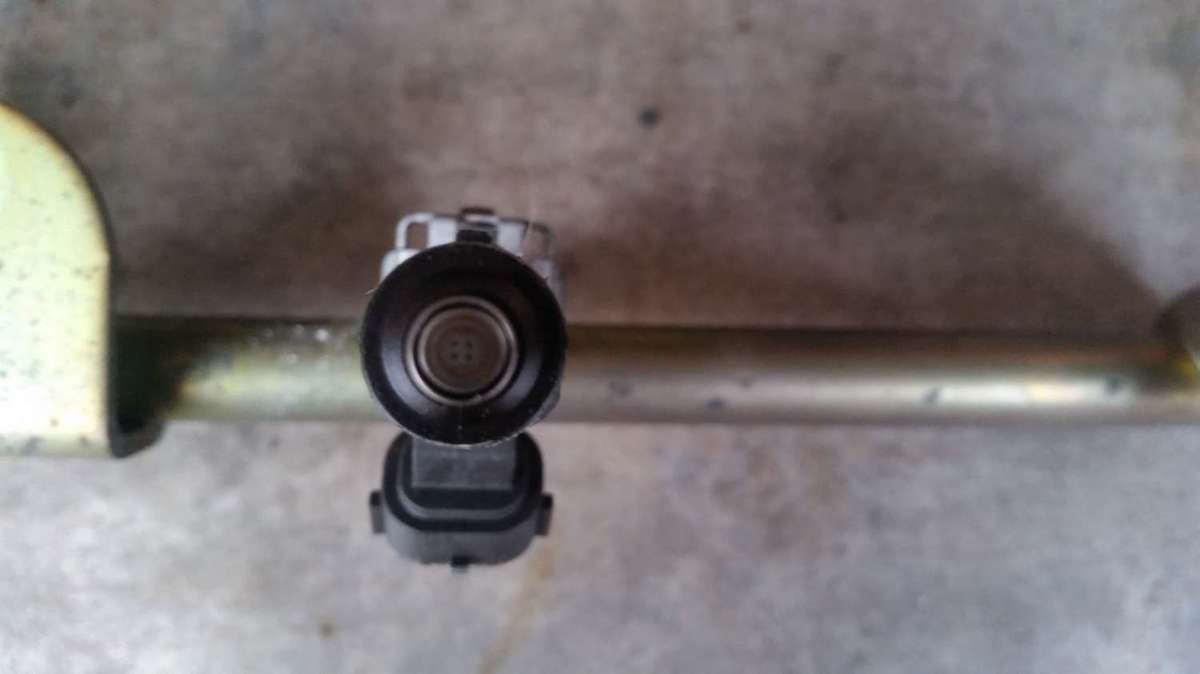
A little more progress yesterday. Yes I know the engine bay needs a clean its on the to do list but i'm fast running out of time to get the important stuff done before work robs me of any spare time for the next 2 month so well down my priorities list. Got the upper plenum removed, I think the gasket is a tad f*cked All the plenum bolts were really slack, I probably should have re torqued them at some point after fitting the kintix plenum years back. Some oil build up over the last 12/13 years I must have had a small vacuum leak here as a result of the lack of tight bolts The masking tape wouldn't stick so i had to stick duc-tape over the top of it for extra security. Injectors out New injectors with new o-rings fitted Hopefully get a good run at it today and finish the fueling side of things off and get the oil pan and cooler fitted. Patiently awaiting the arrival of the inter-cooler


-
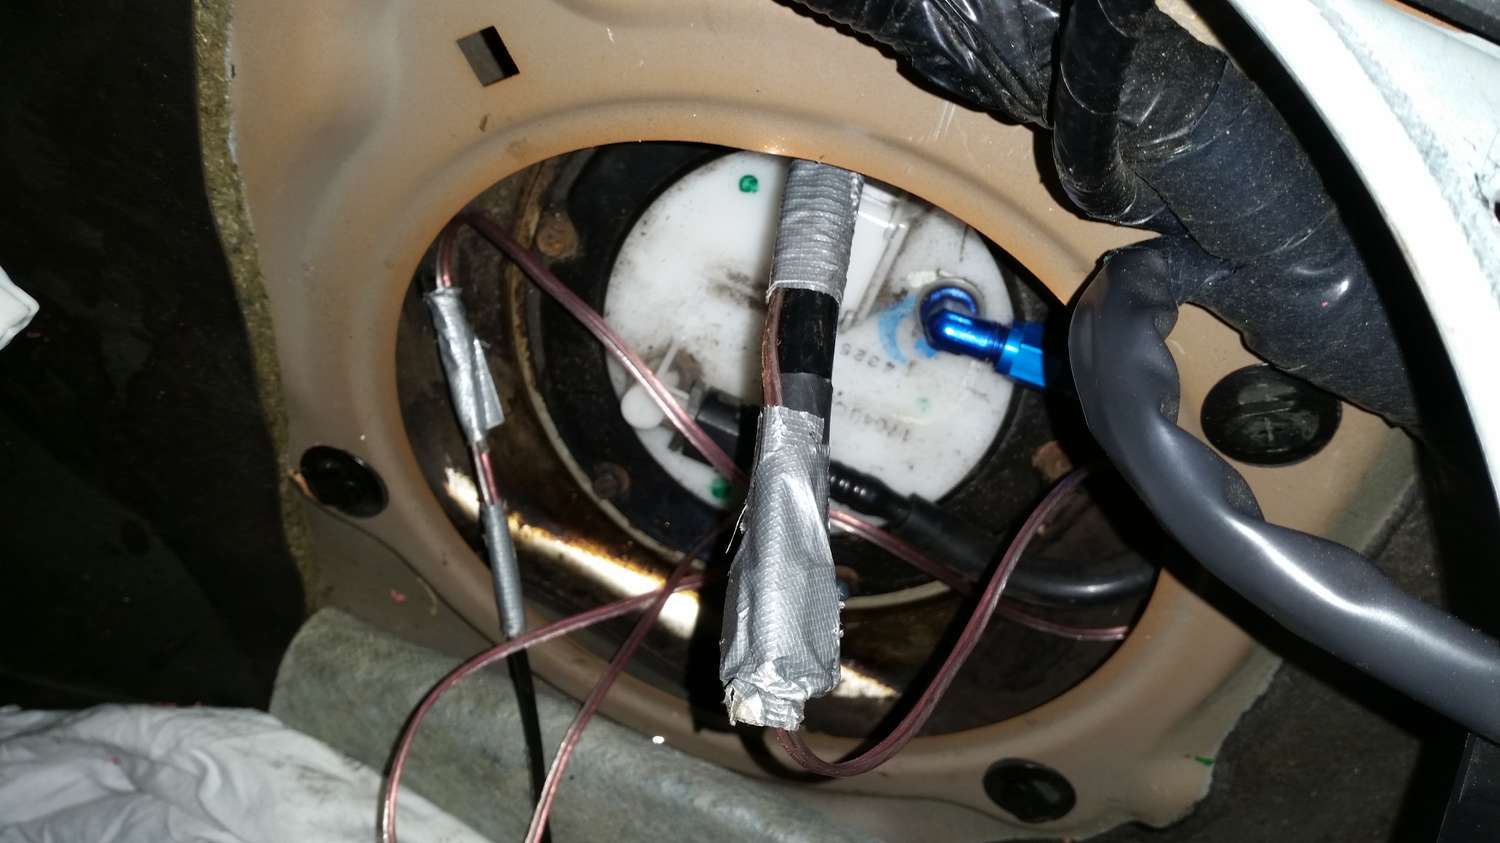
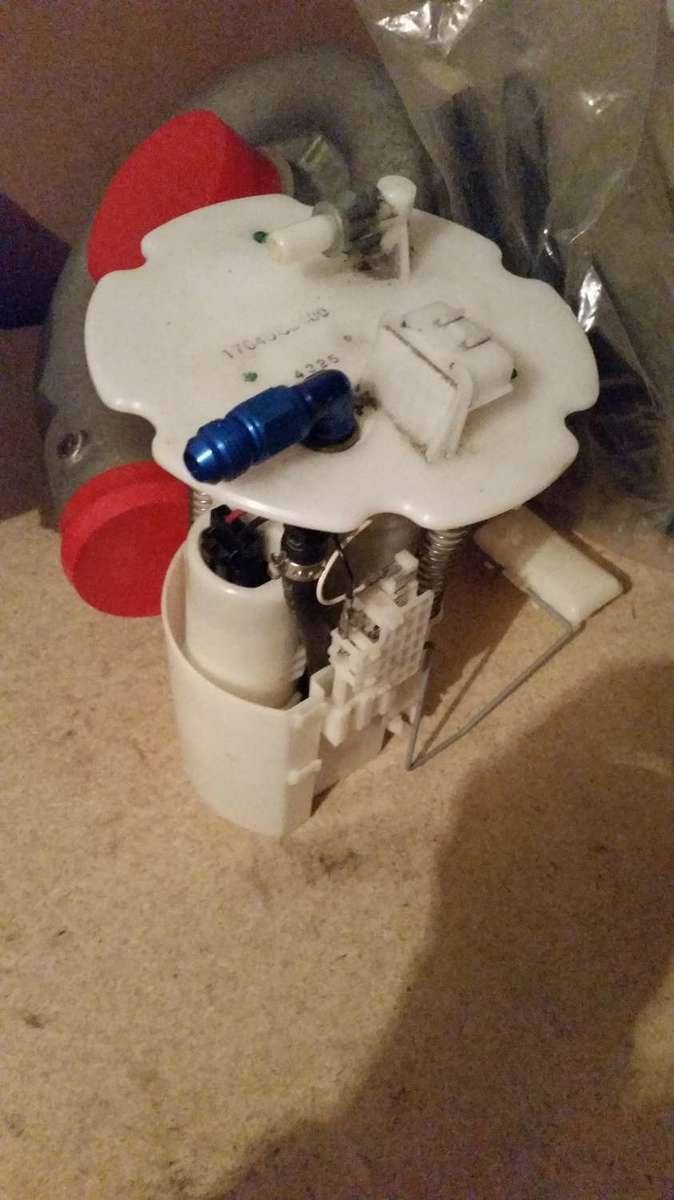
Next job Fuel pump fitted and pipe 80% ran. Had a bit of a night mare getting the line up to the pump but got there in the end (http://www.350z-uk.com/topic/114124-fuel-return-routing/) . I'll tackle the rest of the fueling mods over the next few days hopefully

-
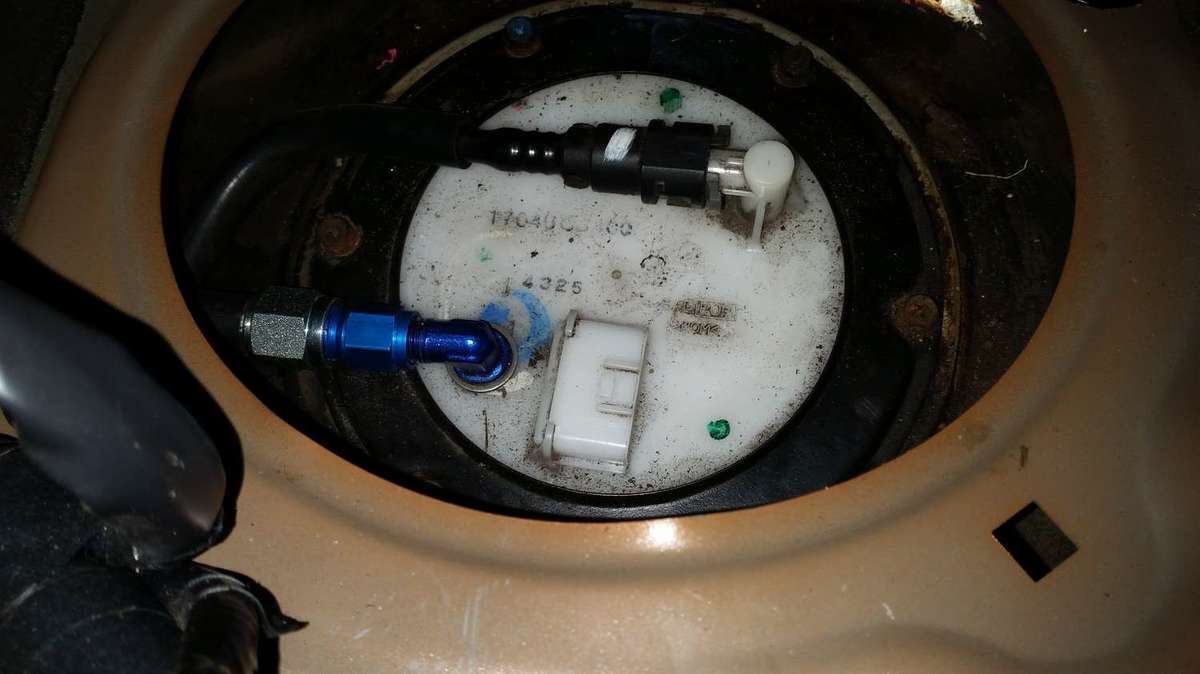
After a lot of brute force and ignorance we have success After i took this pic the hose felt like the u bend was pretty tight and kinking slightly so tightened the fitting into the bucket a bit more to lessen the angle, its not as good as i'd like it but better than before. I'll bare it in mind when it comes to tuning as a potential problem if were having fueling issues. Quickly ran the pipe to the front of the car, got as far as the first bracket that is held on with a bolt, that sheared to called it quits for tonight. I tried to pop it into the brackets quickly but it kept popping out so will deal with that at a later date.
-
I have the ultra racing brace so there is plenty of room to get the hose up and in, its the getting it round the bends that's my problem. The hose doesn't have enough flex in it to be pushed/ pulled through. I even had two of us on it with one pushing while the other pulled. I'll give it another bash tomorrow after work before committing to more drastic measures.
-
Seen your build thread that whats got me worried that threading this through this way might not be an option for me. I've tried the same route as what yours looks from the top and bottom but can barely get it round the first bend, used cable in the same fashion you used the heat shrink. Might try and see how easy it will be to try and loosen the tank enough to give a bit more clearance or will have to get a new bit of pipe made up from more flexible hose. Very frustrating
-
fed a piece of wire down from the top and used it to pull the pipe through Been trying that but the new CJM pipe is way too stiff to bend round might have to lower the petrol tank I think unless anyone can come up with any other solutions or show me a pic that i'm doing it the wrong way.
-
Trying to install the CJM stage 0 fuel return system, just spent over an hour trying to get the return line either up from under the car to the fuel bucket or from inside the car at the fuel bucked down under the car. The fuel line is pretty stiff and there is no way get hands of fingers into most of it, I've tried using wire to pull it through. From what I can feel its trying to get round 3 90 degree bends. Anyone got any tips or pics of how they did theirs?
-
Following with interest, looks a good project Sent from my SM-G900F using Tapatalk