-
Posts
9,959 -
Joined
-
Last visited
Content Type
Profiles
Forums
Events
Gallery
Store
Everything posted by Keyser
-
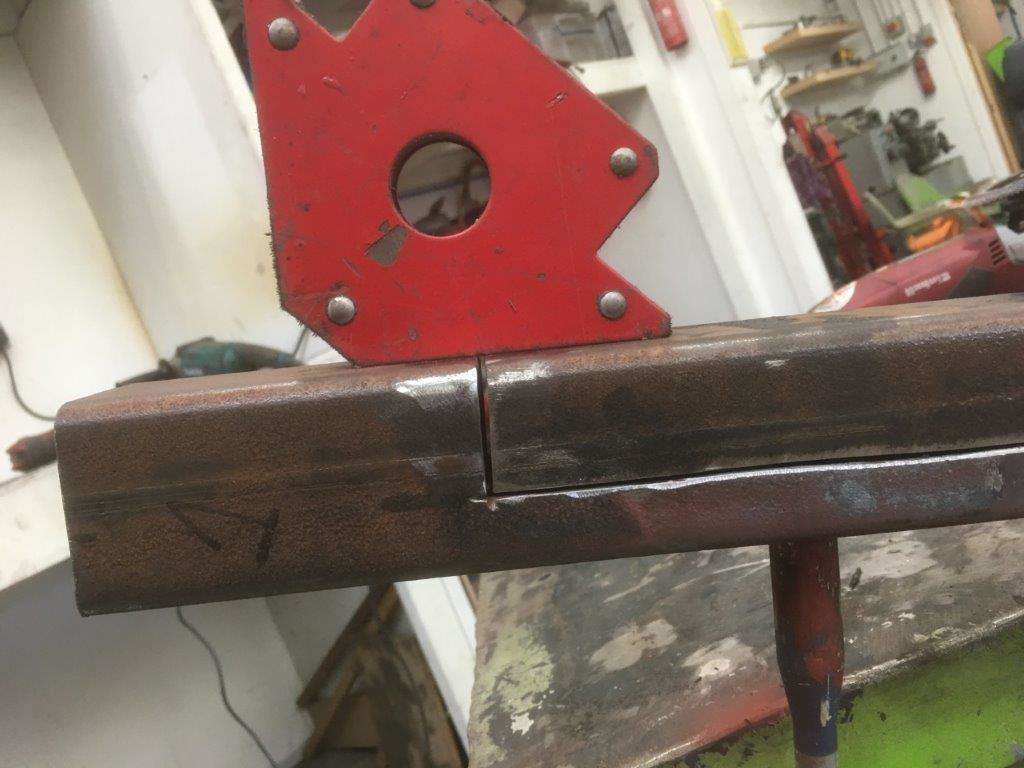
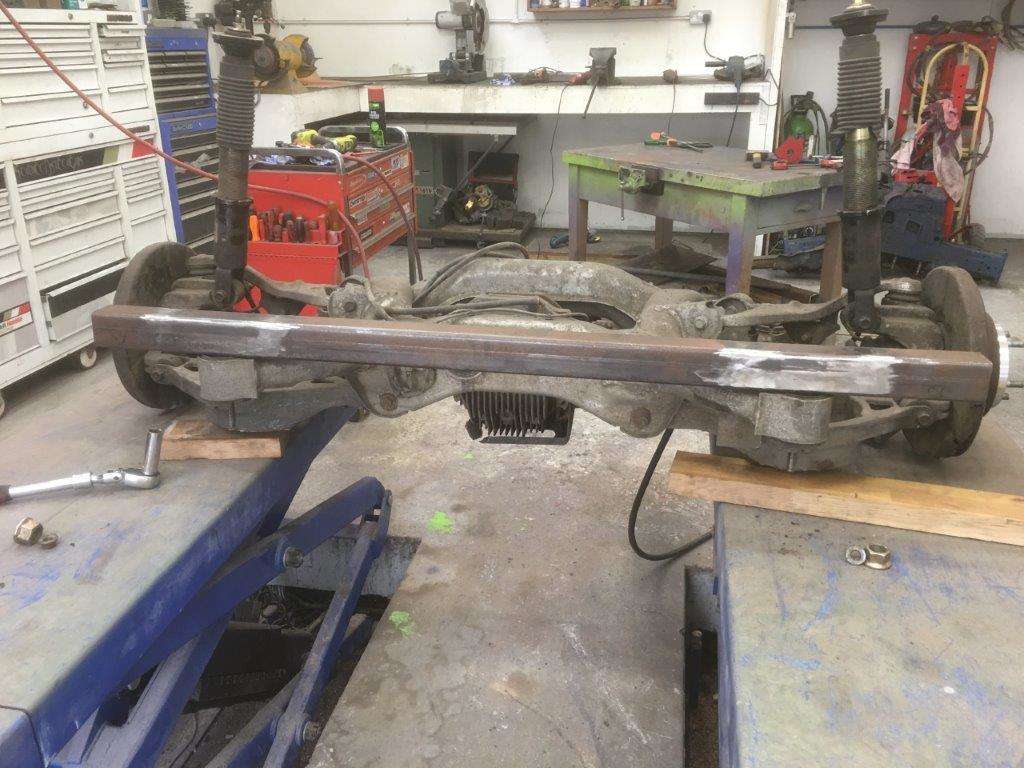
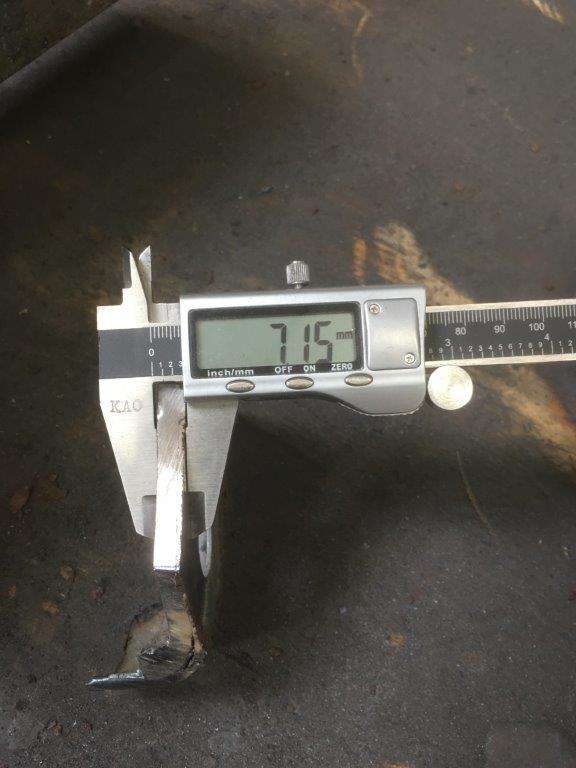
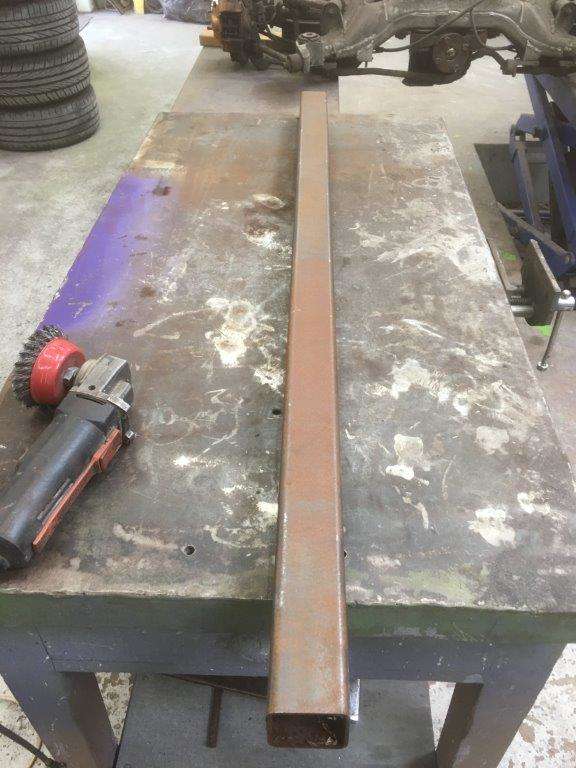
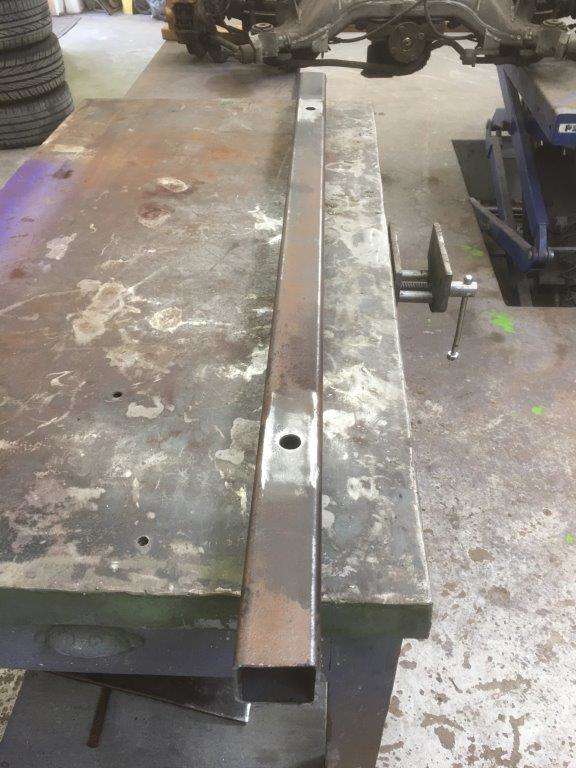
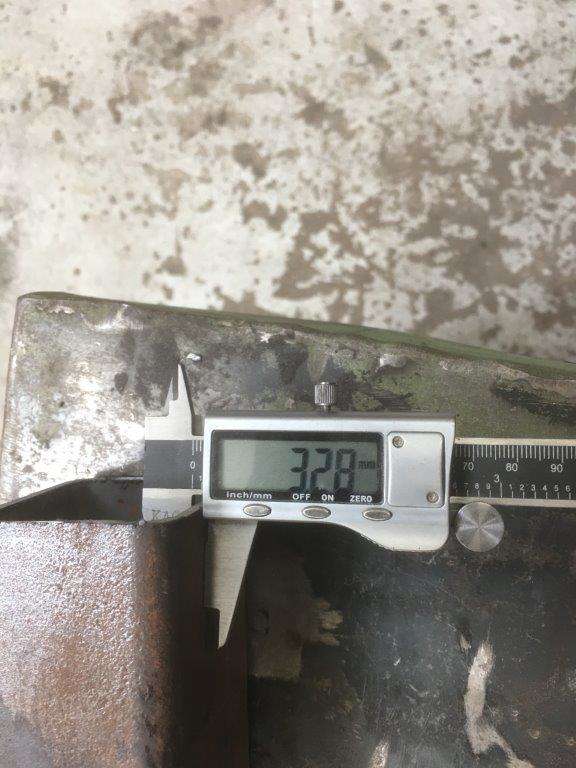
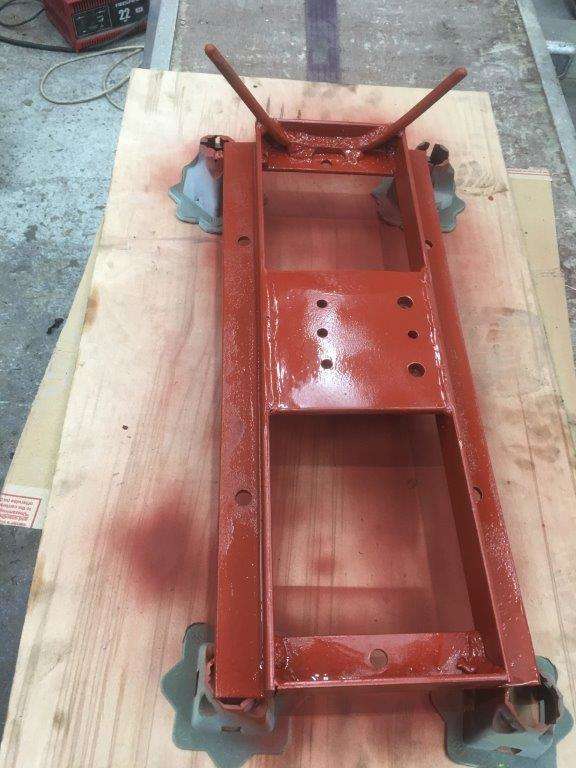
Small update - Chassis rails arrived That should take the weight and the power nicely I jest of course they are the beams to make my new chassis table with, but I only had a couple of hours on it tonight and it took that long to get it square and level!! How many spirit levels do you have? That's most of my collection I'll get this built befor I do anything else though
-

350z parts List Updated 28/11/20 in first post
Keyser replied to Keyser's topic in Breaking For Spares (350z & 370z)
I think so, I'm sure I kept the complete console, will have a look later to be sure. -
This next bit is quite boring, it took the rest of the day and doesn't look much but it took ages to get everything lined up, square and welded. I even had to cut one side off and re-do it after I found a 1.5cm discrepancy in the subframe rails front to back on the first attempt! Lots of this this and this going on Ended up with a completed hangar though which fits like so The over length bars to the rear are there until I work out how far back I need them to meet the back of the body, easier to cut down than extend Next job is to fit the spring carriers, the shocks may get mounted into the wheel arch that has not been decided yet I will need to look at the fitment and line up. Of course this is just the basic carrier it will need gussets and cross bracing for strength it may also need some reworking so no point in finishing all the strengthening and then have to change it again later - little steps Stay tuned chassis rails should arrive this week so I can make some more next weekend hope to get a couple of evening in and do the spring hangars during the week though Keyser Maximum Effort Edit: After I re-did the rails the discrepancy was down to 0.25mm give or take a mm
-
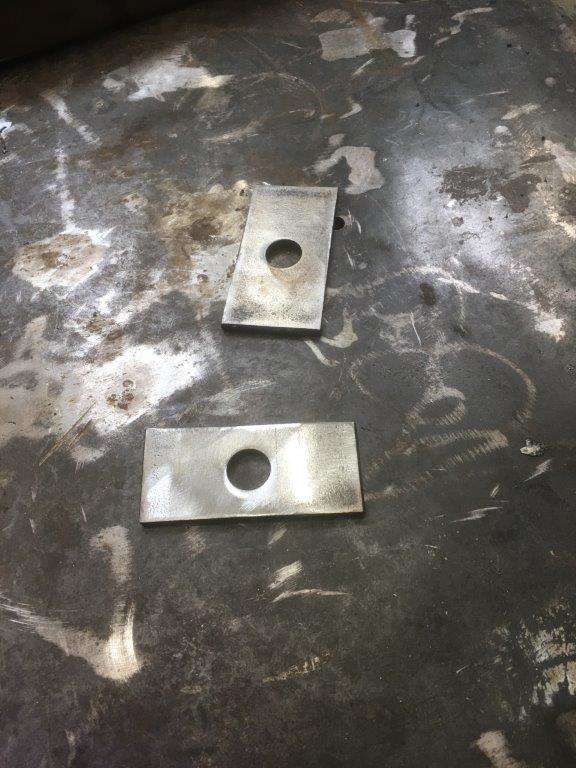
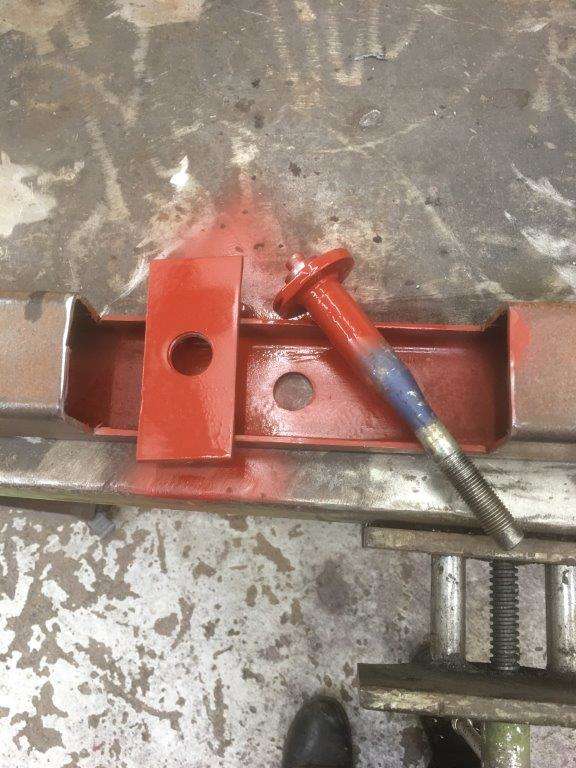
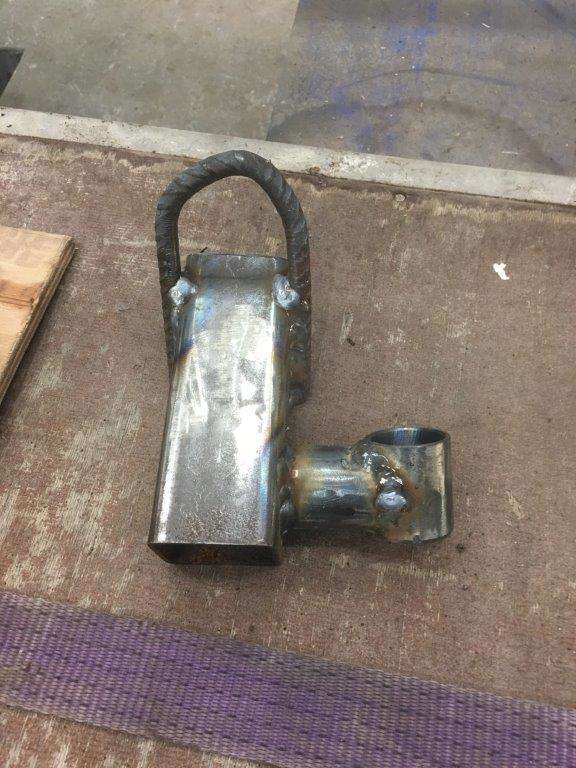
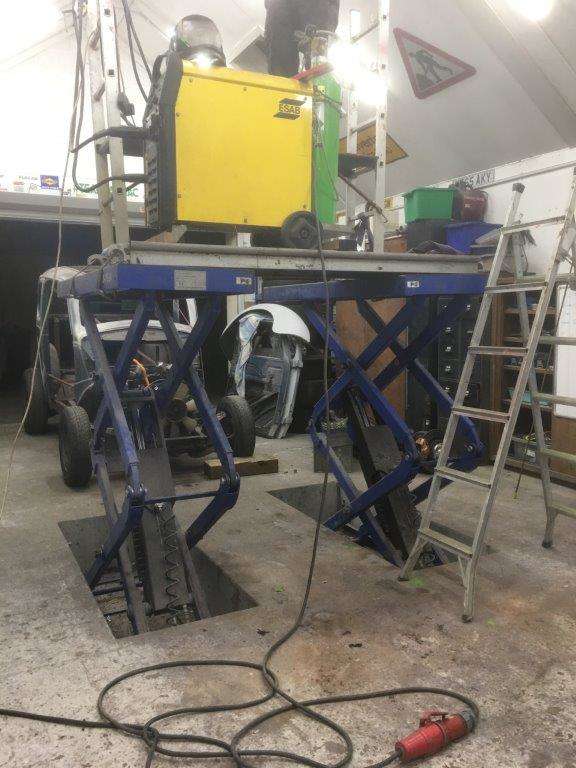
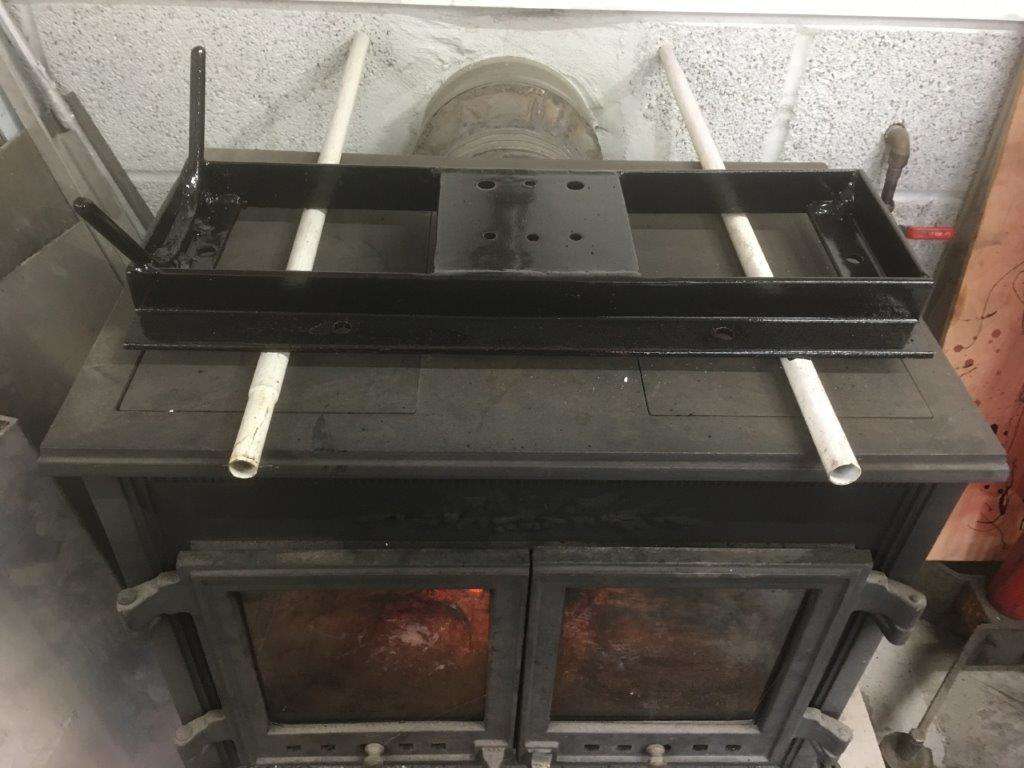
Back to the Pop, Now I have my hoist the first job was to get everything level and square so I have a base point to work from, so after much faffing with shims and wedges I got the subframe level - "Make The Noise" - It's didn't but I have never had a level that did Finished making the other plate, welded up ready Now I took some measurements and did some thinking and realised that the spring hangers were going to be an issue, I kept the original and was going to reuse it Yer, don't really want to reuse that! it is also not strong enough as it is welded to a reinforced section under the Zed, my rear subframe mount is only 60mm wide meaning I have to support the overhang and this is going to be a high load point. Solution ....... Coffee, Head scratch, More coffee, eureka moment well not really I just decided I'd have to make my own but much stronger. So same piece of plate and method I used for the front pins They look the same but are 144mm across Then I made 2 strips out of some 1.2mm steel folded the edge and punched some holes Great aren't they?? Anyway weld them together Flip and hammer round(ish) cut a length of this bit of pipe which happens to fit in the rubber mount weld round the inside of the lip and weld the insert in the middle test Happy Repeat steps above Clean up and primer Told you this build was gonna be slow!!!!!!!!!! About 5 hours to make the second pin carrier and both spring tops, I'm not complaining I'm having fun but this will be a long project. More in just a moment
-
I'm back Sunday morning and I finished that mod now all the paint is dry Bolted all the bits together to give me .................. The black rope is a safety/tie off line in case anything needs to stay lifted, unlikely but possible. Load test ...... Last time I did a big project I had @buster for heavy lifting now I'm on my own I have to keep calling the wife and kids to lift things, given that the Pop will need the body lifted on and off the chassis multiple times and engines and suspension subframes are heavy this is my solution to one man working, hope you approve Keyser
-
You can get her sorted That install on the boot is terrible, what mess! Good luck getting it all fixed and looking good
-
Cheers mate, we can’t all have the same taste it would be boring but this is a big project and some new challenges. I’m enjoying it so far but it’s gonna be slow as I have to make everything from scratch with no plans and no idea what each bit will need or be until I get to it
-

350z parts List Updated 28/11/20 in first post
Keyser replied to Keyser's topic in Breaking For Spares (350z & 370z)
Hi - I will have a look at the trims around the switches see what condition they are in, as @davey_83 has said UK cars do not have the one touch it's only imports. Cup holder has gone mate. -

Andy's 2nd build thread Zeditis the 2nd coming...
Keyser replied to Andy_Muxlow's topic in Member Build Projects
Like the interior touches mate of course if they had of been green it would have added more power Keep up the good work -
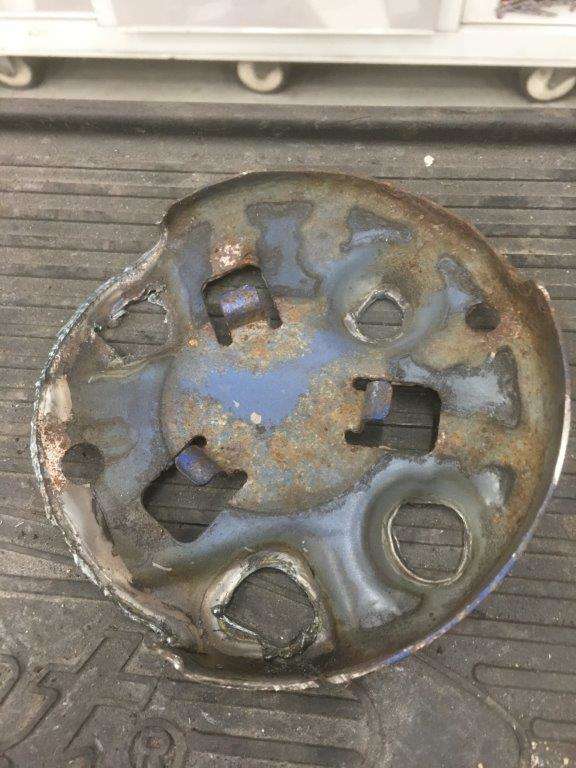
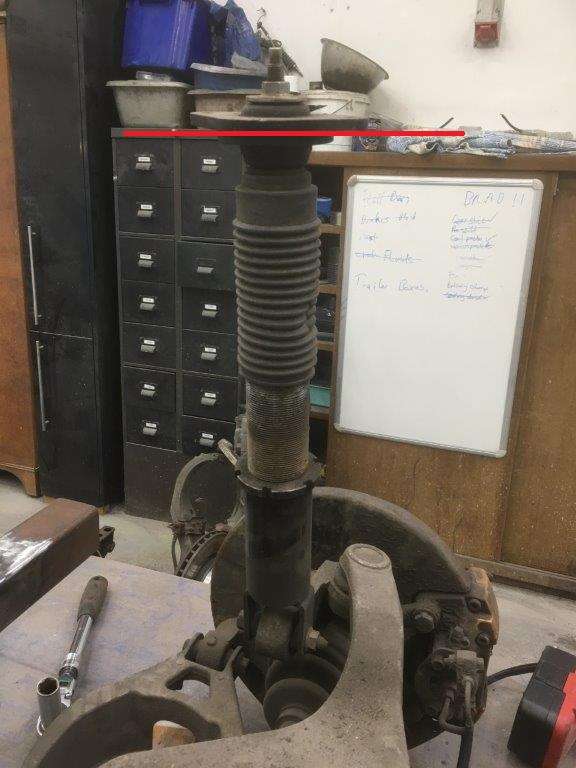
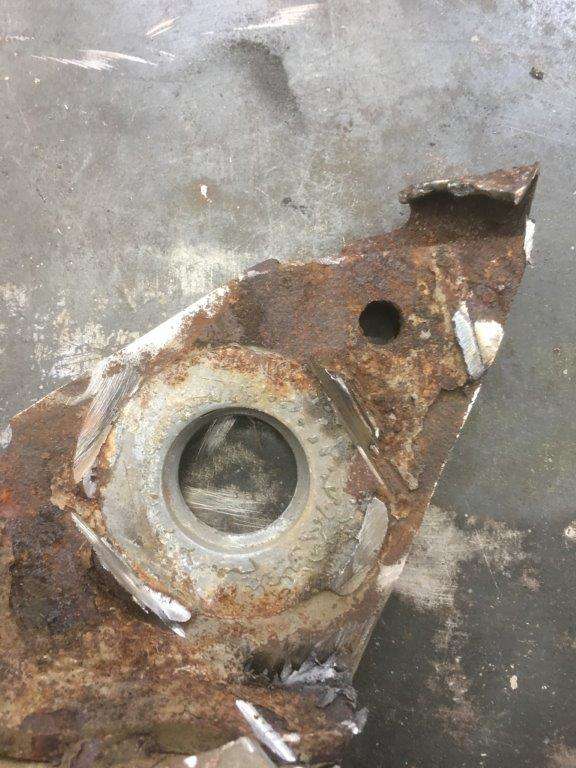
Hi all, I need some help please, When I stripped the old 350z I took loads of measurements so I could build my Ford Pop using the rear suspension but I forgot one From the top of the rear spring hanger, it sticks out about a cm from the inner wing - This thing Yours will still be attached To the shock absorber mounting point here So from the top of the plate in pic 1 to the bottom of the shock - the red line in pic 2. can anyone put a tape measure against one and let me know how far it is please. Thanks Guys n Gals Keyser
-
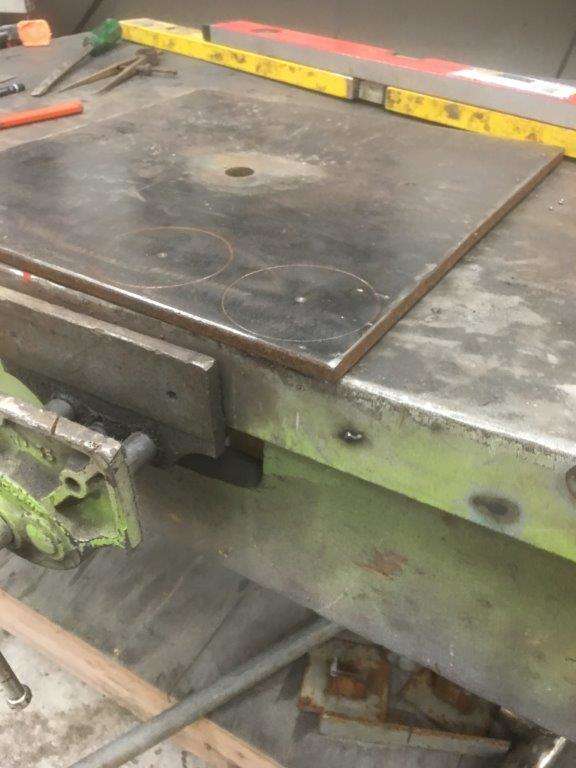
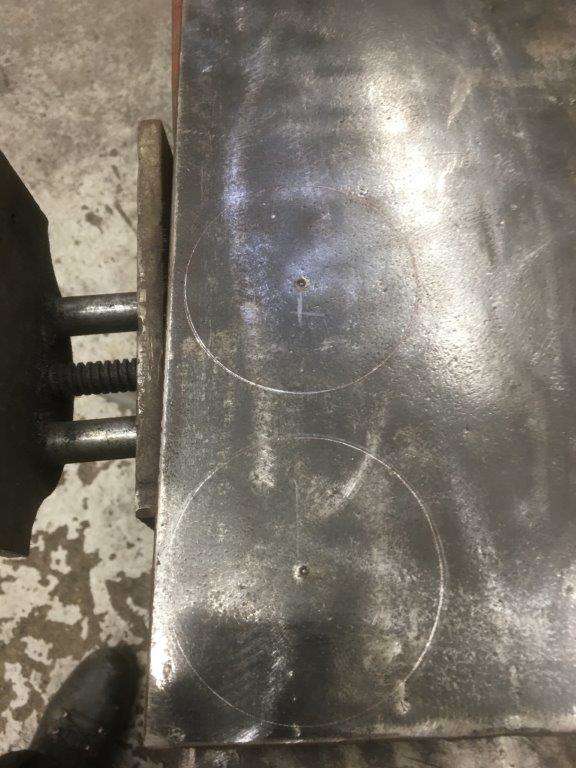
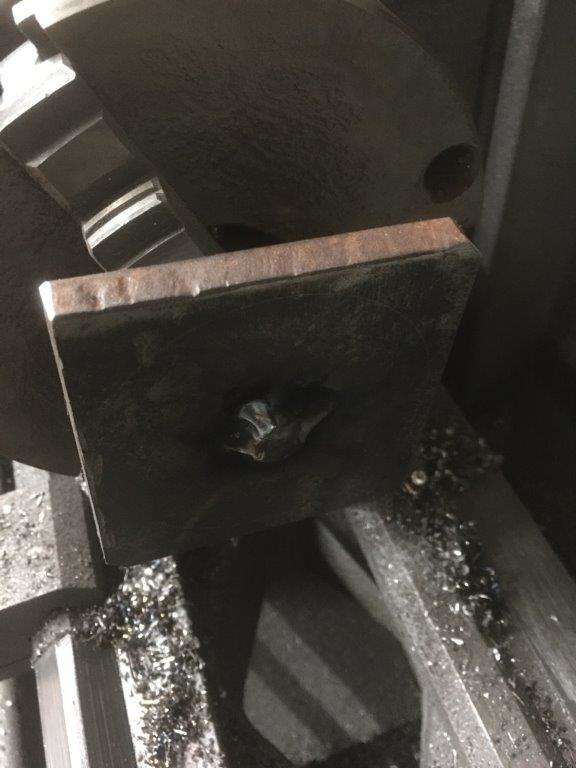
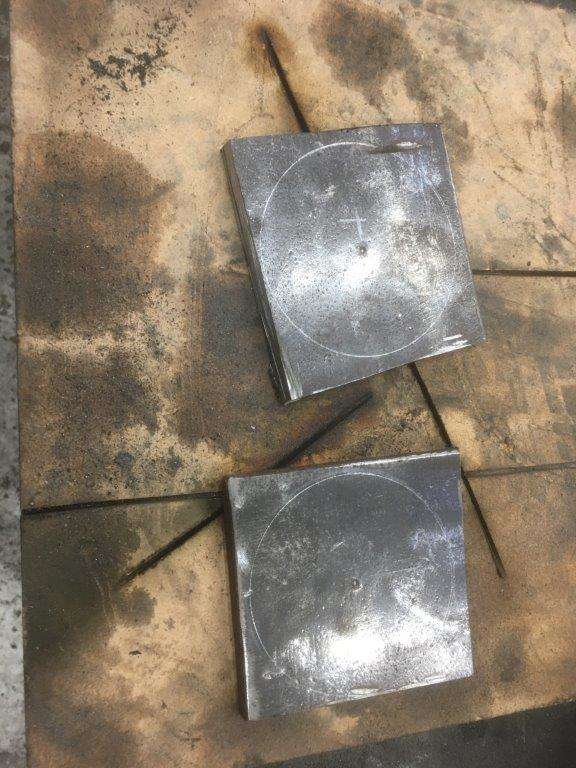
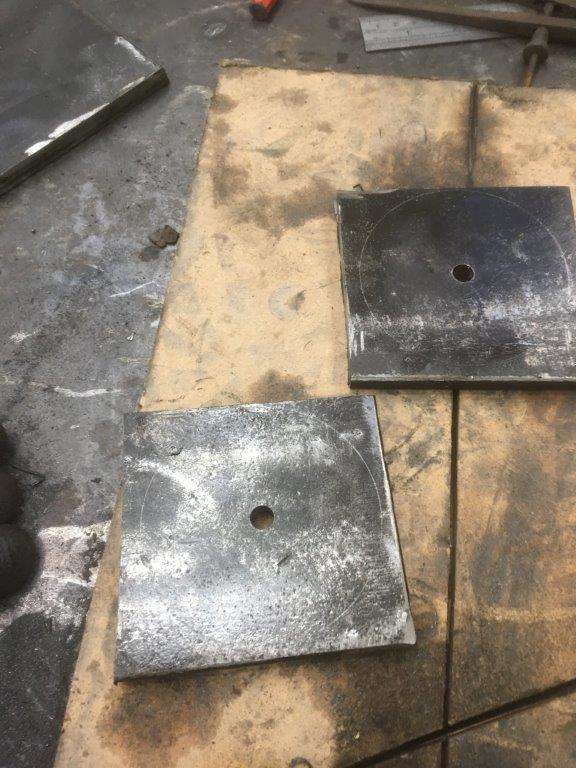
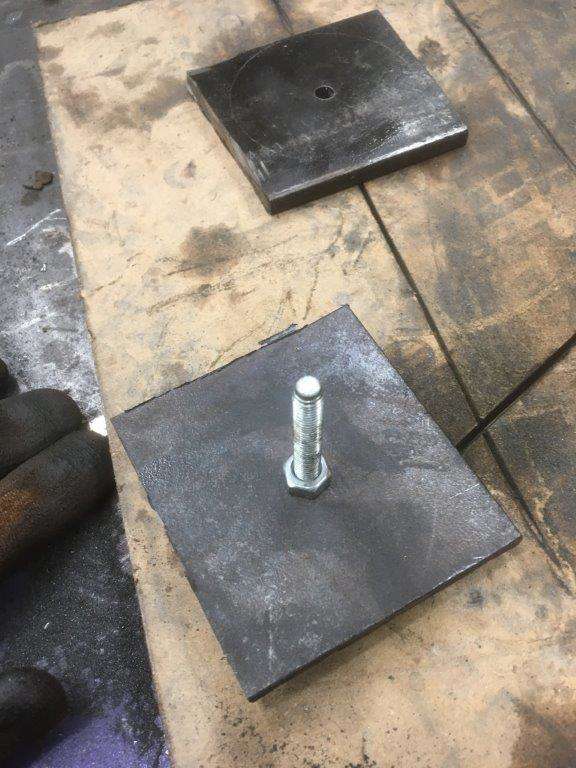
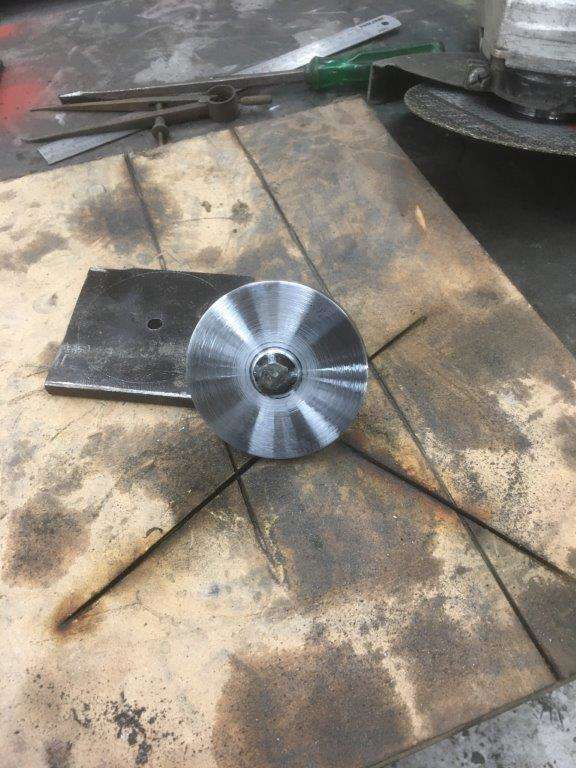
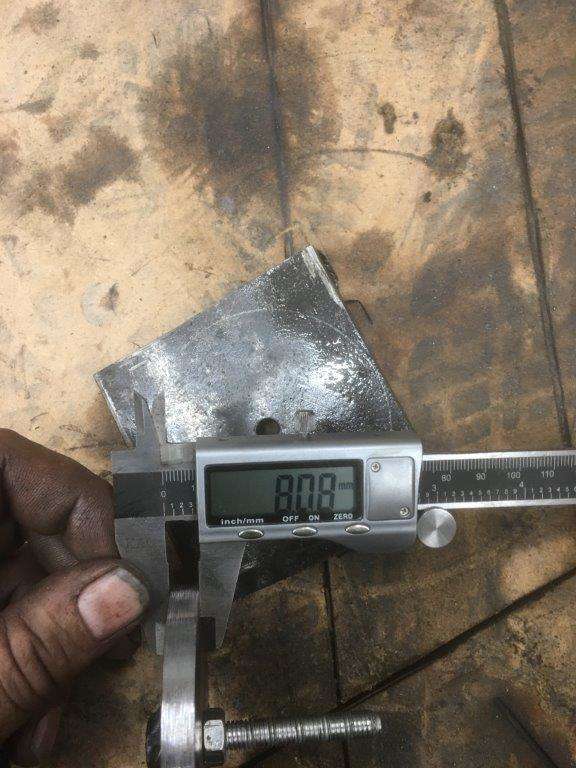
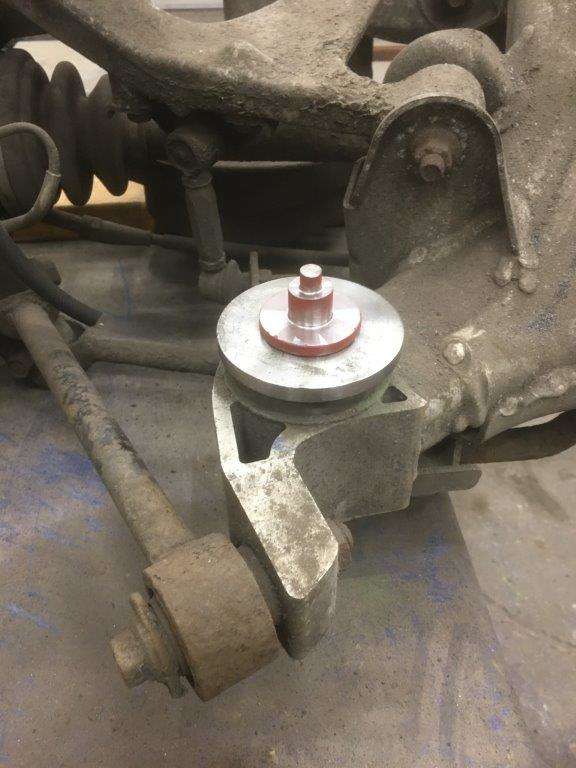
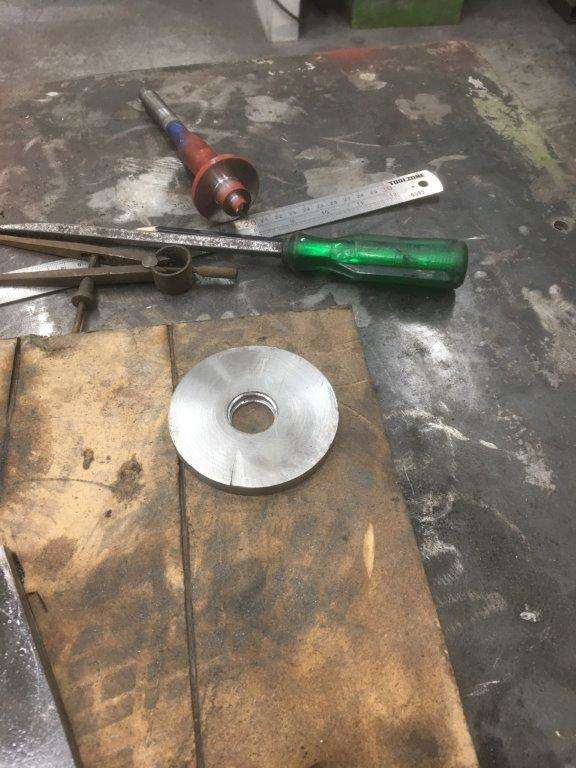
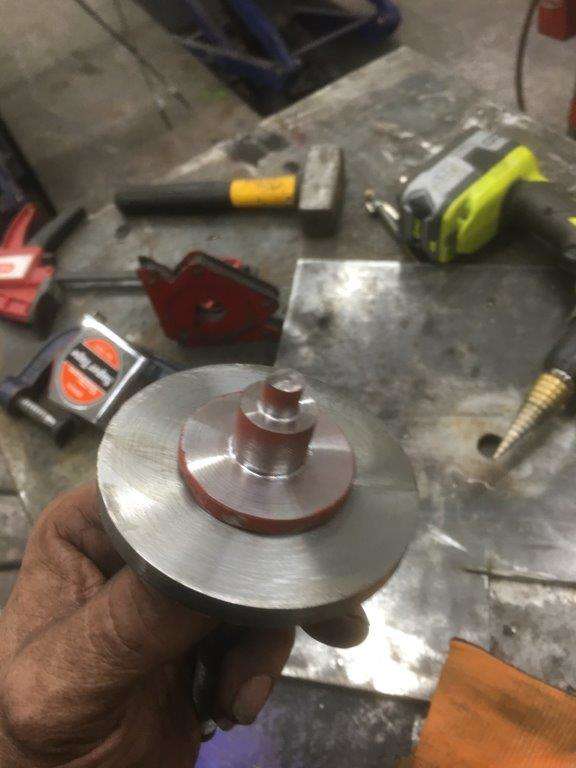
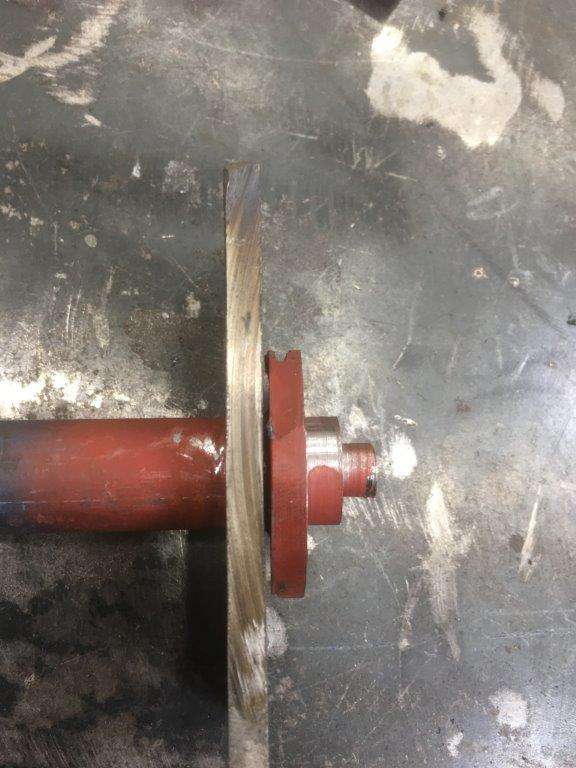
For my next trick I require 2 x 80mm diameter steel circles about 8-9mm thick but I don't have any. But if I scribe 2 circles on here its 1cm thick plate cut it out drill a hole Stick a bolt in it weld the bolt on and put it in the lathe I can do this O I skimmed it as well add a 20mm countersunk hole a pin That will go here So first job tomorrow is make another one Have a great evening. Keyser Maximum Effort
-
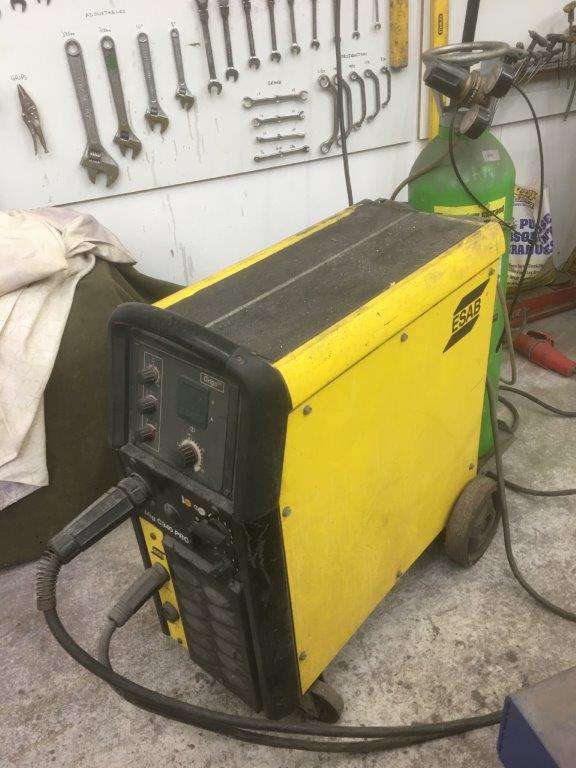
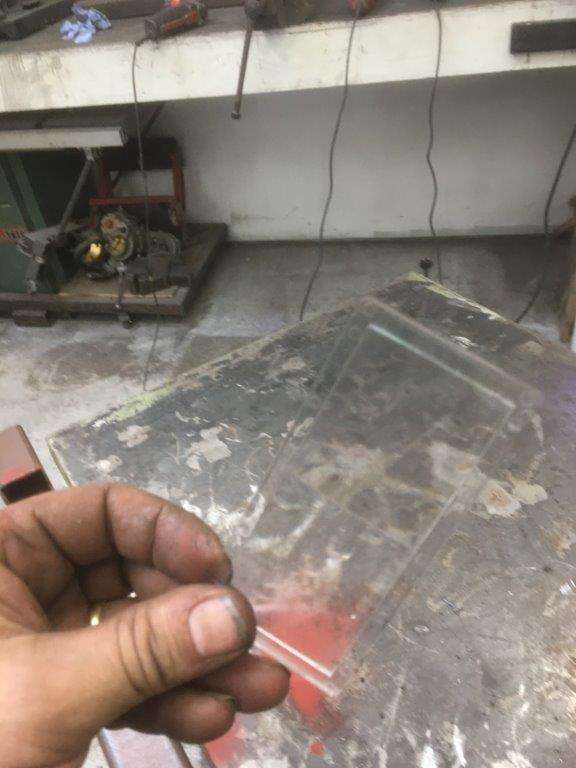
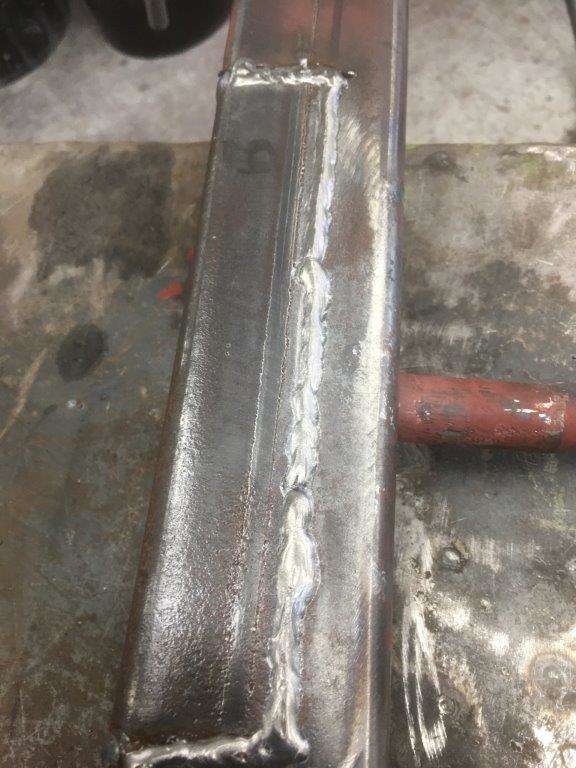
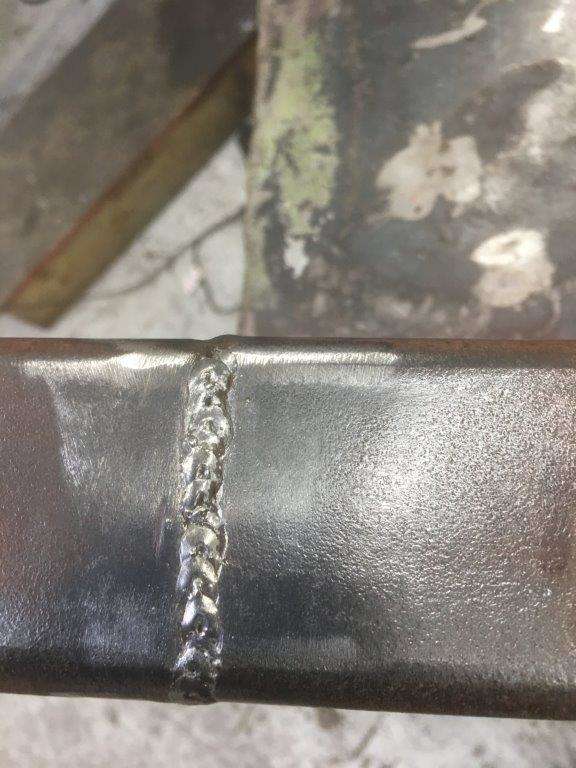
Got out the big boy welder again Few spot welds Ok a lot of spot welds but I didn't want it to move! Then I welded it all up solid Hmm I was having problems seeing what I was welding??? Still a bit extra won't hurt I definitely got good penetration as the bottom looks like this Then I worked out why I couldn't see what I was doing Its called a "cheat" its a magnifying glass that clips into the mask for old gits like me who can't see any more, I only need it close up so I took it out when I was welding the bits to the roof earlier Moving swiftly on - WTP everything again Then put the previously removed sections back on and weld them in place Welding is so much easier when you can SEE!!! The end result we have That's a lot of work for one bar to be honest More in a mo .......................
-
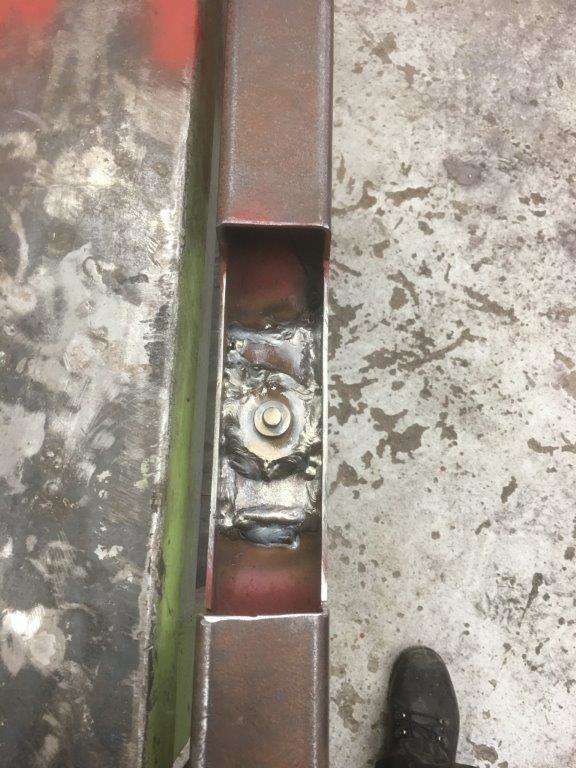
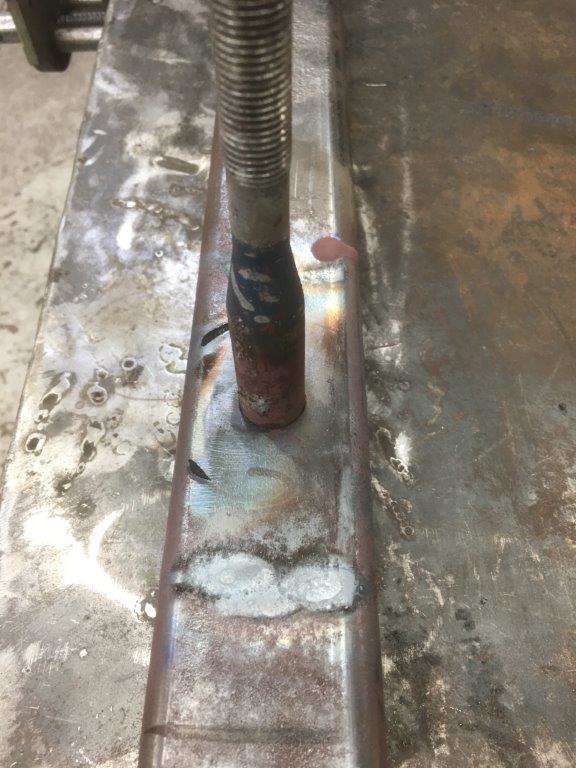
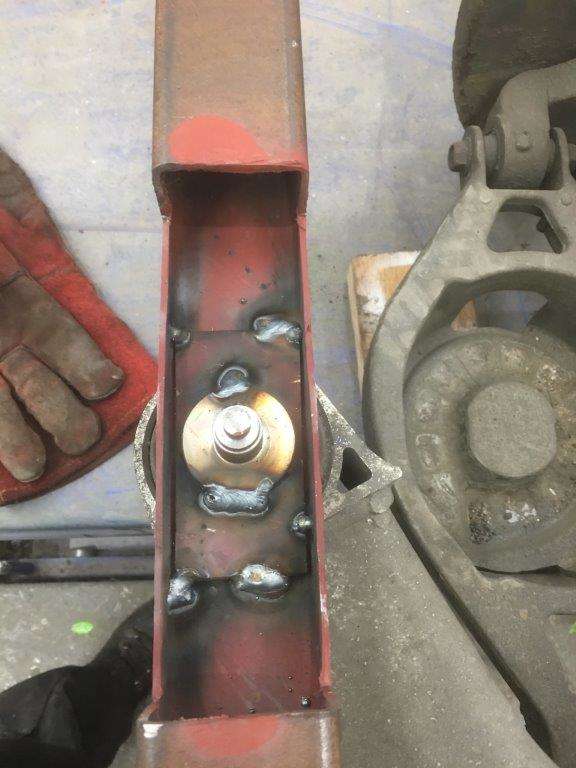
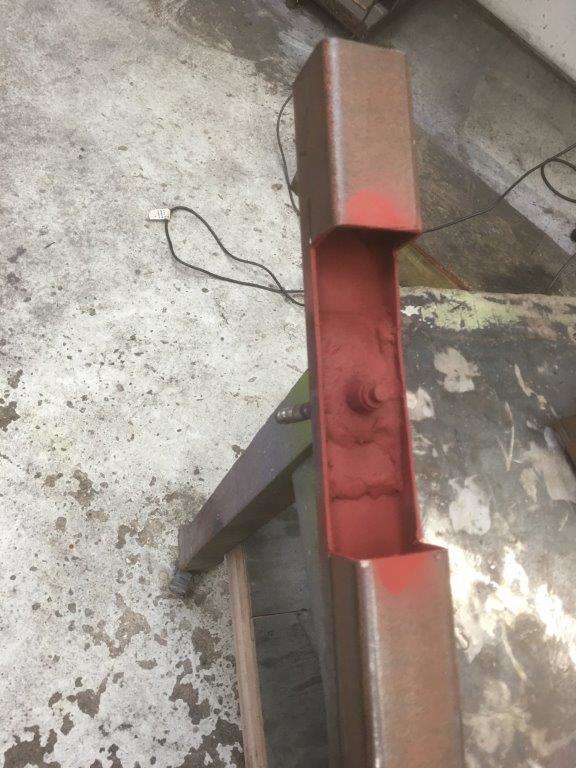
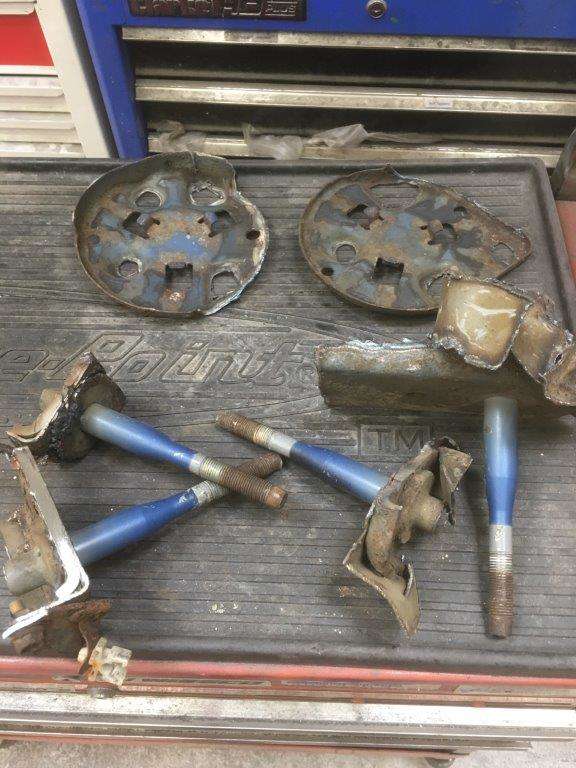
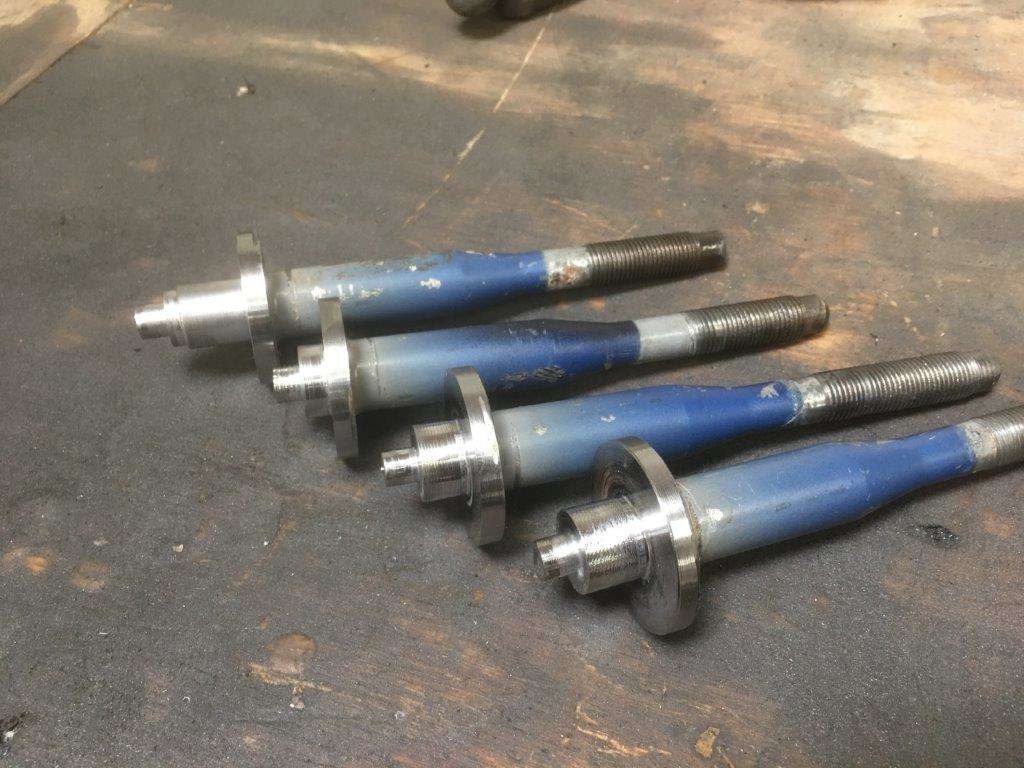
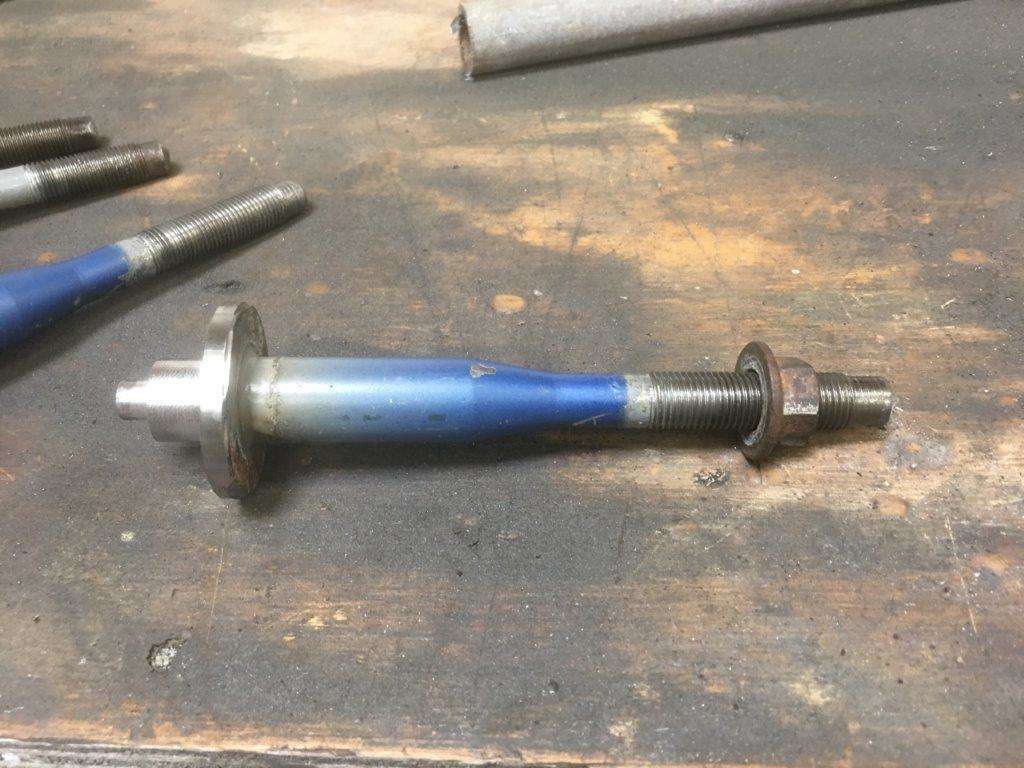
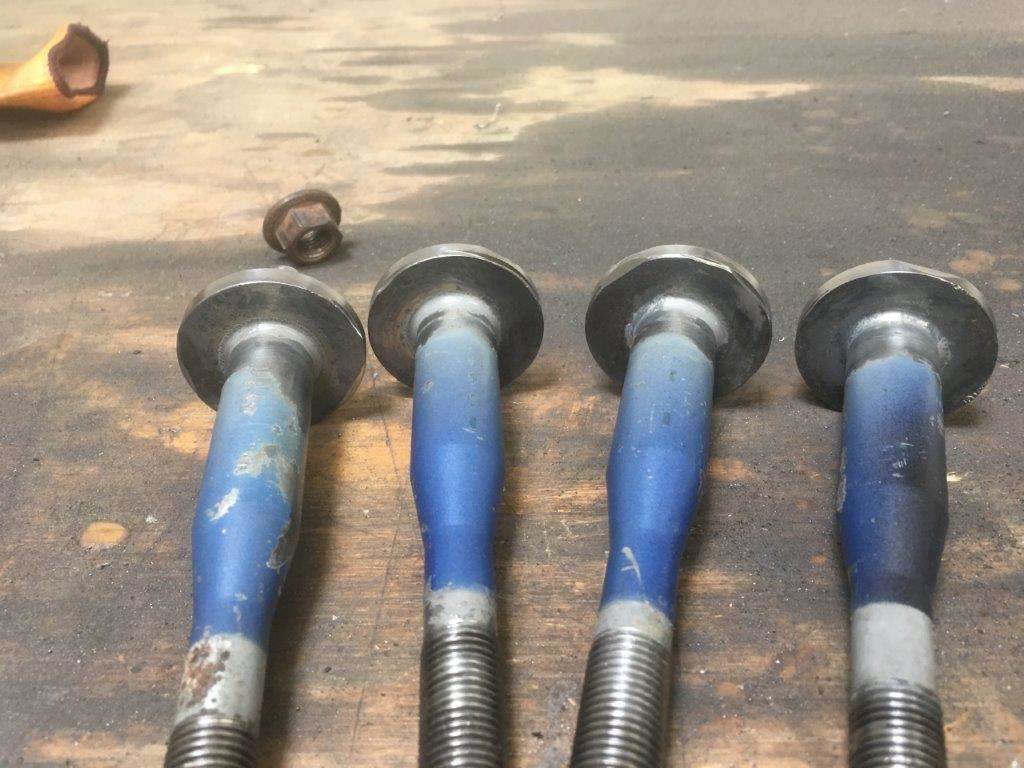
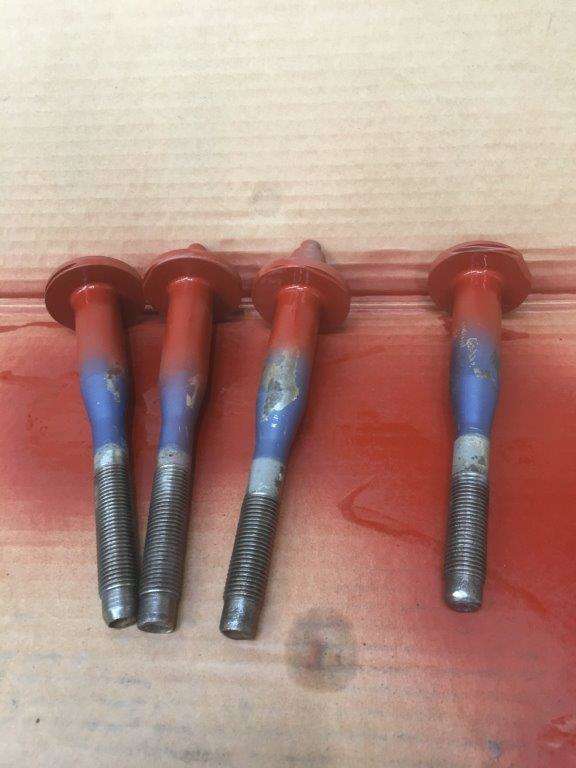
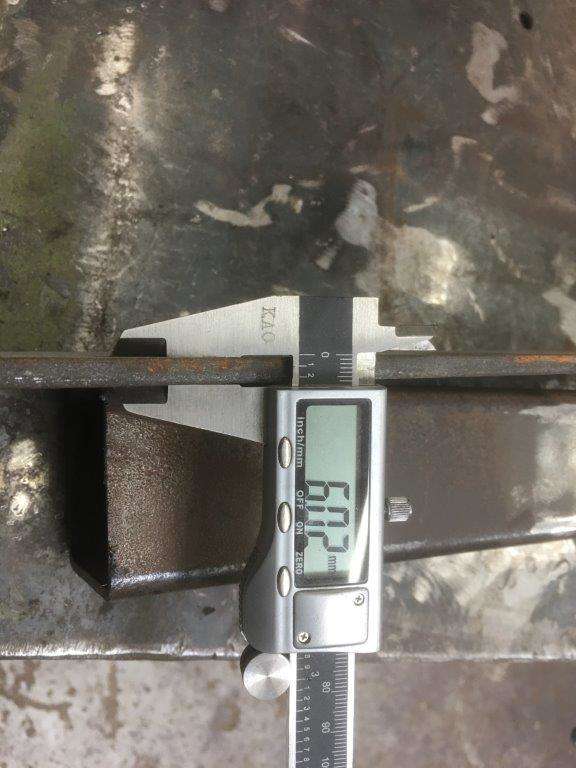
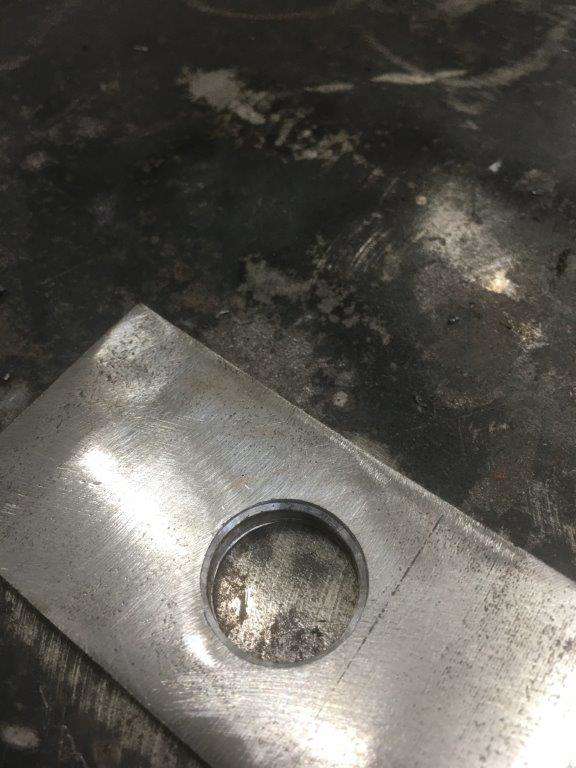
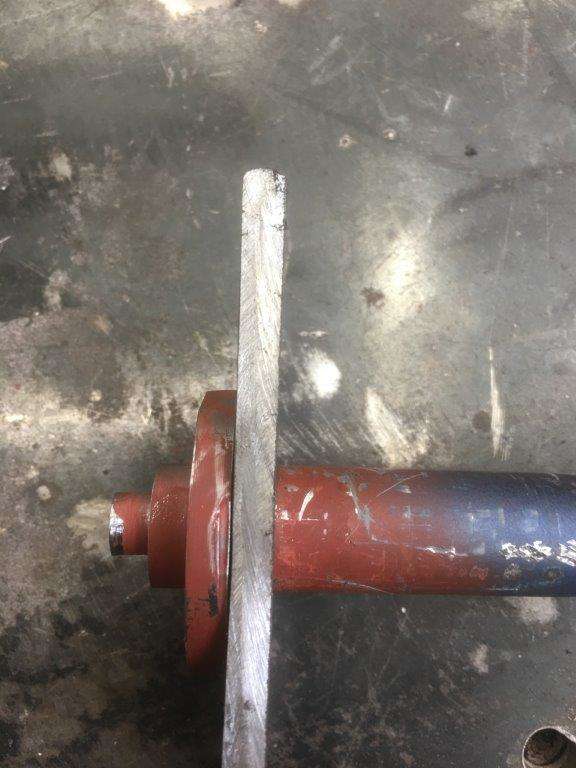
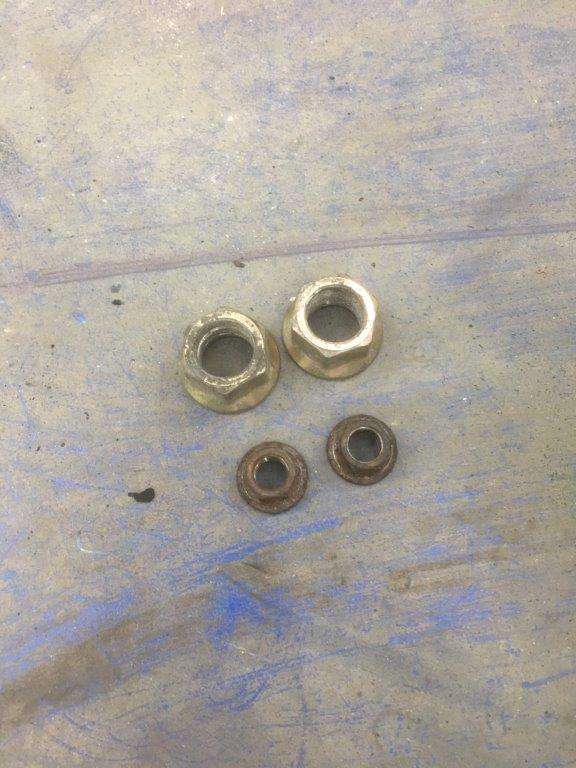
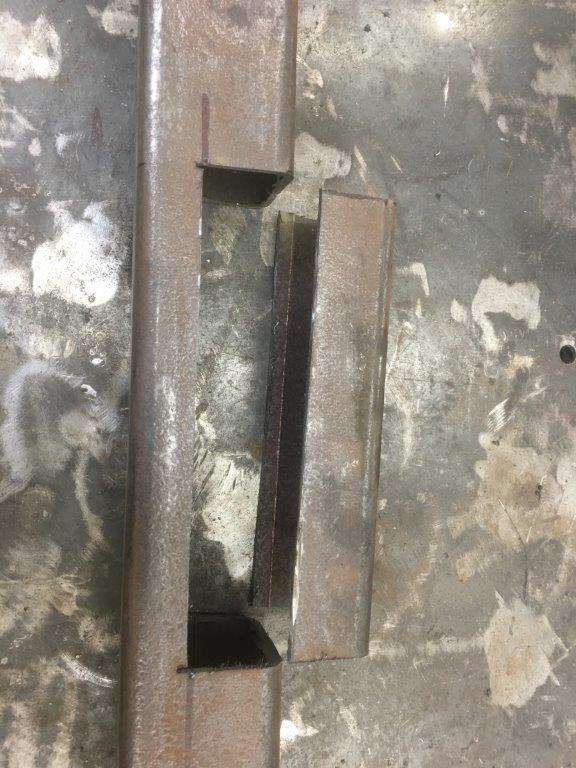
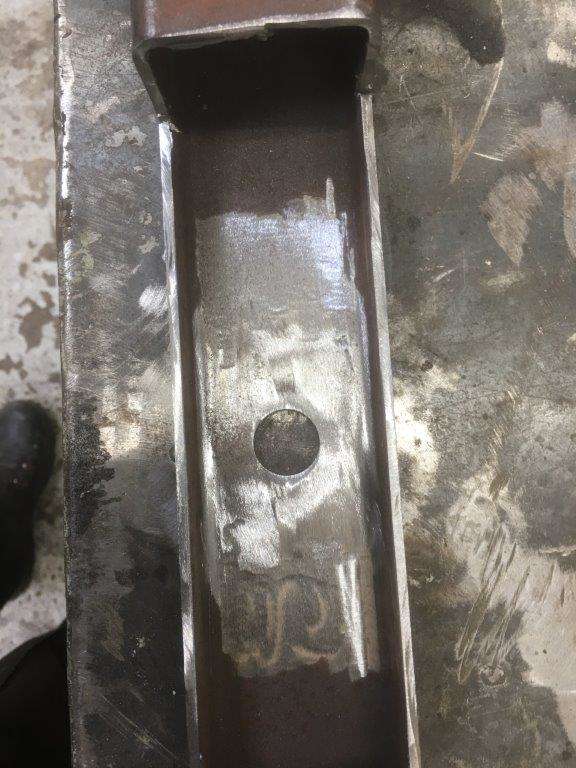
OK so I decided to try something a bit different with some bits I kept from a recently stripped Zed, The rear subframe mounting pins, removed the old metal and cleaned them up ran a die down the threads and checked they were all good then a bit of WTP weld through primer Point to note there is a metal plate behind the box section that the pin mounts in and its quite thick Add that to the 1.5 to 2mm mm or so of box and it is passing through about 9mm of steel in total. Next a piece of 60mm x 60mm 3mm wall box section Add holes in EXACTLY the right place checked the wall and it is near enough 3mm so I found this bit of steel in the scraps pile so 6 + 3 = 9mm the correct thickness, made some plates up and found that even though the pins are 20mm and I drilled a 20mm hole they don't fit see the gap? I checked the plate they came out of Ha its rebated So I countersunk mine Now it fits Remove 2 sections of box like so Clean the surfaces for welding WTP everything and find some spacers Sorted. More in just a mo.
-
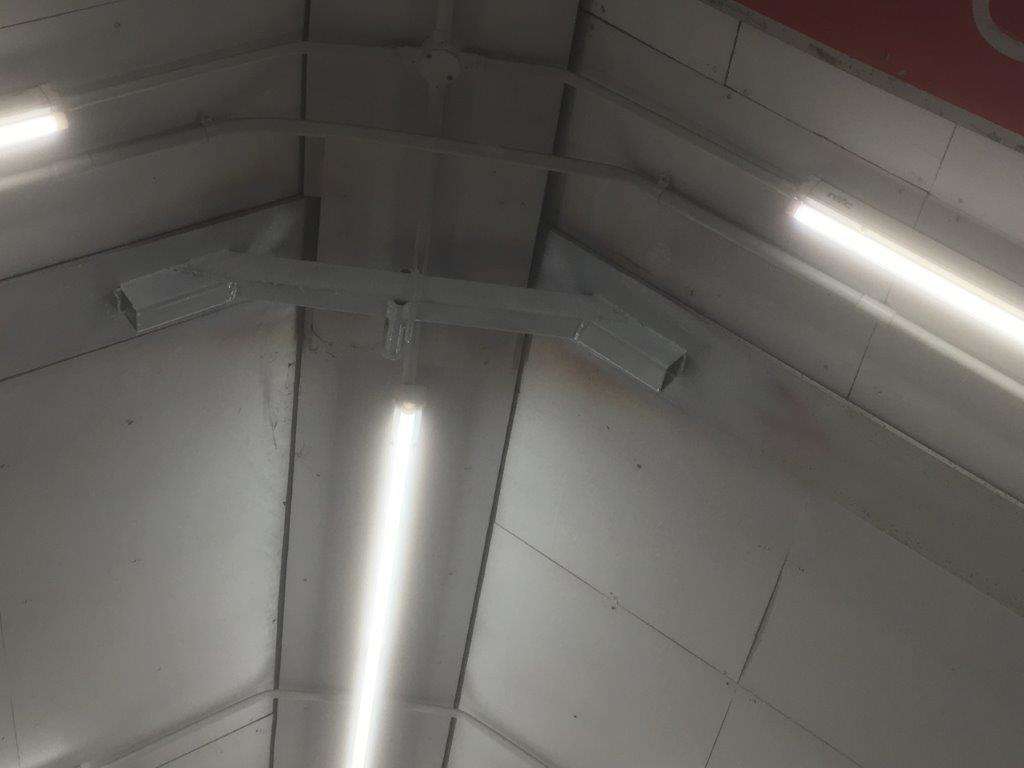
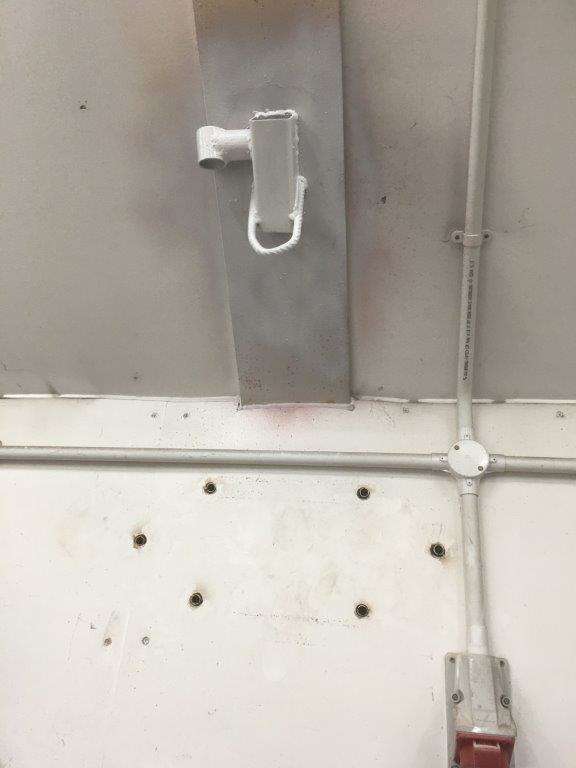
Evening all hope you had a fun Saturday So first Job was to start installing a modification to the Zed Shed II for the build I made This and this Forgot to take a pic of the other bit Anyway I then did something borderline dangerous Welded the bit I didn't take a pic of at the top of the Shed standing up there Even painted it white and This was welded and painted Then I painted the last bit Now that lot can dry and hopefully tomorrow I can put it all together and show you what it does aaannnnnd On with the build ........................
-
You left the spare key in it?
-
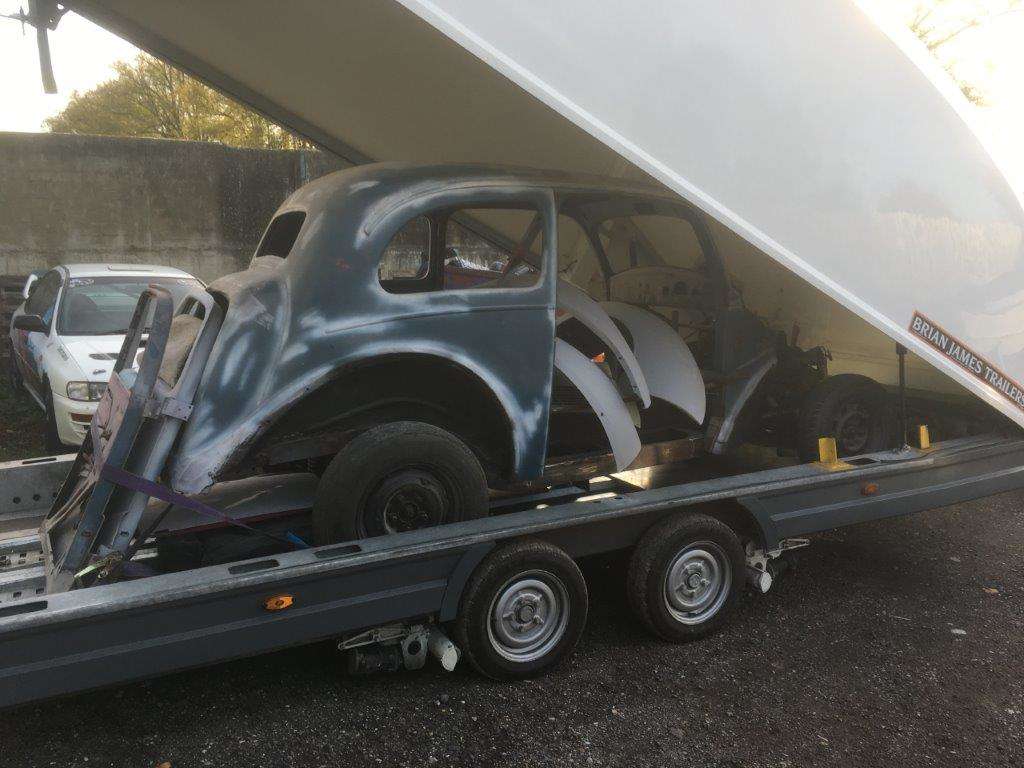
Well Today is the day folks, going to start on the Pop build, first job is a little modification project to the Zed Shed II to make things easier for the build and then roll the Pop in and start staring at her and working out what I'm going to do I have been reading up on these builds and it appears that the first rule of Rod building is (no I'm not going to say that ) is there are no rules. I'm going to fully endorse this theory and fully intend to go my own way with this build with that in mind I'm going to try something a bit off the wall today. The next update may be a pile of scrap ready for recycling or it could be the first step in a great build - only time will tell! What are we building? A 1955 Ford 103E Popular Arrived like this - Stay tuned for updates Keyser Maximum Effort
-

350z parts List Updated 28/11/20 in first post
Keyser replied to Keyser's topic in Breaking For Spares (350z & 370z)
PM on its way mate. -

350z parts List Updated 28/11/20 in first post
Keyser replied to Keyser's topic in Breaking For Spares (350z & 370z)
No the rest of the exhaust is sold but the Cats are still here along with the fuel pump. PM on it's way -

350z parts List Updated 28/11/20 in first post
Keyser replied to Keyser's topic in Breaking For Spares (350z & 370z)
Welcome mate - be careful of that extra power especially if you use JDM Tape -

350z parts List Updated 28/11/20 in first post
Keyser replied to Keyser's topic in Breaking For Spares (350z & 370z)
PM'd -

New 350Z owner in Stamford
Keyser replied to Andy Carfax's topic in Introductions & Welcome Messages
Welcome along -

350z parts List Updated 28/11/20 in first post
Keyser replied to Keyser's topic in Breaking For Spares (350z & 370z)
PM on its way -

350z parts List Updated 28/11/20 in first post
Keyser replied to Keyser's topic in Breaking For Spares (350z & 370z)
sump - Just the very bottom metal bit - the next bit has a big hole in it pull out cup holder - Yes central plastic console with lift up flap - You mean the Cubby? Yes rear bumper - Sold sorry clock switch (how many miles did the car do? sorry if you posted this already!) - err what's that then? Car was at 125K ish when it blew up but it had an engine rebuild at 118,000 not that it did any good -

350z parts List Updated 28/11/20 in first post
Keyser replied to Keyser's topic in Breaking For Spares (350z & 370z)
Hello Ian, been a while Of course I have, Its a lovely full sports exhaust with Sports CATS We think its a full Cobra System with Cobra CATS The invoice just says "Fit New Sports CATS" dated 18/07/17 less than 6000 mile ago - Yours for the right money


